 Tweet
Tweet
They are pretty quick tony only took an a couple of hours to do the full underside of mine when it was on the spit and they are piece of pish to use with no horrible smell of burning underseal
-
-
Thanks Jon, think I will invest in one.
Got a bit more done today.
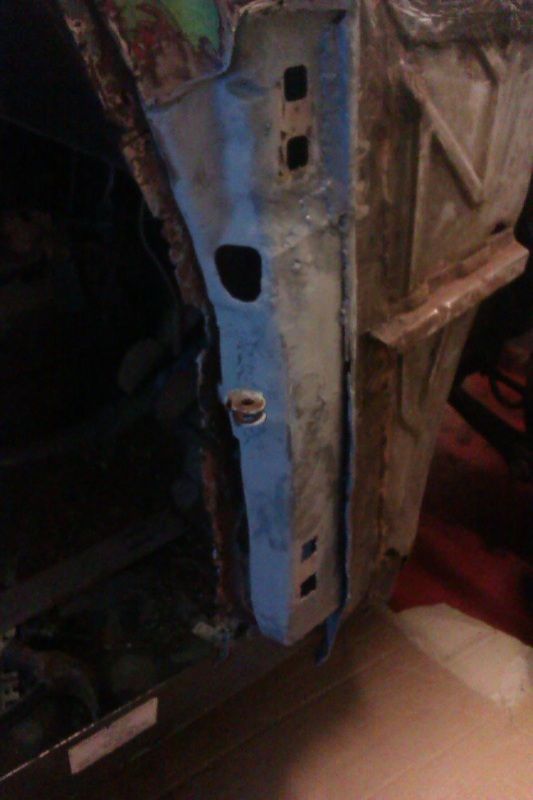
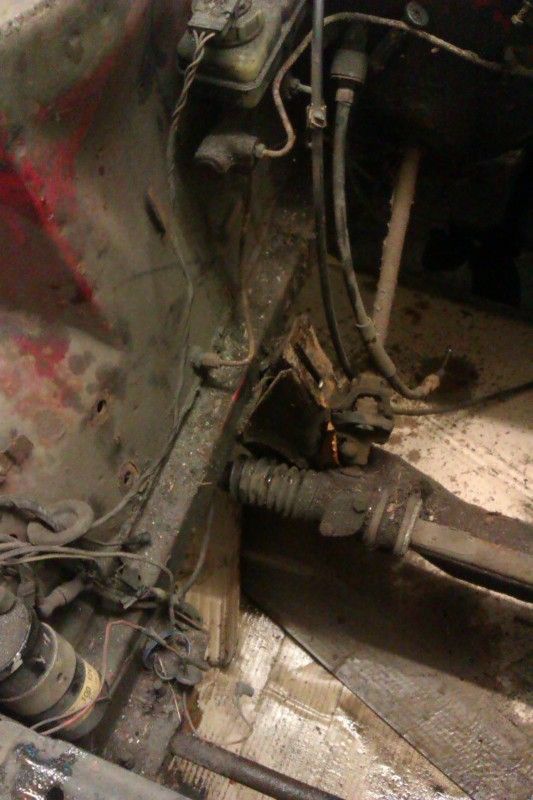
The bottom half of the O/S inner A post was shot, and I havent seen any anywhere for sale, even enquiries drew a blank, so I made my own using the N/S one as my guide.
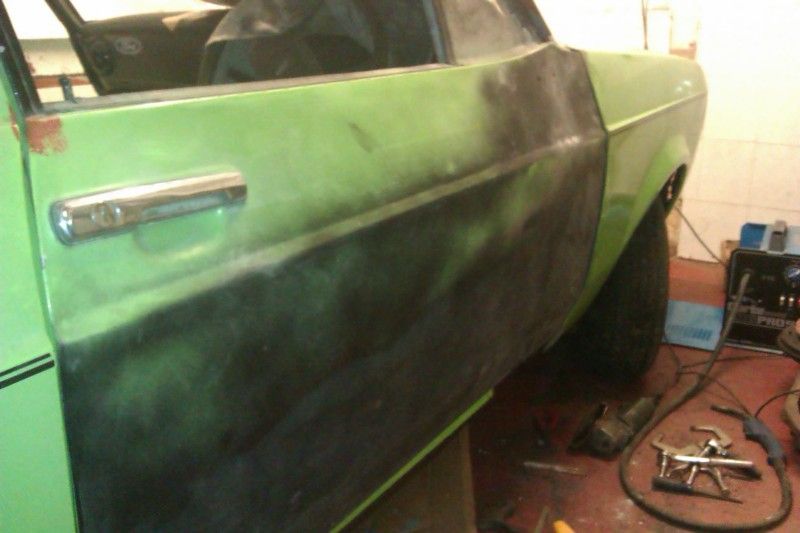
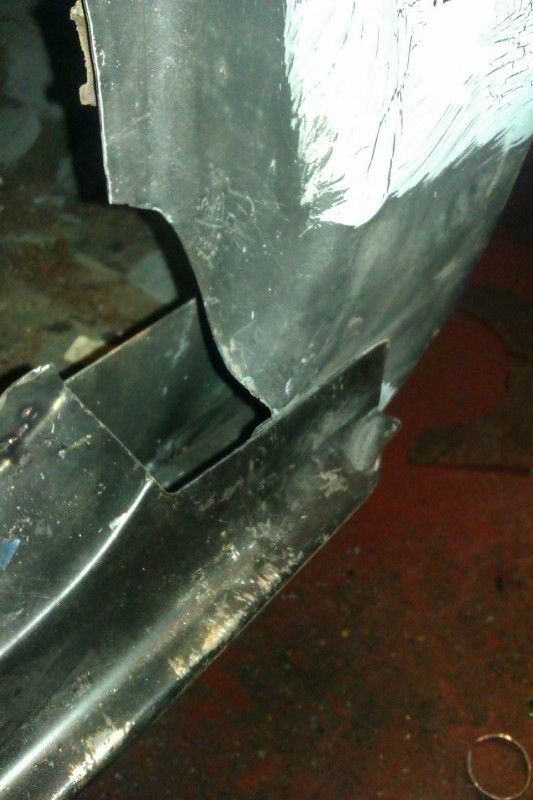
Then it was time to fit the outer A post
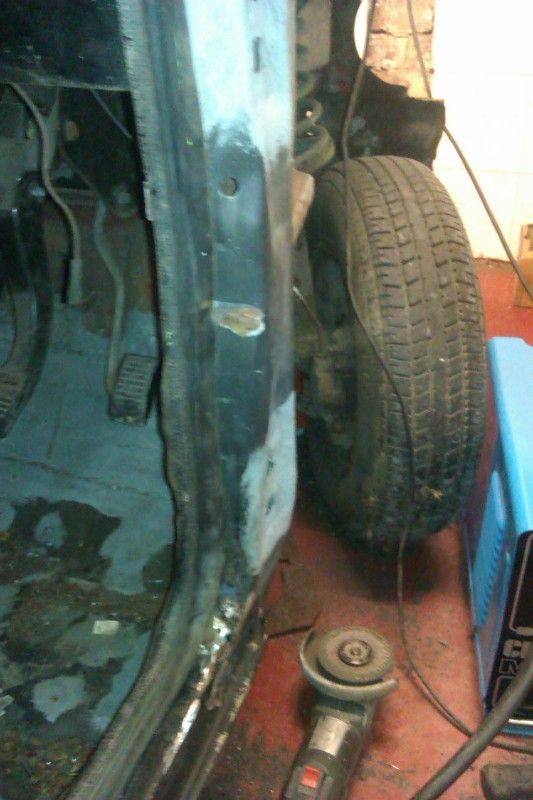
Sat the door and wing back in position to check alignment and boy am i glad i did.
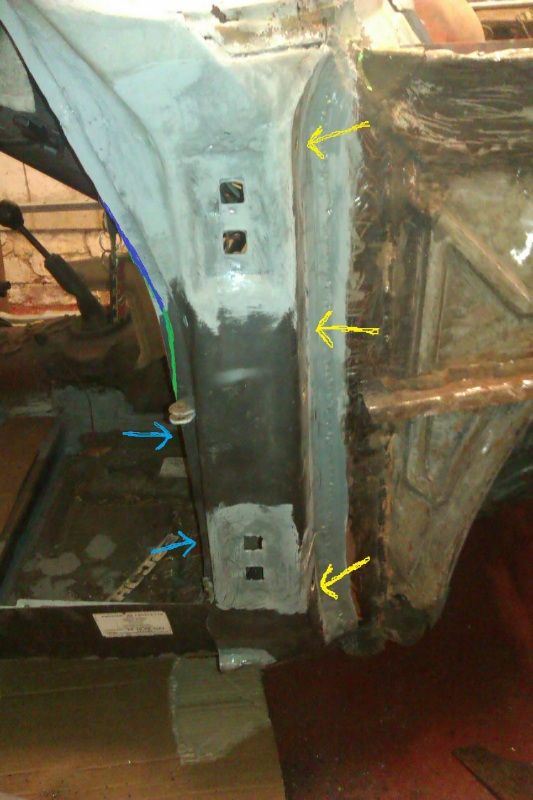
The yellow arrows are where the wing bolts go thru to the inner A post, so there is nothing that can be altered here. The light blue arrows are showing where I had to squeeze the A post back 15mm to get the door gap right for the rubber seal to fit, this is why im so glad i tried to fit the door before welding it all up. The new A post is wider than what it should be. The dark blue/green line is showing where I need to trim off the new pillar as presently as is, it actually hits the door so there would be no chance of getting the door seal back on afterwards. I will need to do the same on the N/S A post as well. (A little tip for anyone doing a new 'A' post, use the kick panel as a guide).
Comment
-
Nice work mate and well done on trial fitting the doors using the rubbers, i forgot about them best hang my doors again with rubbers this time lolComment
-
Well worth the time and energy trial fitting the door and wing mate. Keep up the good work.sigpicComment
-
Keep the photos comming Tony Its starting to get there mateOriginally posted by HarrierTony View PostDifficult roads often lead to beautiful placesComment
-
Thanks Lads, its so easy to assume its right and just carry on, but it literally took me only 10 mins to do the trial fit, just think if I hadnt, it would take me a lot longer than 10 mins to rip it out and do it all over again, thankfully it all lines up really well.Comment
-
looking good tony .
comeing on a treat .
are u not fed up yet lol
just kidding keep at it m8
will be watchingdavComment
-
you've got some rot to sort out there! looking good!

Comment
-
Lol, no not fed up yet Davey, and your right Stu there is plenty of rust to get rid of, but im getting there.
A bit more done, welded the top of the O/S sill onto the innersill and 'A' pillar. Also made a filler plate to go between the 'A' pillar and sill. Refitted the door and door rubber but still not happy with the alignment so had to readjust the 'A' pillar again until the door fitted correctly
Comment
-
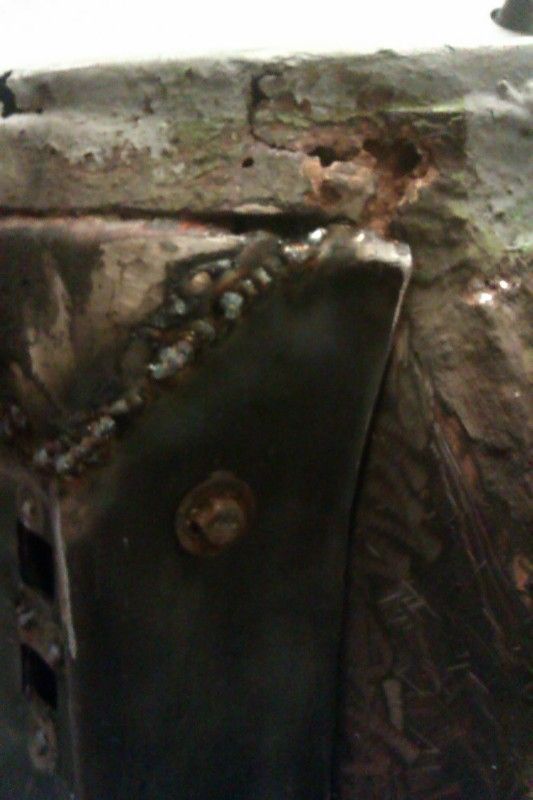
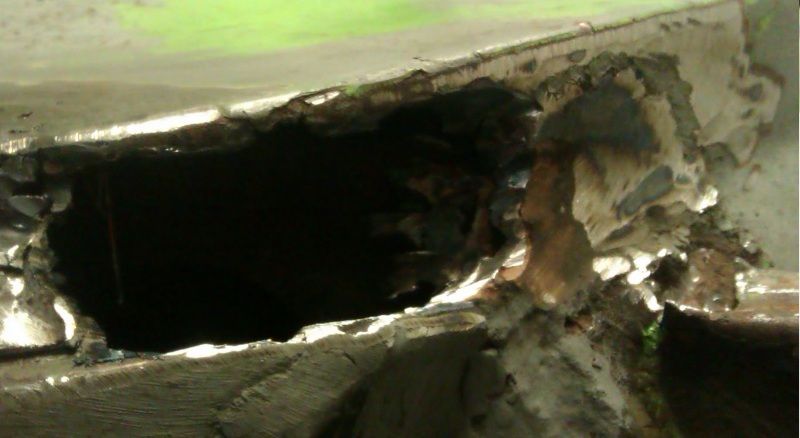
Set about this rot today


Made a small plate for the top and another for the A post
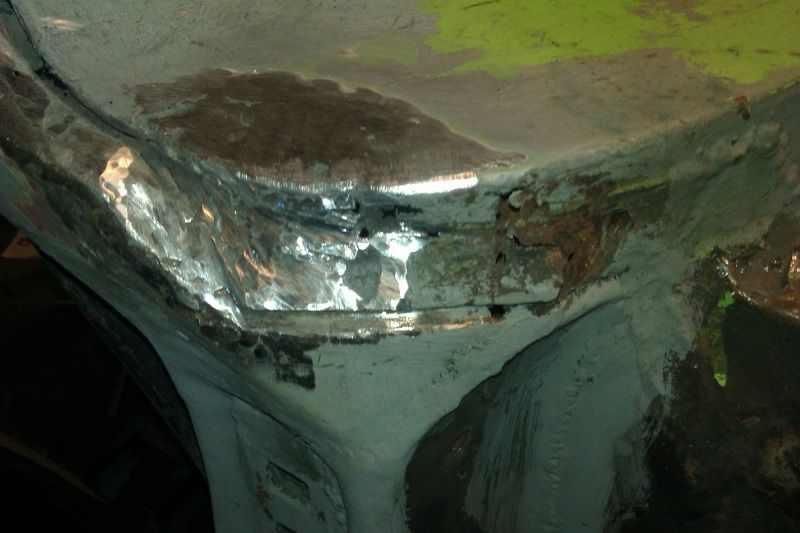
Then tackled this part
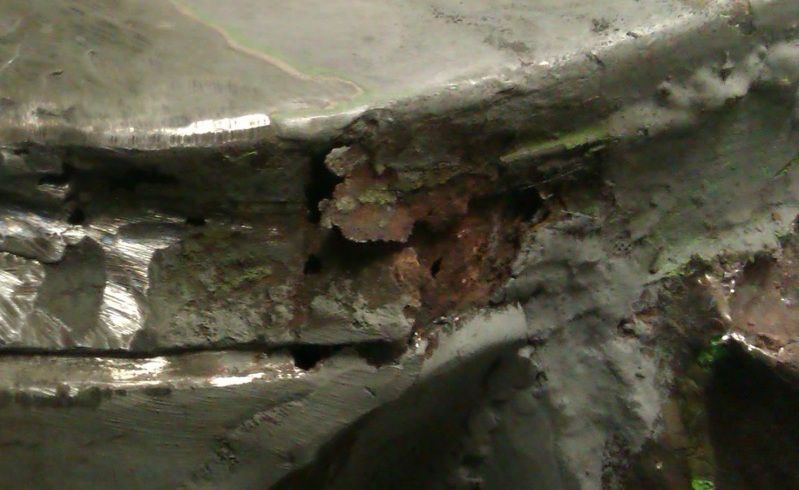
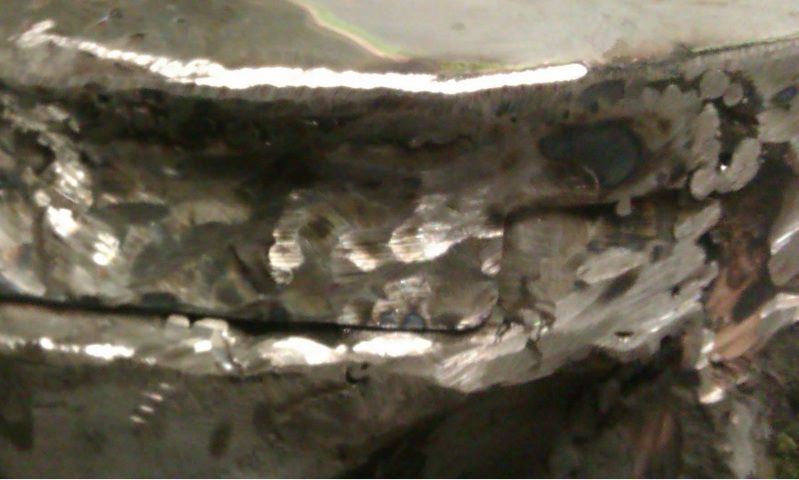
Cut the crap out and made a new inner plate
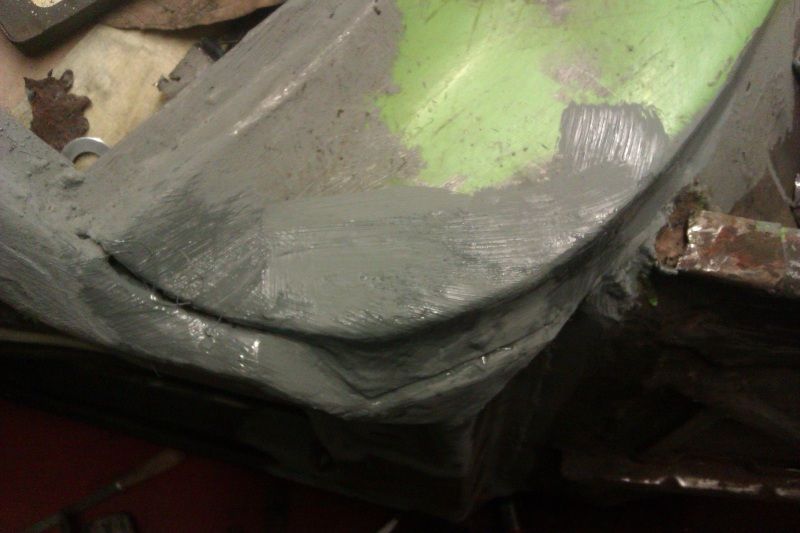
Then made a new outer plate, deffo a lot stronger now
Then a lick of paint
Comment
-
great work, liking all the pics.

Dave.
Comment
-
Looks loads better that tony well done mateComment
-
Thank you guys.
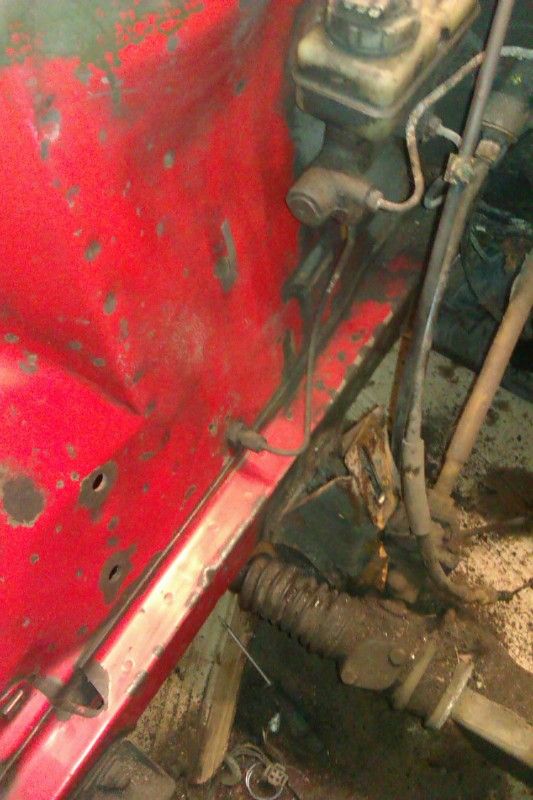
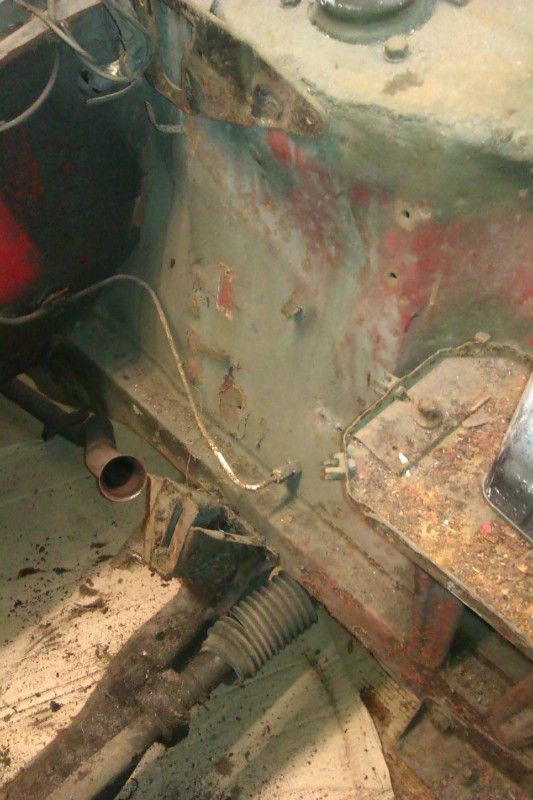
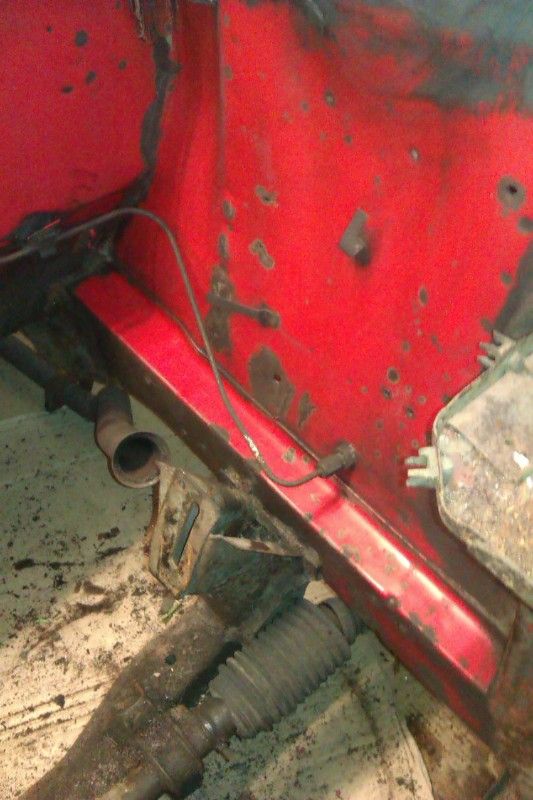
Pulled the engine out today and decided to have a quick clean up to see how bad things were under all that dirt and crap, surprisingly its not bad at all, and looks like factory paint hidden under it.
Comment
-
It dont look too bad under all that muck mate. Did you find a buyer for the lump?sigpicComment
-
True mate, its better than I was expecting tbh. The engine is selling on fleecebay at the minute, finishing tonight
Comment

Comment