
-
I wouldnt have said quality work mate but i think its not to bad a repair for an electrician self taught in welding repairs i guess., i know this cars never going to be perfect but it will be rust free and solid so hopefully il get plenty of years fun out of it, i plan on caking it in wax oil and using it in the damp wet to ENJOY it as much as possible lol Not just the 3 weekends of summer we get these days in january . Anyway i might get sick next week and sell it you never no.
Leave a comment:
-
Had a good day today managed to get the arch and quarter nearly finished. I started by letting a piece into the quarter to fill the gap
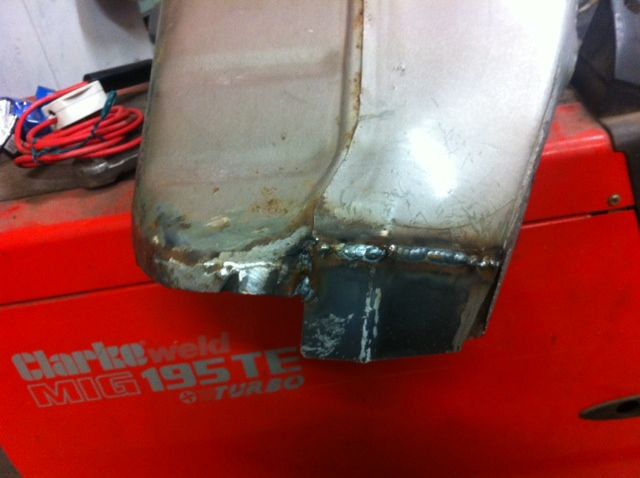
Took a while to slowly mig it in as i didnt want to warp the quarter, i eventually filled all the gaps with weld then dressed up with the power file
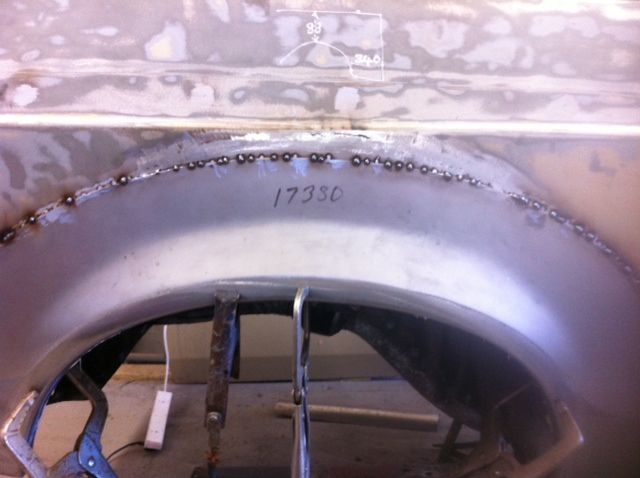
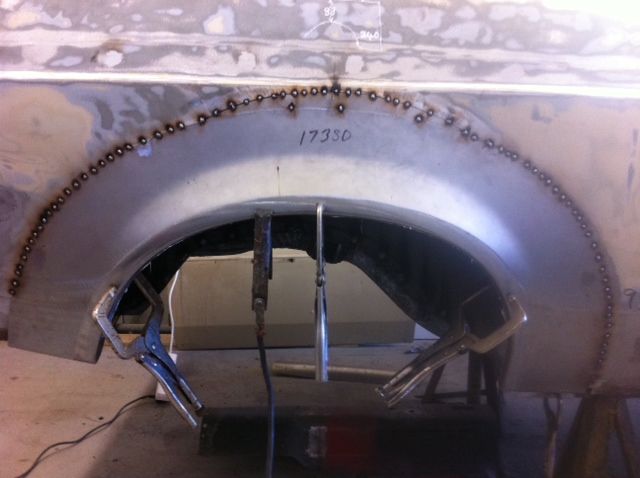
Ended up quite nice, i then carried on welding the arch just a couple of welds every few minutes
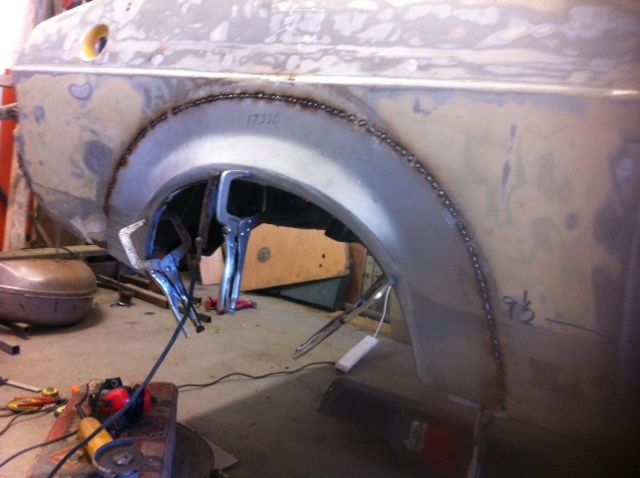
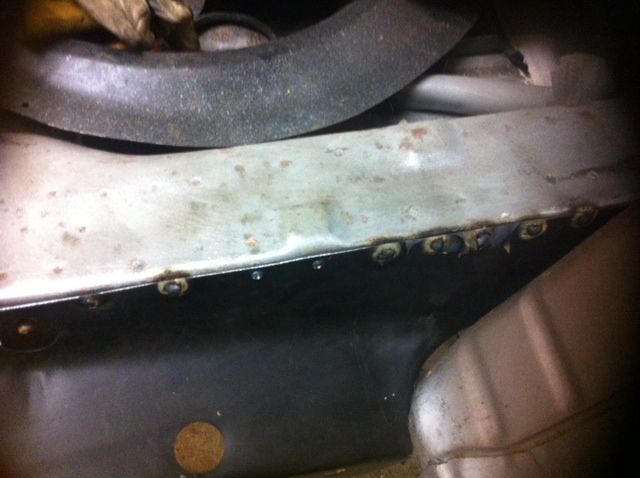
Then gave all the welds a good clean up and a coat of zink primer till i get some etch this week

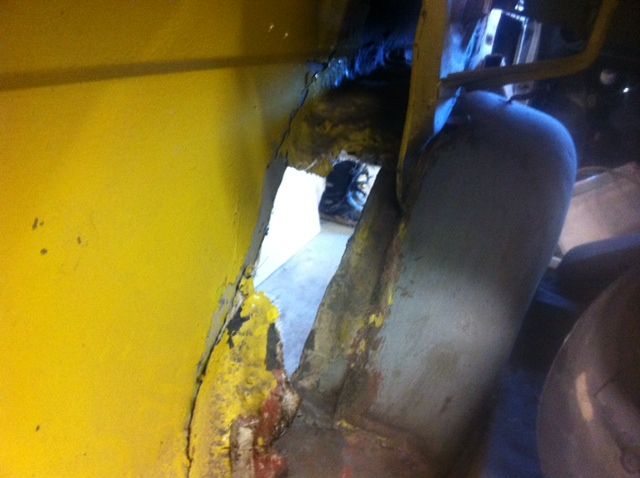
I also decided to make the lower rear corner panel myself as it seemed a shame to chop up such a big panel for the small part i needed

I need to go back and re-weld a few bits as i forgot to clean the back side and the weld pinholed a bit. I also chopped the rotten bit out and i will square this up and let a small piece in here to complete the quarter.

A friend turned up in his car and took me for a blast out. Just had new engine 135Bhp at the wheels and it was the first time id been in a mk2 for about 18years lol. It was great fun and give me some much needed motivation!
Next job is to make a start sorting the other side arch and tub out.
First i need to clean all the nasty old fibre glass crap out of here
It will be nice to be finished welding, Hopefully another couple of months and il be done if i can stay interested.Leave a comment:
-
Got stuck into this this afternoon after a million visitors this morning. Maged to get the tub welded in, the pics not the best but heres an idea.
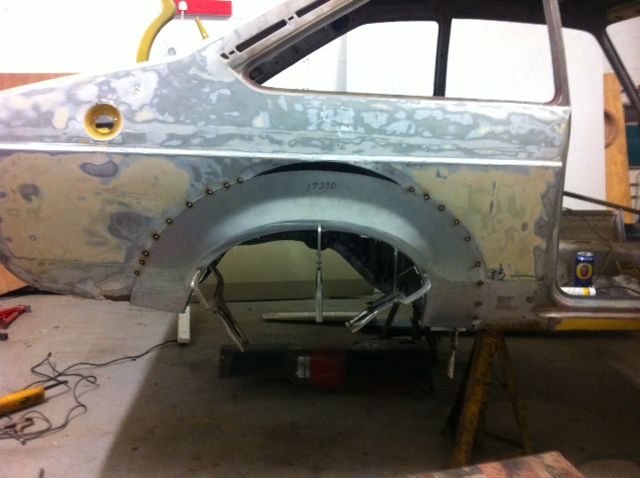
Was a pain to get the tub and arch all set in the right place before welding but got there in the end and it measures perfect to the measurements i took off my mates cars. ive bonded the outer arch to the tub and held in place with mole grips until the bond goes off
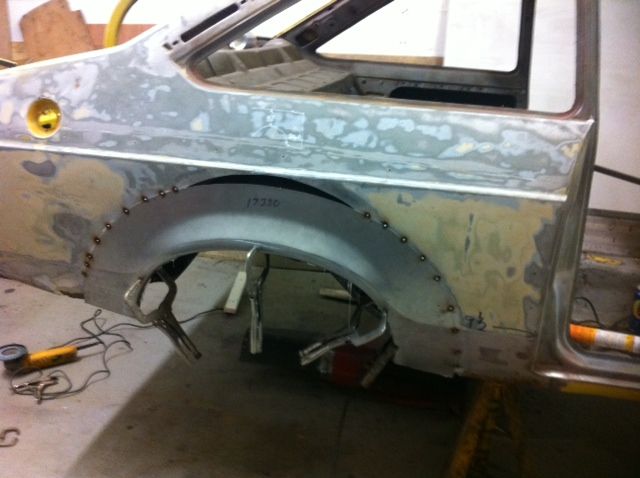
Im planning on drilling through the wheel arch lip and bond in a couple of places after the bonds gone hard and then plug welding to the tub just for good measure. The panels was a brilliant fit well worth the money but postage was a tad pricey.
Just need to cut that old door skin up now and let the piece in at the top thats missing, didnt want to do it until the arch was on as there was more chance of the quarter distorting with the heat. As it stands at the mo its suprisingly straight not needing to much filler so il need to take my time welding the piece in.Leave a comment:
-
Arch arrived today, expensive but much better than magnum stuff.
Also managed to pick this up off bogg brothers today
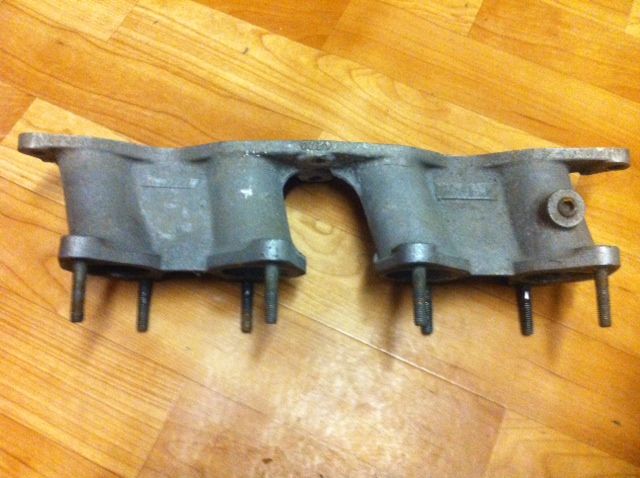
for these
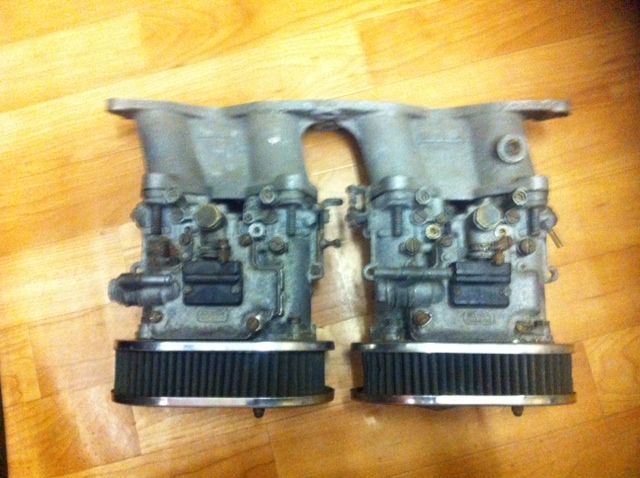
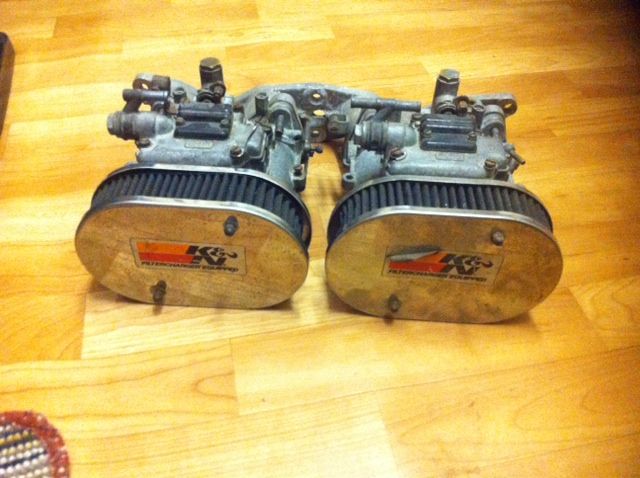
Should help to make the pinto go a bit better and i must say Dave Boggs a spot on chap and i will certainly be letting him set them up when the cars done.Leave a comment:
-
Rear wheel arch ordered off ex pressed this morning so hopefully have it over the weekend. Went and took some measurements off a friends car thats still on good original arches to make sure i get them on in the correct position, infact i measured all 3 of his cars (yes he's a very lucky lad) and they were all exactly the same to the mm so i should be able to get them fitted good. Will have to let about half an inch into the quarter tho so thats where the rusty door skin comes in.Leave a comment:
-
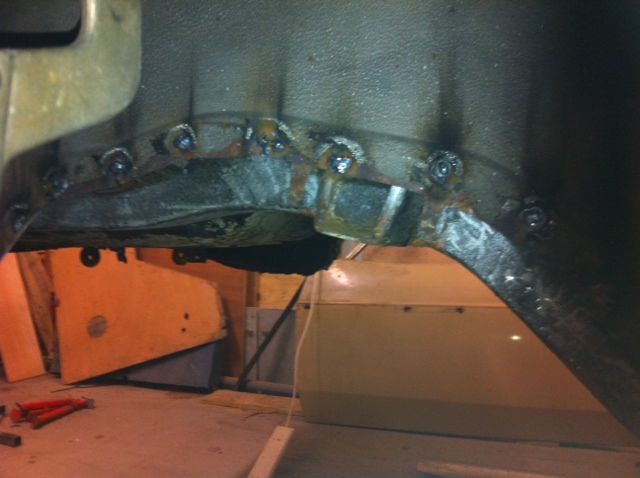
Bit more done this evening, got the nasty old tank well chopped out it had been a moisture trap over the years as there was a layer of fire glass over the top of it that formed half of the home made rear tubs when the x pack had been fitted.
forgot to get a pick of the hole but realised it was much easier to do this job before welding the tub in nice big hole to work through lol
Pic from through the filler neck i trimmed the old panel back to leave about half an inch left to plug the new panel onto and then i will only need a small skim of filler to finish the edge near the bootfloor and cover any grinding marks after the welds are cleaned up
Tub in now then repair the lower corner, probably only going use the bottom 2 inches of the repair panel and leave as much origional as possibleLeave a comment:
-
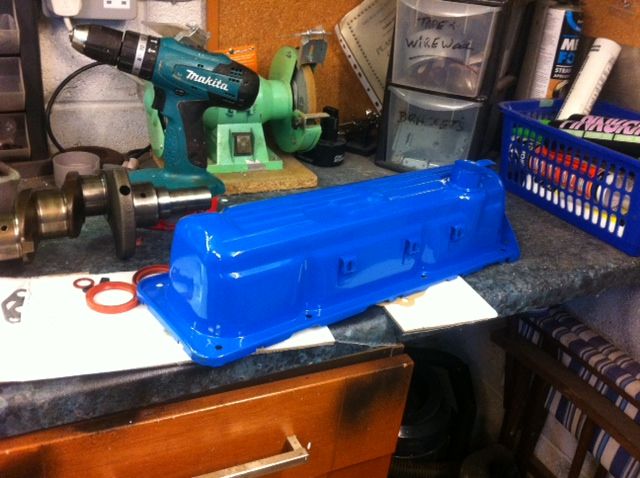
well getting slightly distracted drom the welding but i guess its all to do at some point. Got the new motor stripped and painted block, rocker cover and head ready for my friend graham to kindly build up for me while i get on welding. So some familiar pictures
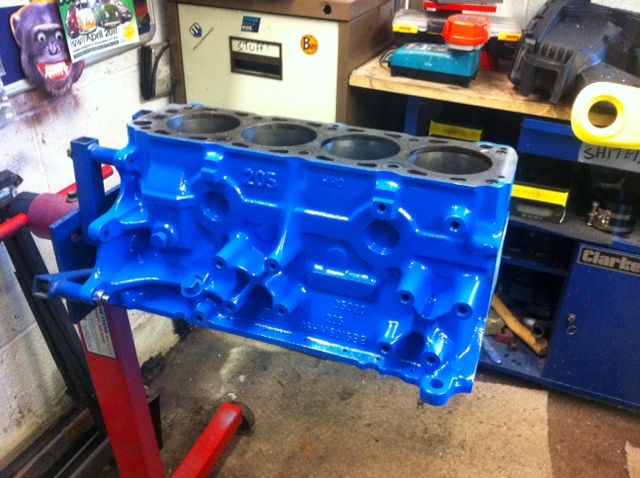
205 block this time tho
Managed to repair the grotty bit of the tub ready to fit hopefully this week if i have chance, busy looking at houses at the moment so not getting much time on the mk2
Leave a comment:
-
Keep the pics coming mate, it will be so worth it all when you have it done, just remember the golden rule, dont take short cuts because you will only end up going back at a later date to do it again. From what I have seen so far you are doing a cracking job.Leave a comment:
-
I'd like to hope it will be super solid when it's done Tony but I keep looking at it and thinking..f#*k me I've still got plenty to do! Will feel a lot better when both tubs are in just the outer arches to sort then I can do boot floor and chuck it on the spitLeave a comment:

Leave a comment: