Thats a nice little repair round the bottom corner of the rear window Jon.
Looking forward to seeing the latest pics of the wheelarch fitted.
-
Got the arch off expressed now so started fitting the outer arch up to the correct measurements tonight and made a couple of repairs to the boot floor before fitting the tub, hopefully get quite a bit more done tommorow.Leave a comment:
-
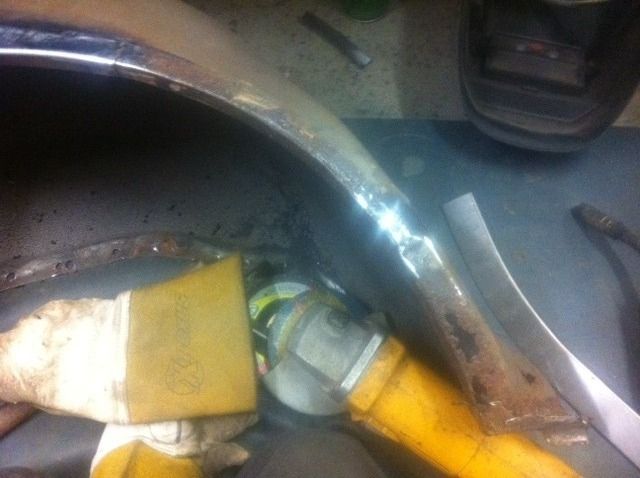
Had another few hours this afternoon so while im waiting for the arch i thought id start on a couple of the small bits. There was a rotten bit around the lower corner of rear screen so powerfiled all the rot out
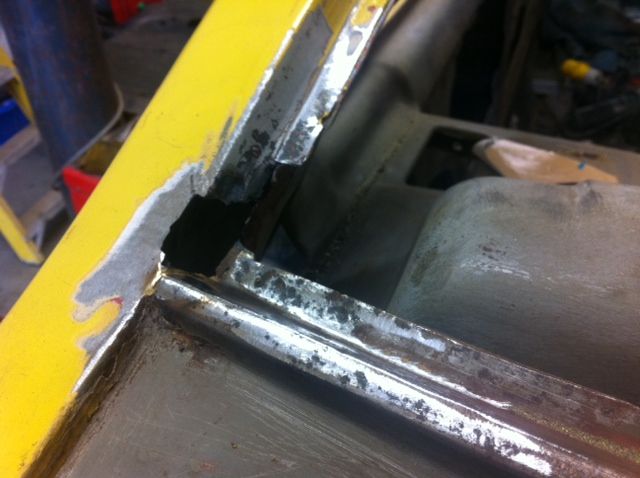
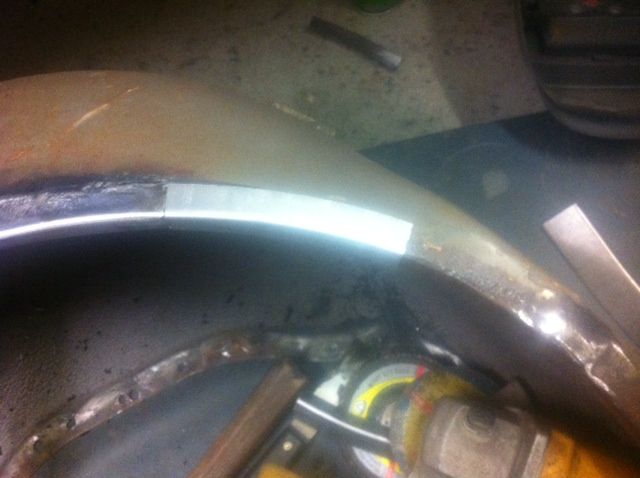
Made it up in 2 sections then dressed up with powerfile
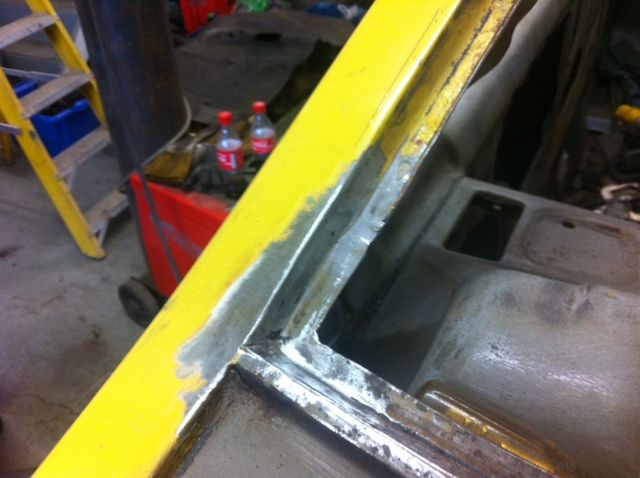
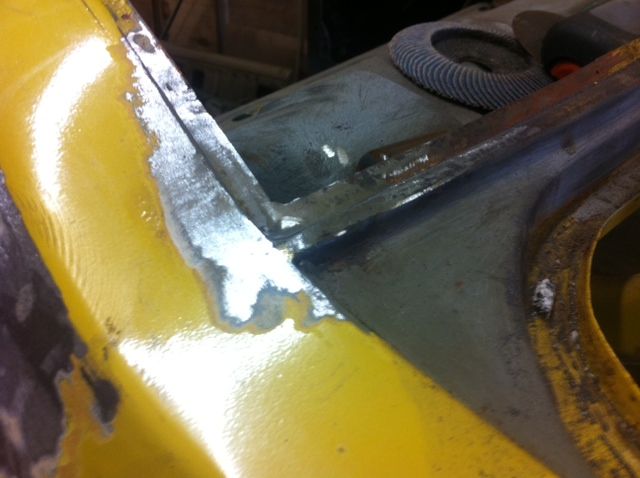
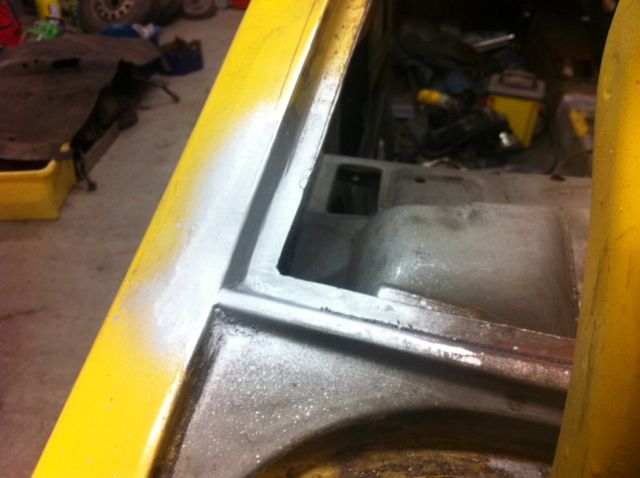
Quick coat of zinc primer and its a nice repair. This was one of the most fiddly ones ive done so far as it was difficult to get in with grinder/powerfile etc.
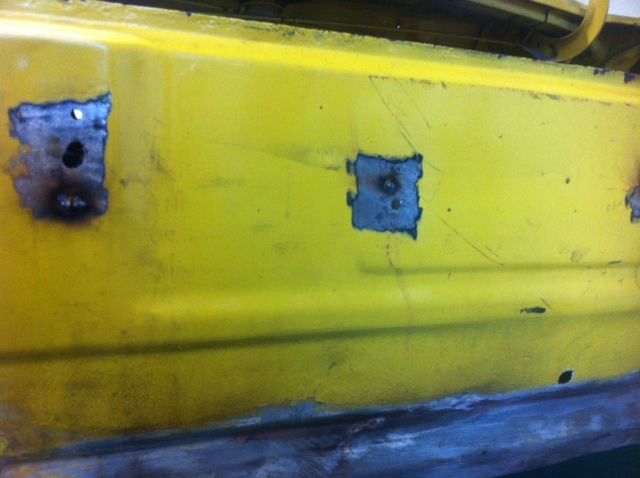
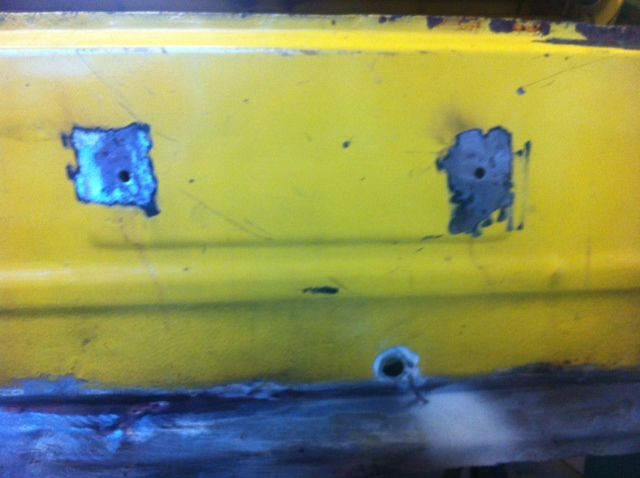
I then decided that as i cant afford a new complete rear panel id make a start on repairing what i had, first was to weld the holes up that someone had drilled when fitting so aftermarket numberplate lights
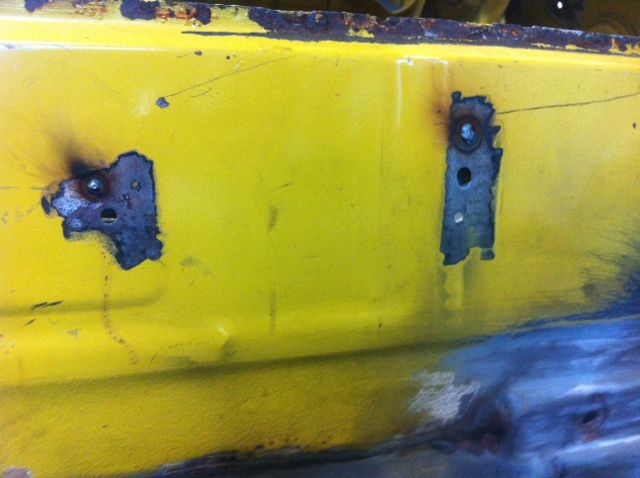
There was 2 larger holes around the number plate area, im guessing these were factory so ive left them for now unless anyone can tell me that they shouldnt be there and il weld them up to.
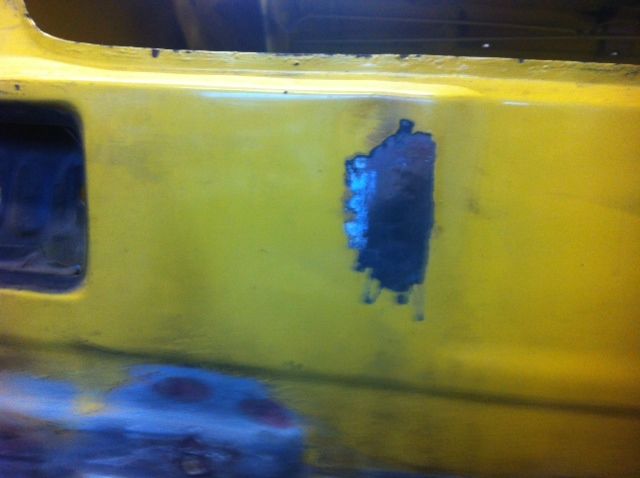
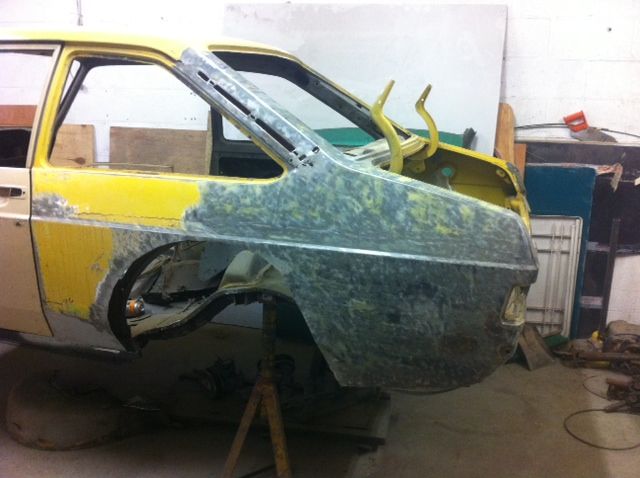
Got some grot to sort out around where the boot seal goes on but thats fairly straight forward. Then started wire wheeling the rear panel down, all the layers of paint came off really easy apart from the factory black it has a really good hold.
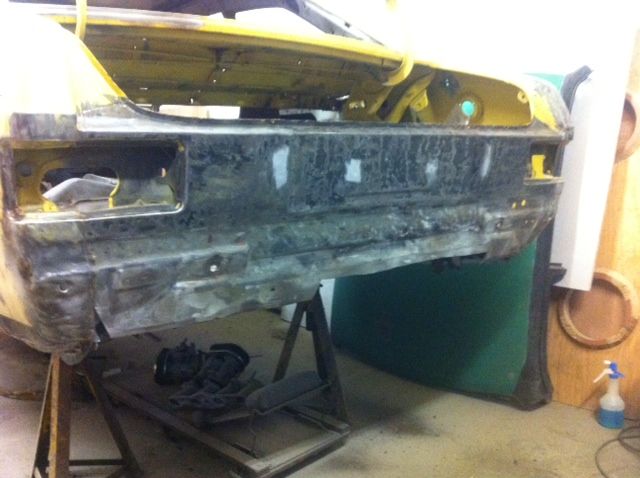
Got carried away and got half the quarter done too, not to much old paint to get rid of now
Leave a comment:
-
Cheers guys, il add one of those to list of things to try and find then. As for the other side I guess there's some sort of grommet that goes in there that the fuel line runs through?Leave a comment:
-
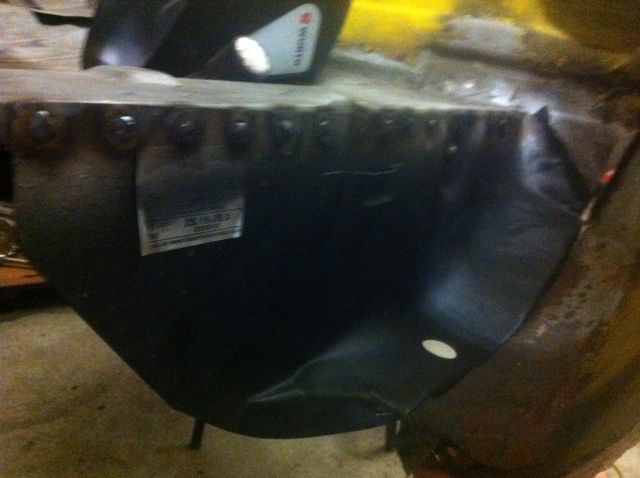
Only just noticed now in the pic above theres a hole in the inner spare wheel well panel. Did mk2's have that from factory or do just the spurious panels have that?Leave a comment:
-
Bit more done this evening, managed to remove what was left of the old tub. Then started on the inner spare wheel well, as with the inner tank well it was easier to weld in place before the tub and arch are in place.
first pick of it cut out
Then the new panel cut down and reshaped quite a lot (this pressing was pretty crap compared with the inner tank well) Then drilled it and plugged to what was left off the origional.
Still need to clean the welds up on this one but couldnt be bothered tonight if im honest. maybe a bit more over the weekend But waiting for the arch to arrive now from ex pressed before i can fit the tub in the correct place.Leave a comment:
-
Would be nice to have all the welding done for christams Tony as I have nearly 3 weeks over between Xmas and new year and it would be nice to spend a few days shot blasting it all while I'm off work but being realistic I don't think it will happen. Would be nice blasted and etched ready for the new year tho....now I'm going to write a letter to Santa right now lolLeave a comment:
-
Yes it's a really handy thing, my landlord bought it as they do a lot of e-type jag restoration gets used all the time, I'm trying to talk him into buying another so we don't have to keep swapping the jaws over all the time.Leave a comment:
-
Good to see your shell is coming along well.
Nice use of the shrinker/stretcher, wonderful invention!!Leave a comment:
-
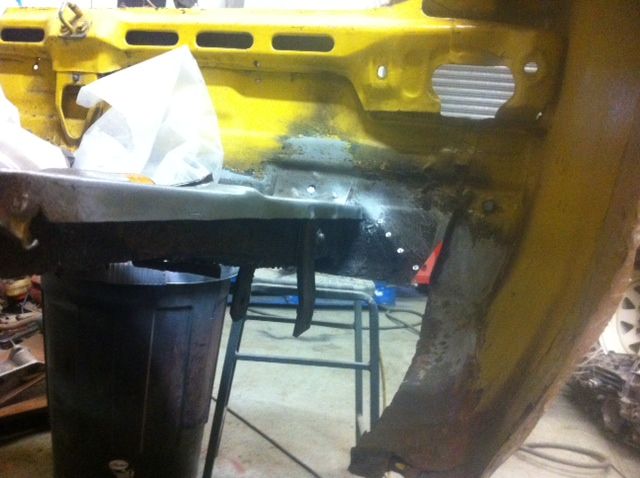
I hope it will work but as daft as it may sound im just letting it settle as it is for a week or 2 till the back arch and tub is done. I did a bit more on the tub tonight, its a lot worse than it looked unfortunately, as i removed the existing outer arch and removed the sealer from between the two and from the rear side i ended up with a lot of rust.
As you can see in this pic. Done a bit to that area this evening and made some more repair sections for the inner arch lip
Hopefully have the tub finished by early next week ready for the outer arch coming from ex pressed on wednesdayLeave a comment:
-
What a cracking way of making up the soonroof panel, it needs to work just for the sheer effort and engineering of it.
Looking like a great build.Leave a comment:
-
My pic has now been removed from his listing and I now have this reply off him
Dear jonathan84stephens,
ok no worries ijust couldnt find any pictures to hand hopei didnt offend you ,and forum people obviously its true they have nothing better to do with there time
- gt-autobits

Leave a comment:
 .
.
Leave a comment: