
-
Message him through ebay and said a few choice words and asked him to remove my picture from his listing. I assume he will be reported for this as its surely illegal?Leave a comment:
-
How he got my photo??? im way up in county durham! Fair enough my car was a bit of a rot box but thats a bit of a **** take!Leave a comment:
-
I hope you and he aren't the same person! There's not a lot of love on here for this sort of selling!Originally posted by 13sport View Post
Leave a comment:
-
a few update pics on the sunroof job never had chance to put them on before as ive been away for a few days.
A pic of chris wheeling some shape into the new piece

Cut to size
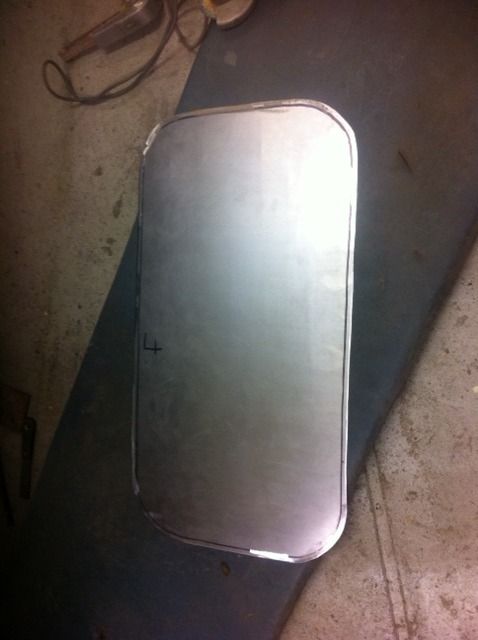
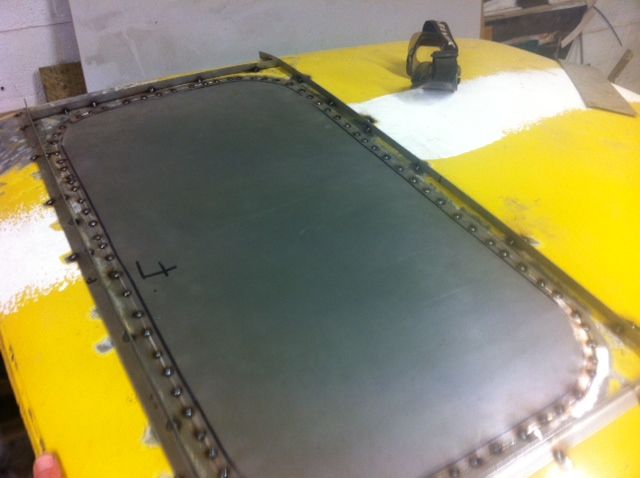
and it tacked in place think there should be enough weld on this to remove the strengtheners i made up now.
Its difficult to see if its acceptable yet. As for the minute i started making some repairs to the new tub as il be ordering the other side arch of ex pressed tommorow and hopefully cracking on with this side over the weekend.Leave a comment:
-
Well its debaitabull if the sunroof job has worked, I tacked the panel in so I won't know what it's like until I remove the angle braces I made beforeLeave a comment:
-
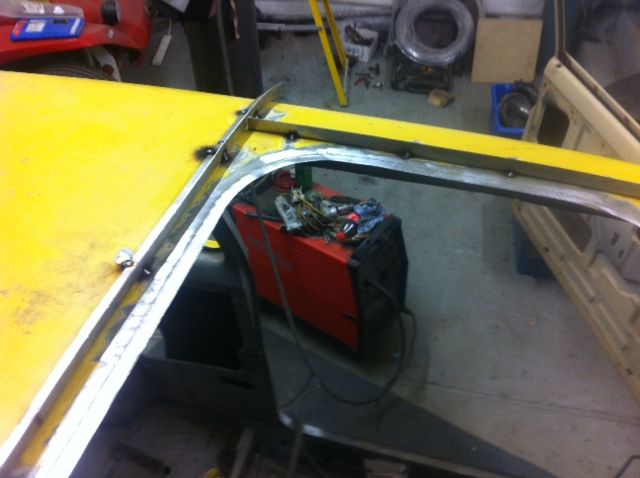
Well havnt had enough cash to buy a back panel this week or wheel arch so while me and a friend were drinking beer and giving the escort 50 coats of lucking at we decided that i should try and save the roof skin thats on there before cutting it off and fitting the other one as its really good other than the sunroof hole. Most importantly it wont cost anything apart from a bit of time and if it turns out bad il put the skin on i have already.
The roof skin was a bit misshaped around the sunroof hole so i folded some steel 15mmx 15mm and shaped it to the same profile as the spare roof i have then clamped it to the roof skin and tack welded it to hold the roof in its correct shape
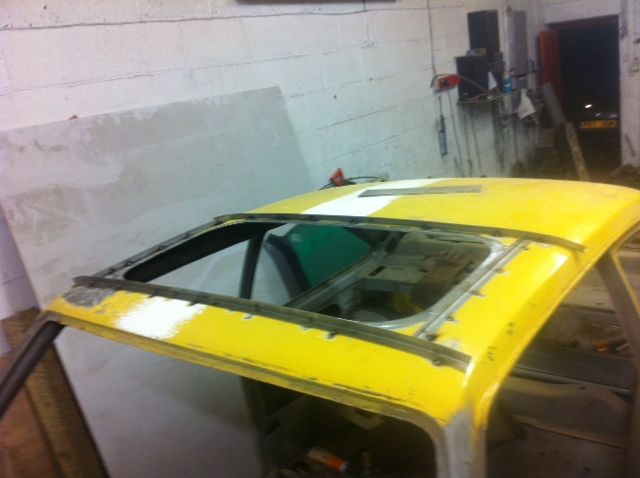
I did the 2 longest first then the two shortest ones
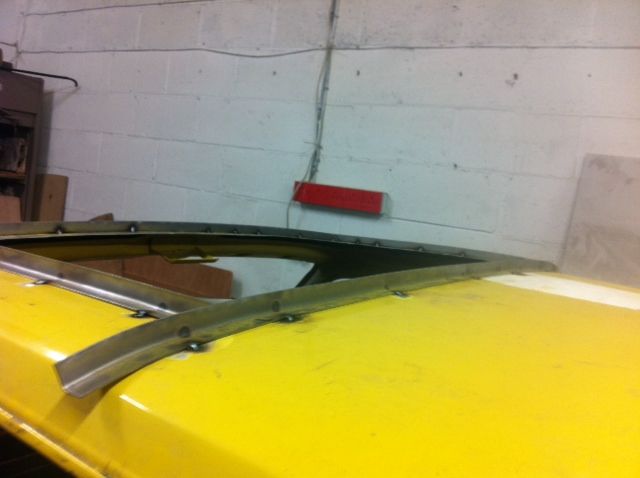
I then gave all the edges another clean up and Joggled the edge all the way round so the new piece will sit flush
My mate going to put the piece of steel through the english wheel to get the shape right as its curved both ways as you will all know if you try and weld a flat piece in it will look shit and use loads of filler

Took 2 hours to get that far and probably another couple to weld in place. Its a bit of a 50/50 outcome really but fingers crossed it might workLeave a comment:
-
Bit more done on the sill tonight, welded both ends and dressed up, welded the outer sill to the inner sill
The ends didnt clean up to bad but not perfect due to the spurious sill being a slightly different profile to the factory, nothing a very thin skim of filler wont sort out tho
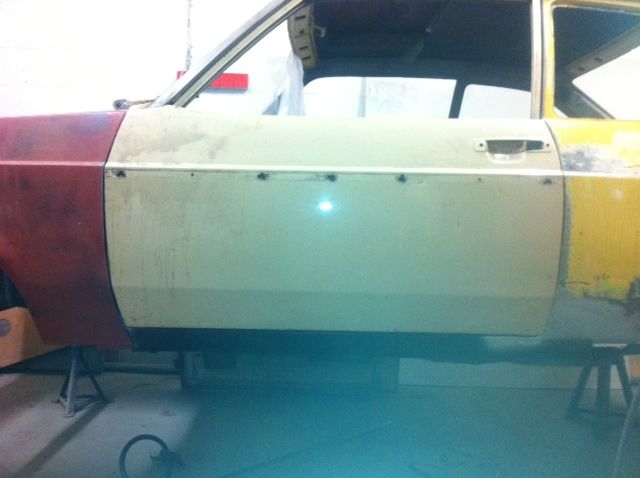
stuck the door on to check fit and think it should gap up ok
Door needs setting up a lot better than in the pic but it was difficult on my own to get it adjusted
Leave a comment:
-
Like it, looks spot on to me, funny enough,this is the next job for me on kermit when I get round to it lol.Leave a comment:
-
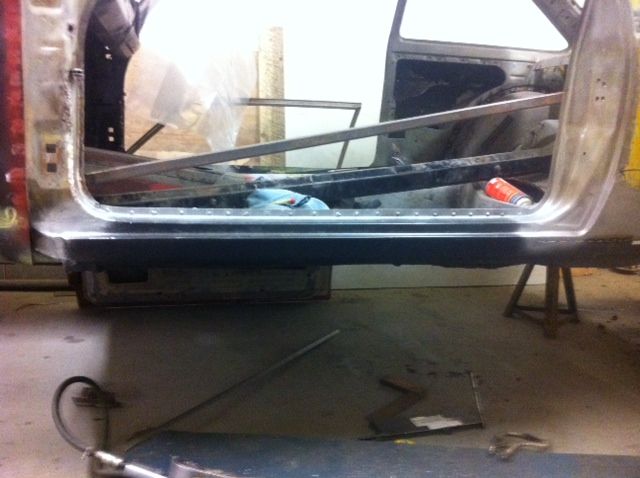
Got an hour in tonight and decided to get on and fit the sill ive been threatening to do for the last 3 months!
decided to cut it down and only fit what i needed to, joggled the front lip and rear quarter so it should be a good metal finish.
Cut each end of origional sill and butt welded/edge to edge tack welded
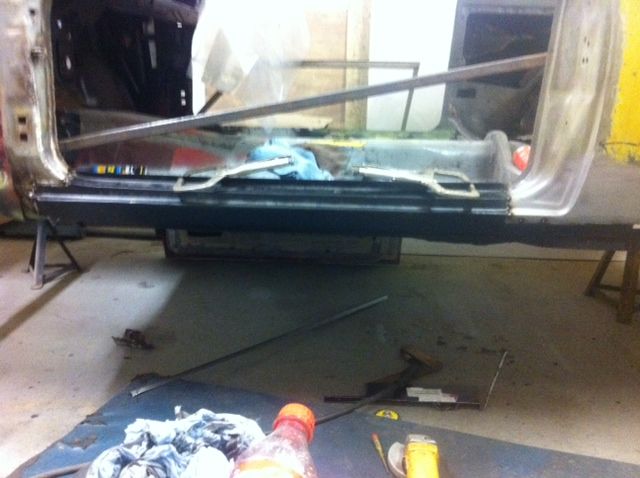
Hopefu;;y have more time tommorow evening to finish off
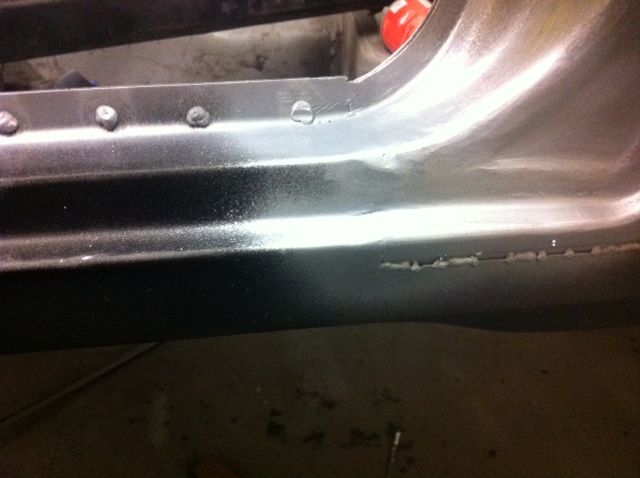
A bit closer pic of how ive done it

I wasnt keen on the idea of sitting the sill on top of what was there and didnt want to use the corner part where the bottom corner of the door sits in as it didnt fit the door well at all. Shoukld be pretty good this way.Leave a comment:
-
I agree, its annoying to see a patch like that, as you know full well its just a rust trap eating away at what good stuff is left, much better to cut out the crap and replate it. I must get my arse back into gear with mine .
.
Keep up the good work and keep the pics coming.Leave a comment:
-
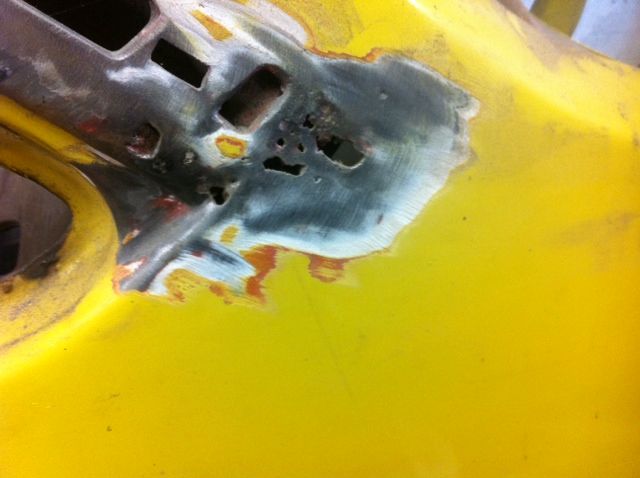
well i didnt have enough interest to start on the tub tonight so did a bit more work on removing those snotty patches on the boor floor, this was gas welded here

Found the 2 8mm holes it was covering wouldnt it have been easier to put a nut and bolt through them
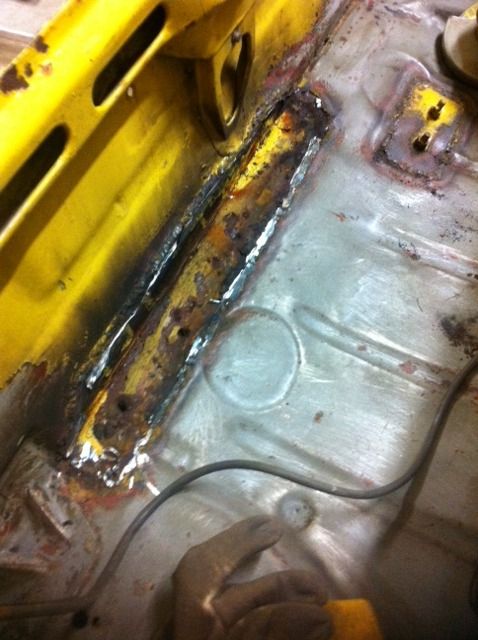
the damps sat between the bootfloor and the dodgy patch for years so might need cut part of the bootfloor out and make a new piece up
Also started to pull the exhaust bracket of but havnt had chance to dress the old welds up yet.
Has anyone fitted a hadrian or magnum complete rear panel? Thinking about replacing mine to access the bootfloor easier and its a bit ropey anyway.Leave a comment:
-
good to see ur progress there .
am sure u will get that side done.other side look goodLeave a comment:
-
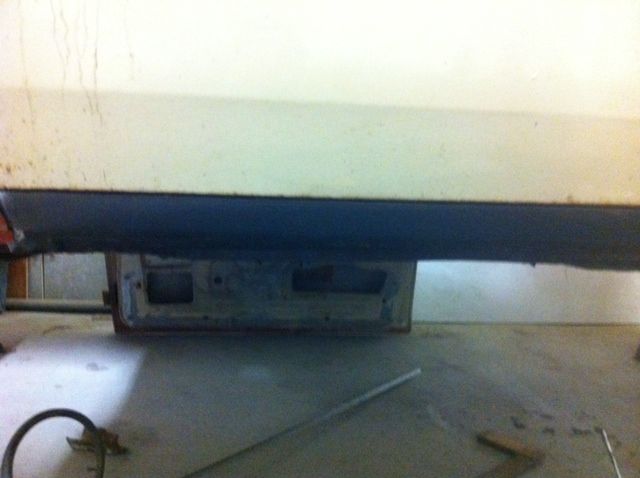
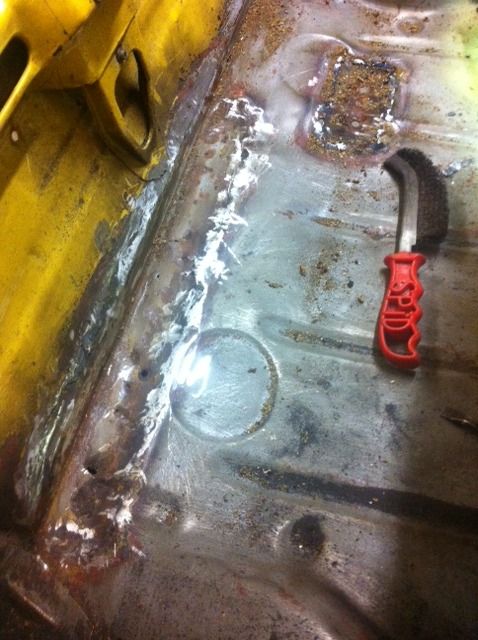
Never got that much done tonight but did manage to finish off that lower rear corner
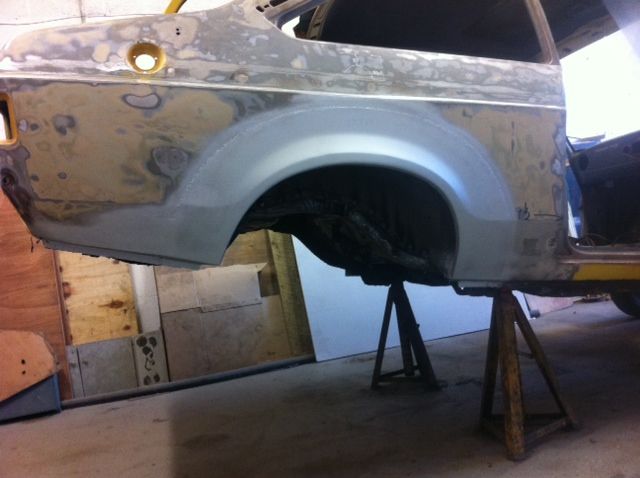
then turned the car round to get on with the passenger side and had a much needed tidy up.
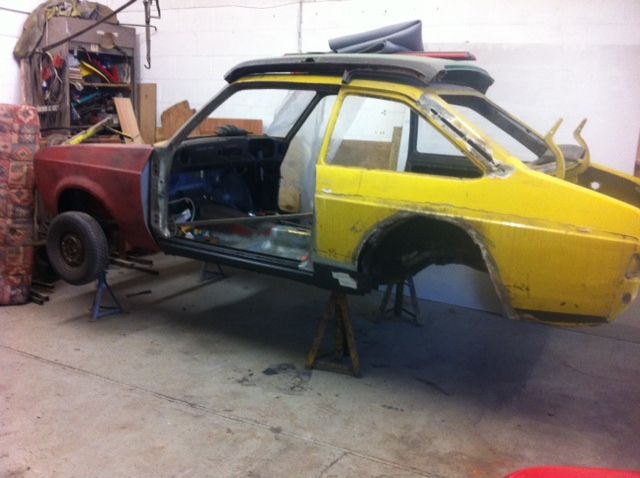
Theres a bit more grot to sort on the side around the bottom of the c pillar but nothing that cant be sorted. The sill is also to fit still.
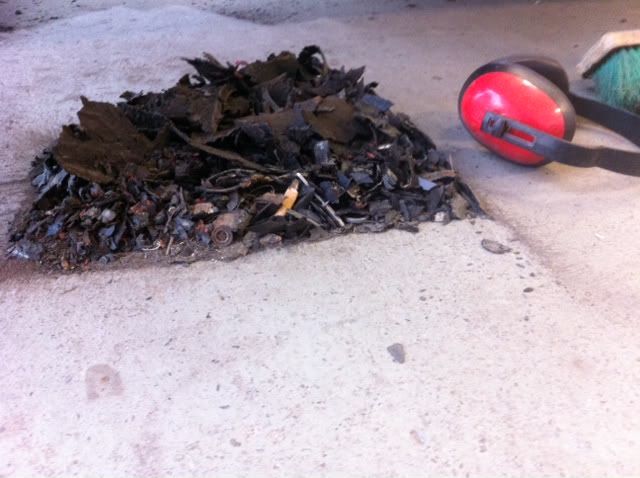
I did manage to get the rest of the fibre gash out of the rear tub and started to clean the quarter up a bit with wire wheel in the grinder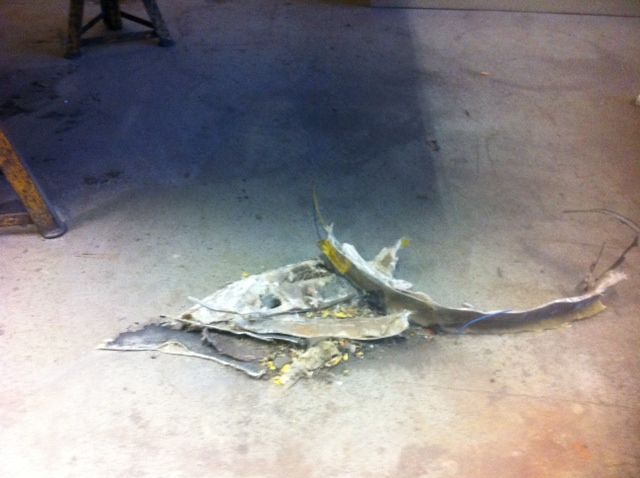
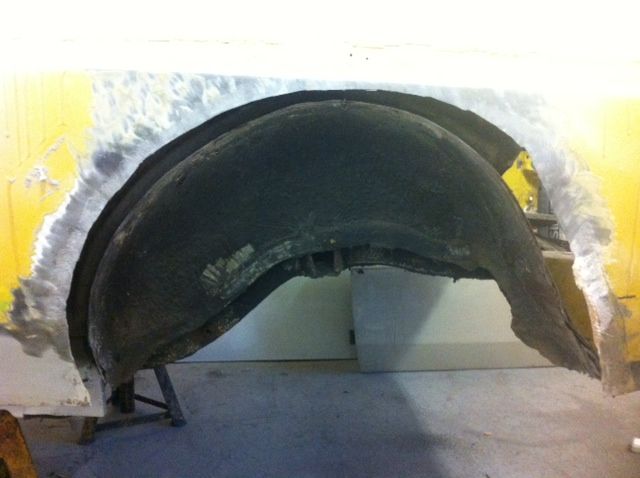
Hopefully more done soon need to asses which repair panels i need to buy and what i can make now to save some cashLeave a comment:
-
I'm also self taught mate (i'm not a qualified/welder/body man/painter/auto electriction etc) and built my Roth rep all by myself, it just takes plenty reading/research, patience, practice on scrap bits of steel, having a good eye for detail, not doing too much too soon, asking for advise, loads of mental determination and knowing when to stop for a bit until your enthusiasm returnsOriginally posted by 13sport View Post
Leave a comment:

 . Anyway i might get sick next week and sell it you never no.
Leave a comment: