-
Well as much as i hoped the car would have been sealed and painted ive started creating some more room in the garage at home so i can move the mk2 out of the unit once its painted so i can play with it here and keep the missus a bit happier not being away from home so much lol
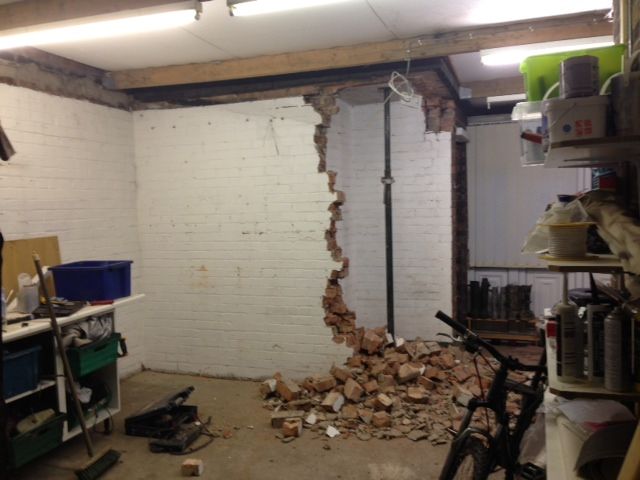
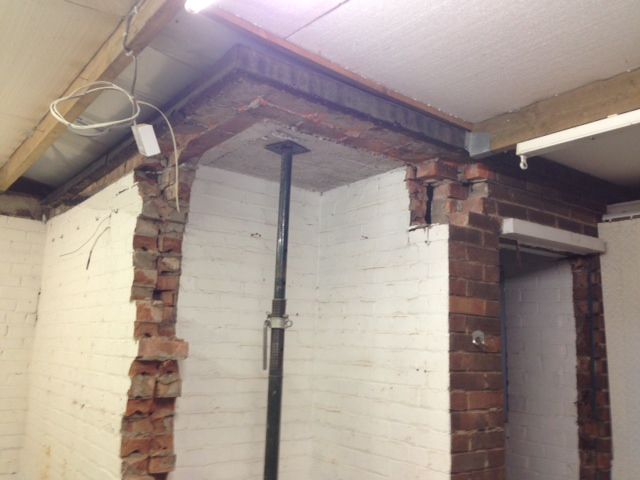
The garage roof has been built over the top of the existing out building so its going to come out, made a start on the brickwork and lintel on the corner which is the old coal store, only downside is the concrete roofs going to be a pain in the arse to break up and i have to strip the poorly fitted roof in order to break it up (note how far apart the roof joists are )
)
will gain quite a bit of space tho.
Getting a bit worried about being on top of the concrete slab breaking it up as ive heard horror stories of the slab dropping with people on top of it!
Hopefully can get the slab off and get some new timbers in place and roof back on over the weekend then i can drop the brickwork whenever i get time quite easily, got a load more acro's on their way and hopefully some volunteers.
That will just leave me the floor slab to break up and fill in the fllor to same level with new concrete
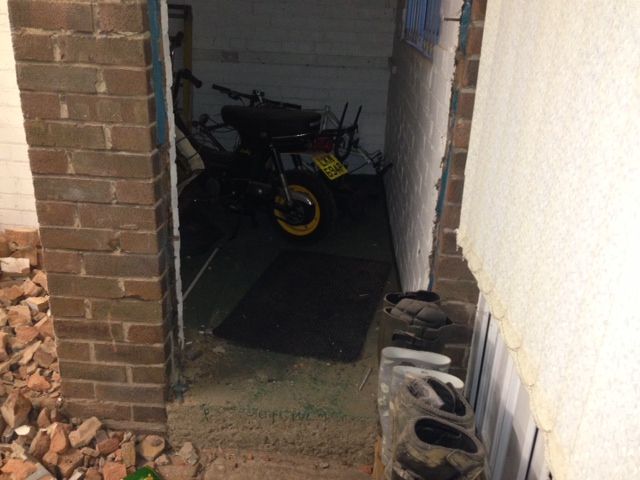
Must remeber to move the honda before i start with the breaker lol
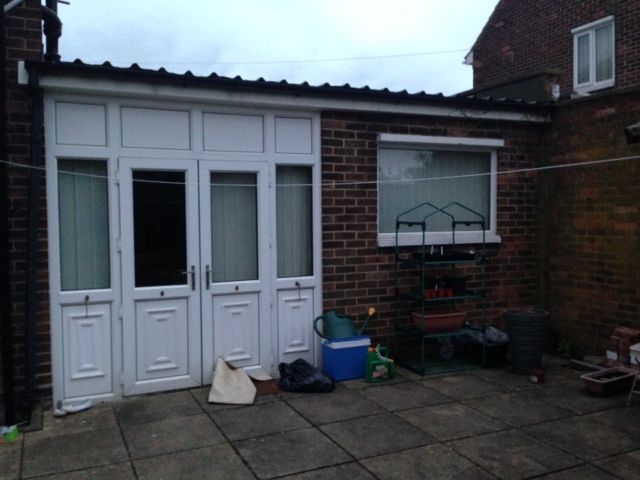
will make the garage this wide at the back and get more natural light in the the windows and doors
Leave a comment:
-
well found some time to get the door and bonnet hung properly so i can try and make the wings fit before the spray sealer goes on the spurious wings arent a great fit so they will need messing about with a lot
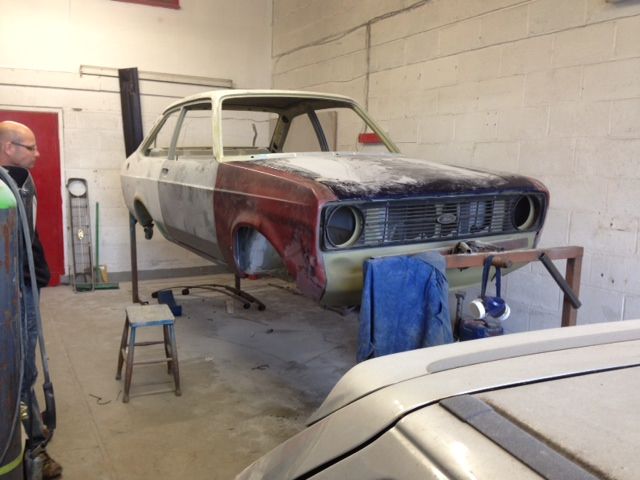
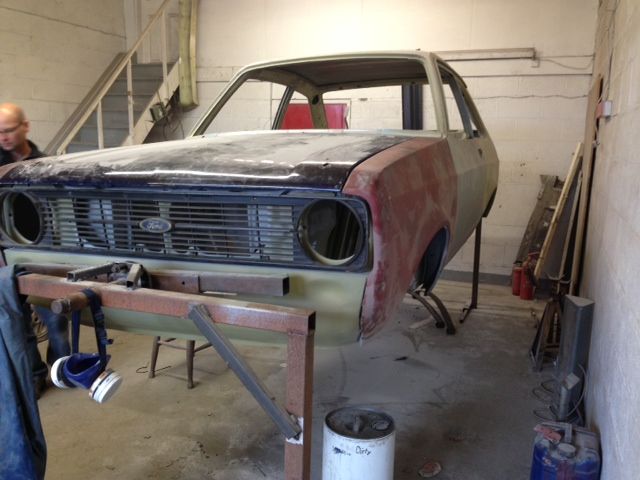
still i feel better knowing its getting closer all the time.
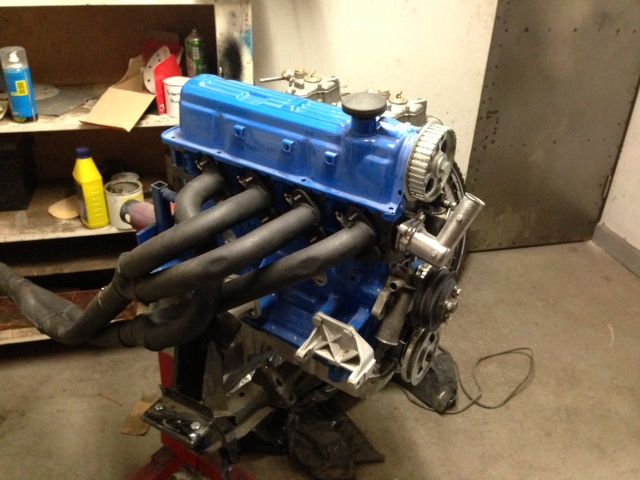
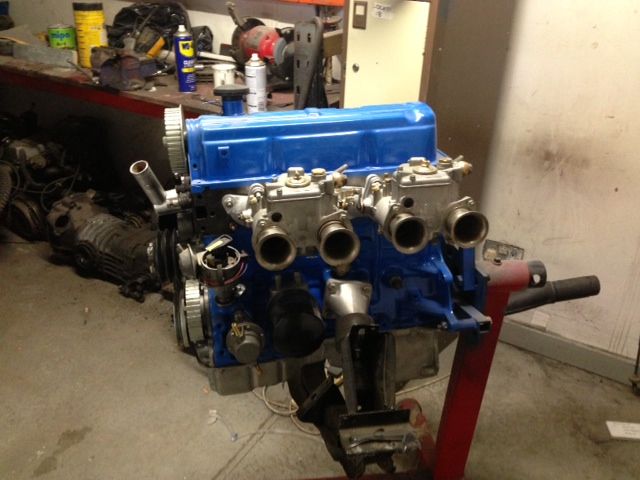
Also managed to pick a few bits up at the lakes, managed to pick this 3 piece manifold up at the lakes but looks like i might have to mod the crossmember slightly to fit it and possibly the servo tower???Anyone come across this?
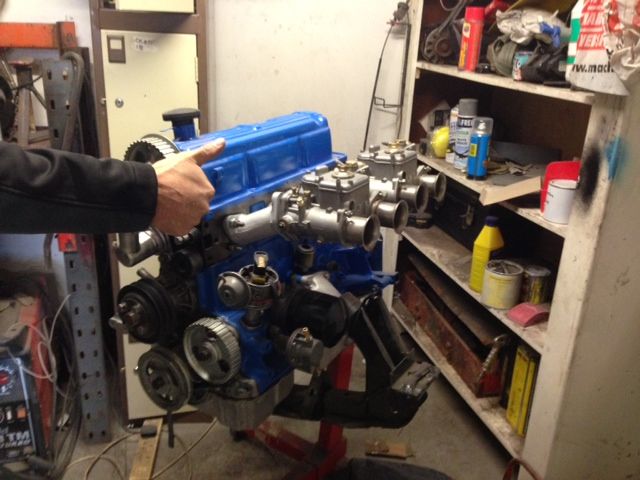
And couldnt resist a pic with the carbs on
Hoping i might get back on with it later in the week as got a few jobs to finish off on the wifes fiesta, had to borrow my mates ramp to fit a new driveshaft seal last night lol

Leave a comment:
-
good to see more progress
always great to get near the end .Leave a comment:
-
Top job as always mate, keep at it. I plug welded my sills from the inside.Leave a comment:
-
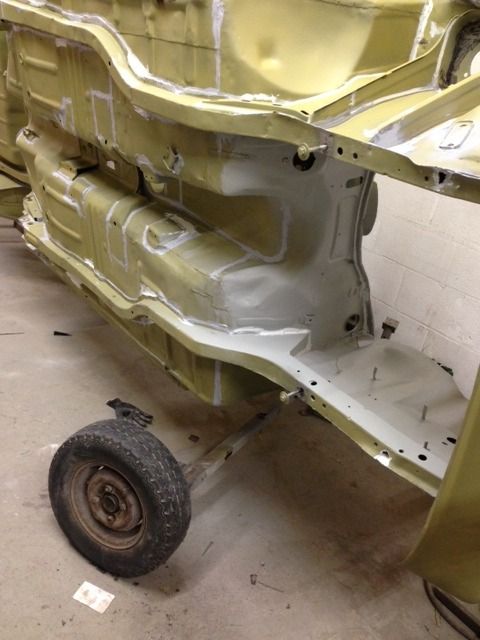
bit more time tonight, couldnt be bothered grinding welds up on sill so made a start on seam sealing everything before the spray on rubber sealer gets applied.
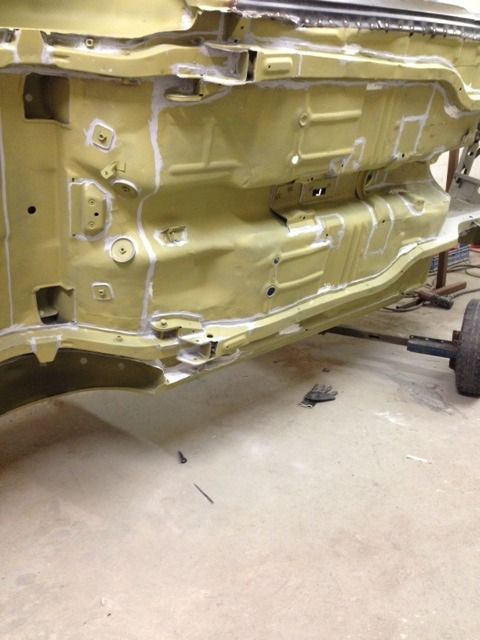
Mainly just the sill bottom to seal now and around the rear tubs then i get fit the wings up, weld them on and spray sealer and paint the full underside and engine bay
Leave a comment:
-
Mated to get a couple of hours in this afternoon after work, got that shitey sill off the driver side I wasn't happy with then got the new one fitted, really need some more time on the car it's frustrating me now how long its taking.
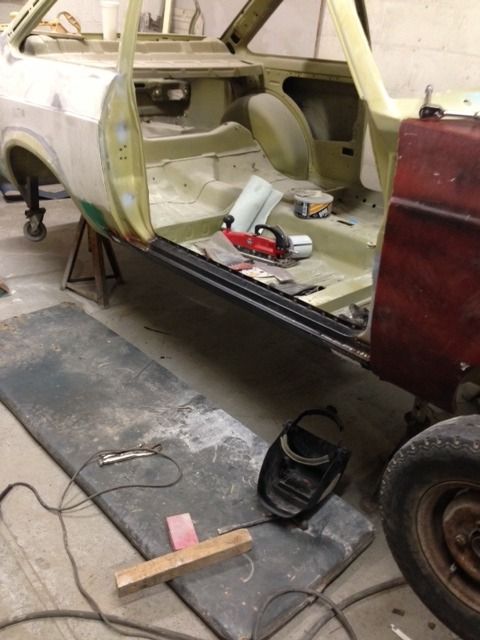
Hopefully be on the road before I retire lolLeave a comment:
-
Coming on nicely mate, you dont want any sewage in there , but im sure you will get the swage spot on
Leave a comment:
-
Not much of an update as I've been very busy At work but did manage to shape the quarter up a bit more, mainly just need to dolly the high bits up now and then skin over with the some nice fine filler, hard work blasting the bodge down with the long block by hand but should look nice and straight by the end. Getting the sewage lines right is hard work for an electrician as far as I'm concerned!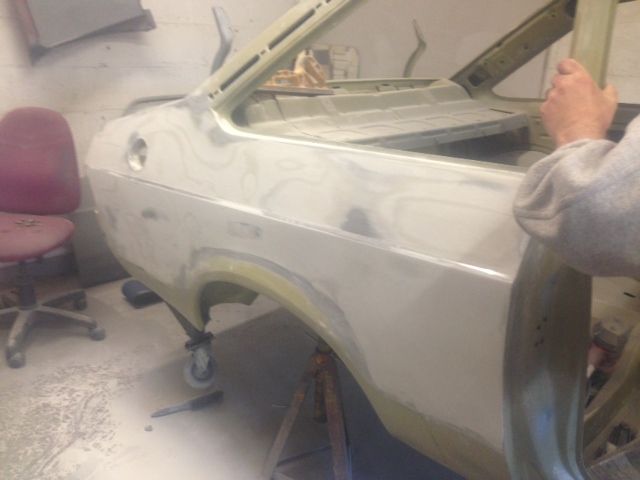
Leave a comment:


Leave a comment: