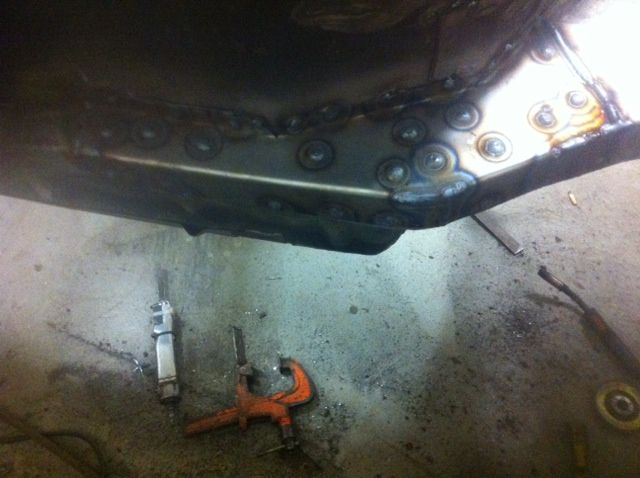
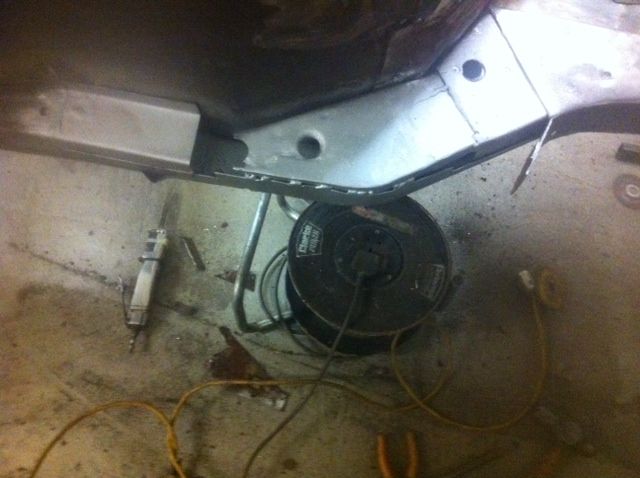
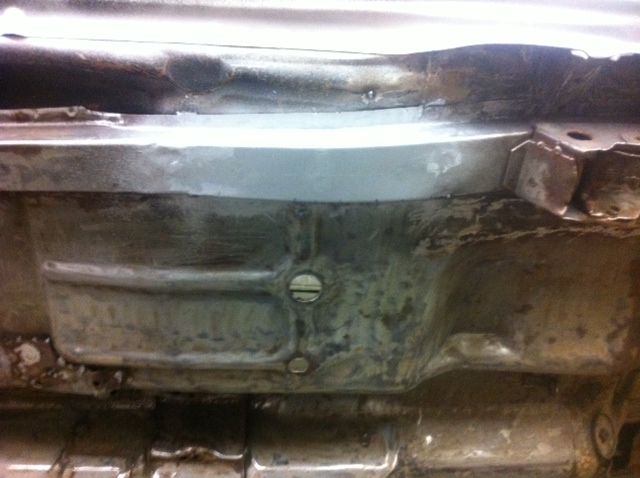
Never got as much time on the car as i would have liked this weekend but did manage to get a bit done today. Removed the top hat strengthener and removed the old rotton lumps of front and center chassis leg then repaired the front part of center chassis rail
Cut the new outer piece down to size and fitted it up.
Not bothering with jack holes as i think its just one more hole for water and dirt to get in. Then spun it over on the spit and removed the inner part of the chassis, made a small repair to the thicker part behind as it had a bit of grot on it then weld through primered it.
Just got this repair section to fit on this side now and then weld top hat strengthener back on other side. Im glad i used the thick strong steel for this but it is very difficult to work with even with a folder and guillotine.
Didnt get much done tonight as i had to put a cv joint and drop link on the van but did take a cardboard template off the inner front leg and quickly knocked up a repair section.
Should fit ok i think will double check the measurement tommorow. Think im going to drill off the top hat strengthener and put the full new piece in to the factory join.
Hopefully the one template should do the inner and outer for both sides with a little modifacation, i think it took longer making the template than the repair section
Cheers for that mate I no there supposed to have drain holes in there and I'm also planning on blanking the hole off inside the rear shock mount area as any wet and dirt can go straight down the chassis leg from that area.
Really nice repair, I did something similar recently but nowhere near the standard of your work. I hope you dont mind me making a comment but dont forget the drain holes, its the lowest point of the chassis rails so any water is likely to sit there.I put two in just to make sure.
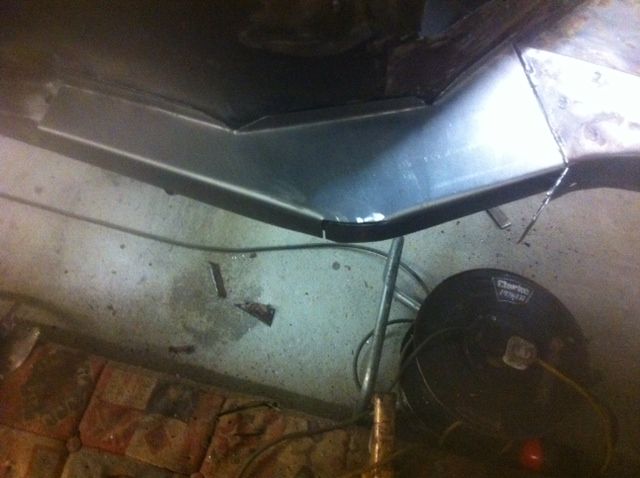
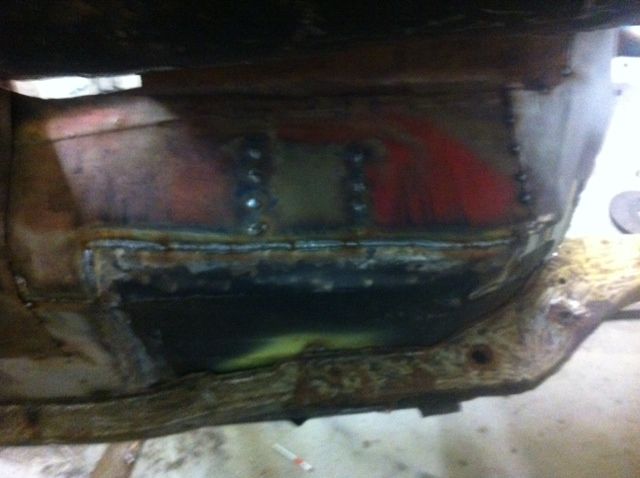
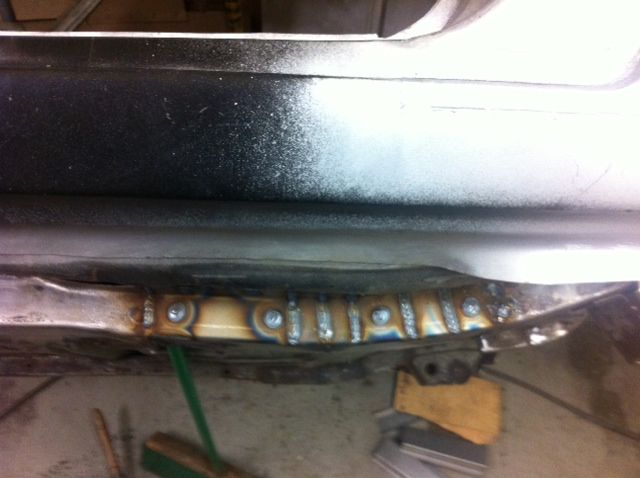
Had another mad hour tonight, finished the rear leg repair
Im very happy with it i think it looks much tidier than my initial idea. Then turned the car over and welded the other side ready to clean up now
Then decided to trim the tunnel up and weld where i cut the old floor pan off the tunnel
Just about out of mig wire so thats how i left it, hoping machine mart will have some 0.6mm wire tommorow afternoon, it will be 5kg roll number 3 and hopefully the last on this car for a long time fingers crossed
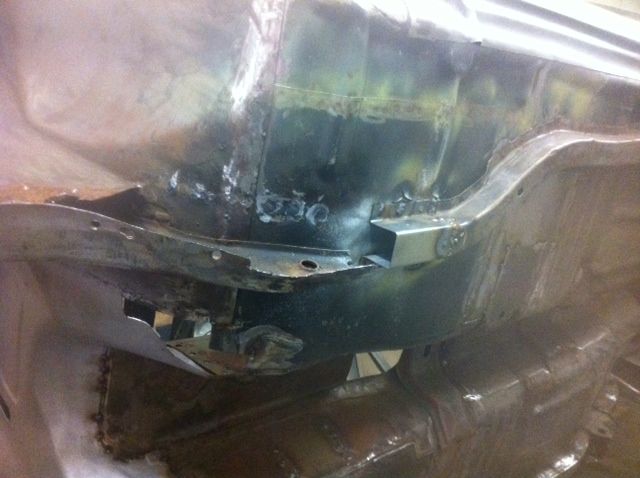
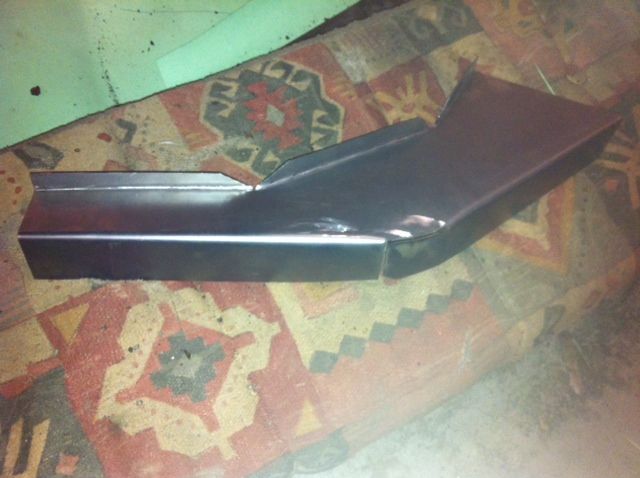
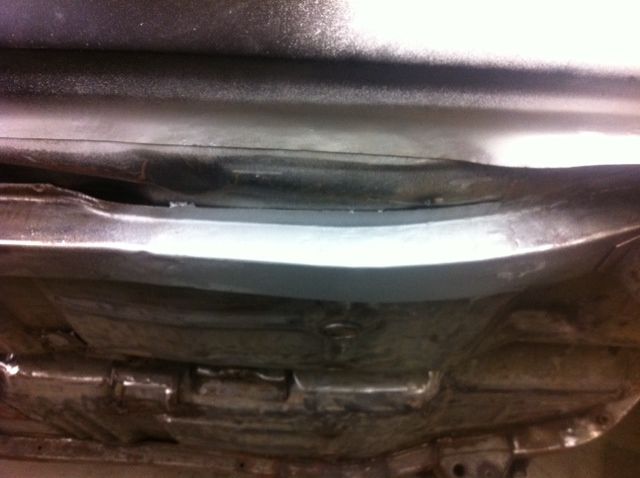
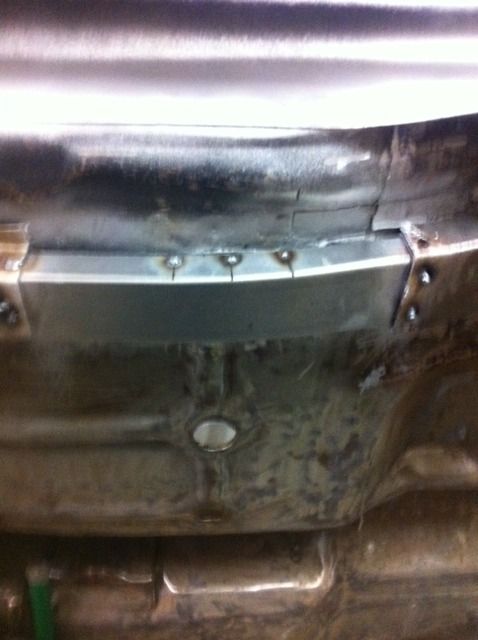
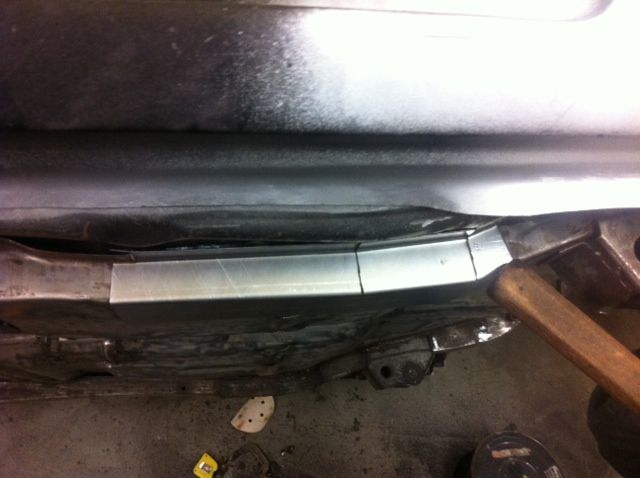
Well today i decided that last nights work was a waste of time as i wouldnt have been happy with the repair being sat on top of the chassis leg so after work tonight i set to and made some more pieces
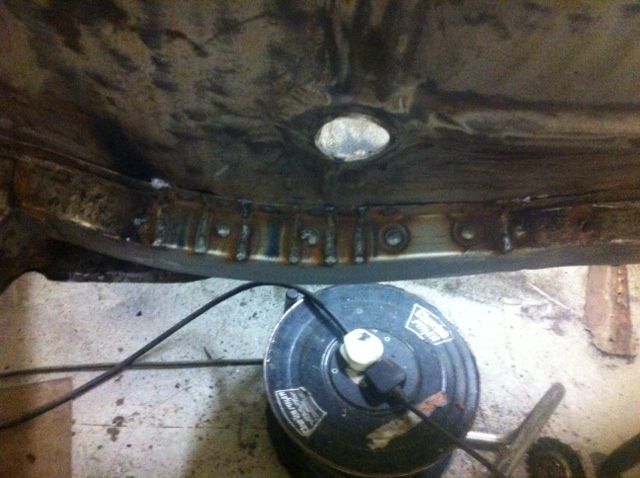
This time they are the same size as the chassis so although its not as factory it will look better IMO and less chance of damp/dirt ingress as the chassis will be a continuous piece rather than the usual factory join that is prone to rotting. Started by drilling some extra holes in the chassis at either end and put the extra strengthener inside
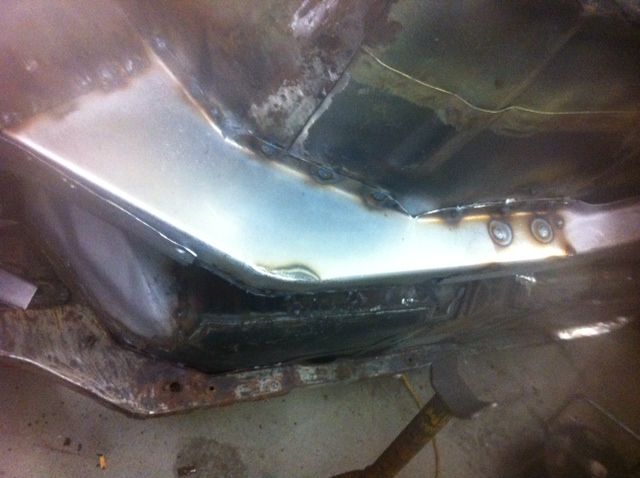
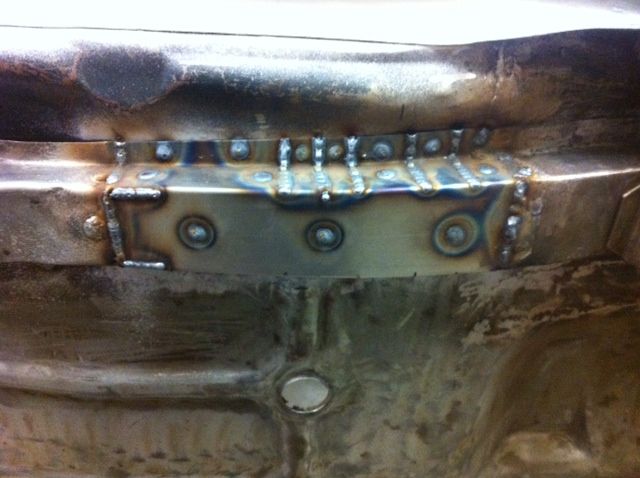
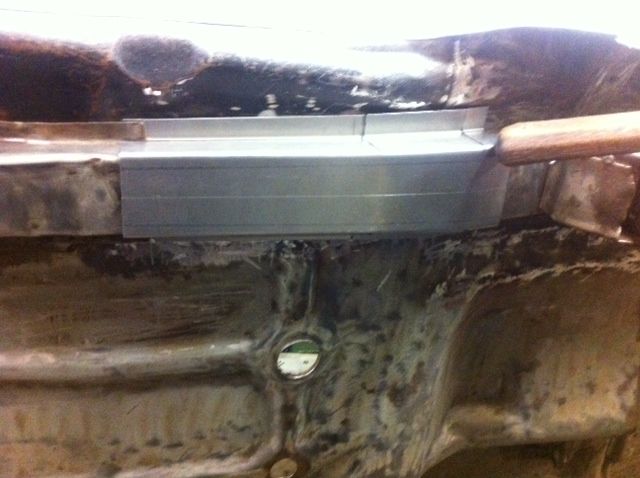
Then cut some slots in the outer repair section so that it had a nice steady curve on it, then drilled lots of holes in it to attach to floor pan and the inner strengthener and welded it all up, will spin the shell on the spit and weld the other side rather than try to weld it upside down. Its very strong now and should clean up nice and hopefully not look to out of place done this way.
Shouldnt be too noticeable once the spring skids are on. Im quite happy with it much better thasn the tin that was clagged over the crusty bits. This could sound crazy but im actually looking forward to repairing the front chassis legs as il feel like ive cracked it totally then and they look pretty easy to make.
Last edited by 13sport; 28-11-2012, 22:13.
Reason: .
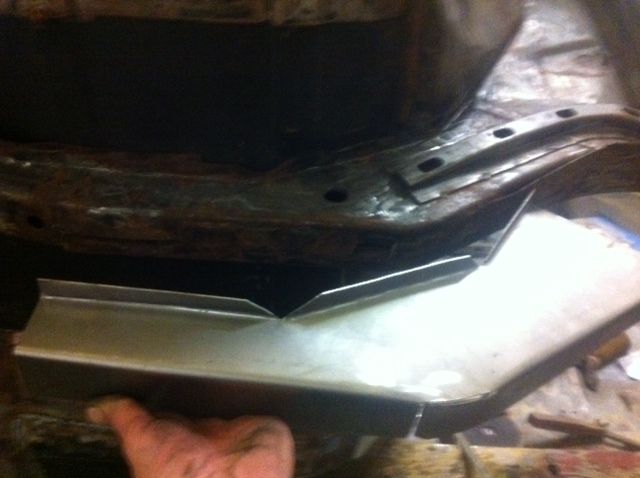
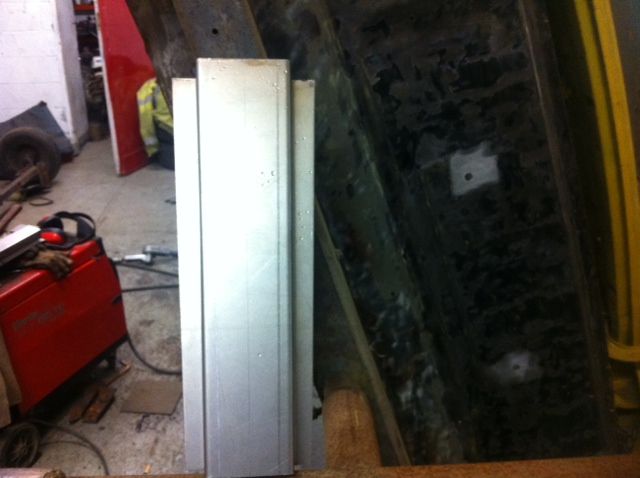
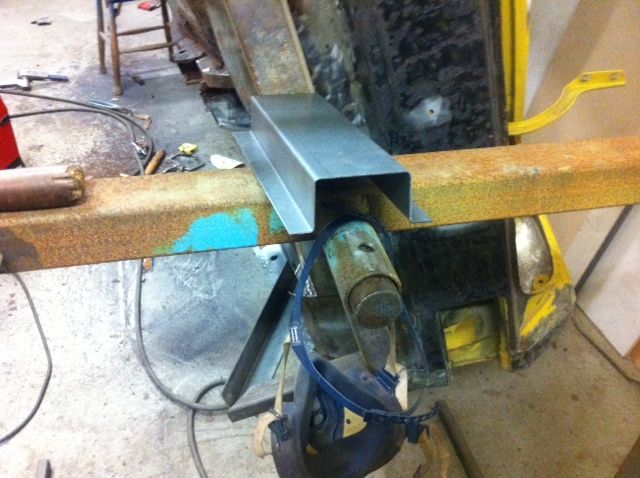
Started to fold some repair sections up for the rear chassis legs tonight, made 2 over sized slightly so they fit tight over each part of the chassis leg, also made some repair sections up to sit inside both parts of the chassis leg as an extra strengthener
Plan was to weld the two in place then drill some holes and plug weld everything together so its super strong.
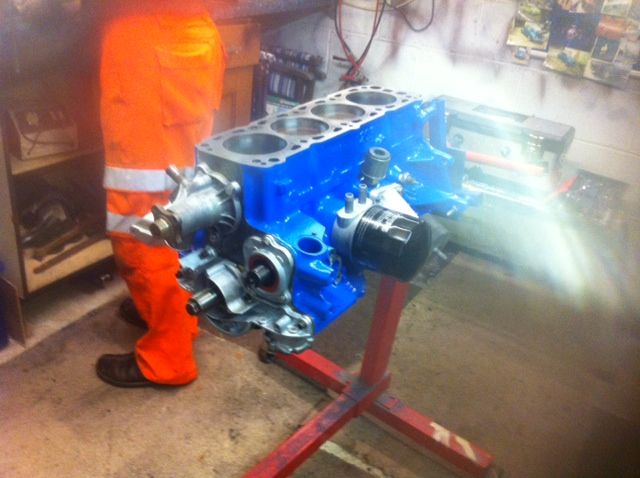
 and your engine is looking good too.

Leave a comment: