Announcement

Collapse
No announcement yet.

Project Mouse. Mk1 Escort build.

Collapse
X
 
  • Filter
  • Time
  • Show
Clear All
new posts

  • #31
    put it in the boot, gives loads more room for faffing in the engine bay
    sigpic

    Comment


    • #32
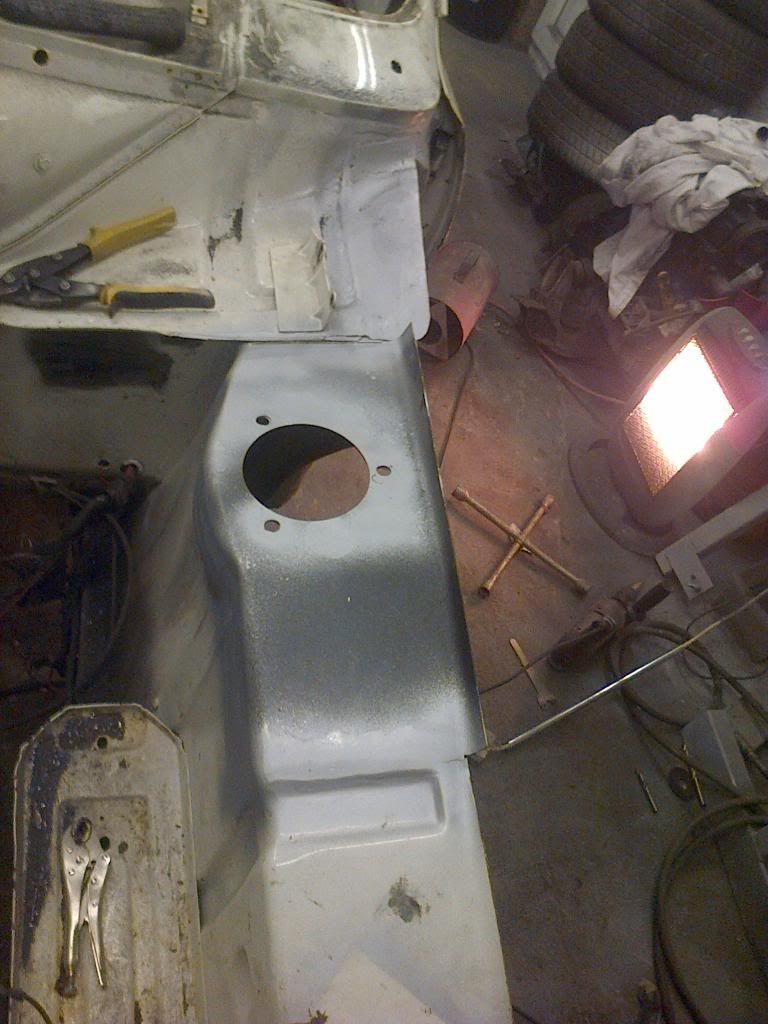
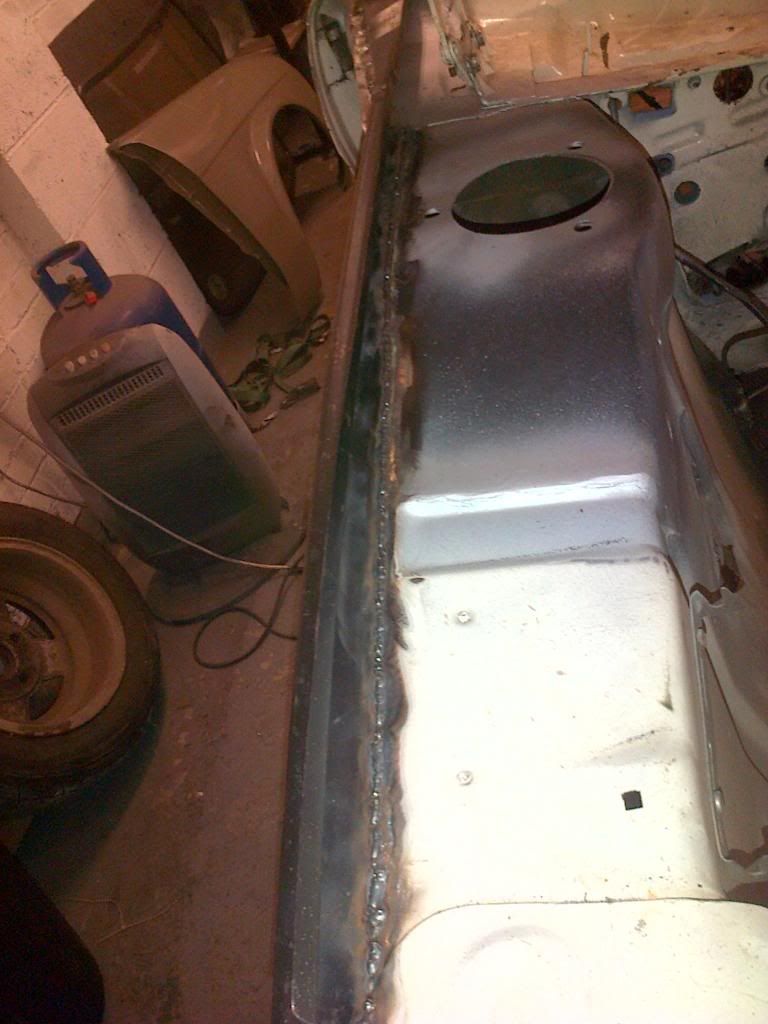
      Well, one side is almost done. Holes dont quite line up for struts but its onlt a mm or so. Aftermarket panels I guess!


      Comment


      • #33
        Managed to get some done this weekend.

        First I did the repair section to the N/S inner wing like I did on the other side.


        Then after some measuring and offering the wing up with the bonnet back on I managed to get the O/S wing mounting band and flitch panel mounted and welded in place.


        Hope to get the other side mounting band on this week then Start on the passenger floor.

        Comment


        • #34
          comeing well now m8.
          at least u will no ur car inside out when u finshed.
          dav

          Comment


          • #35
            Cheers mate. I'm getting back into it now, I left it over a month before Xmas!

            Comment


            • #36
              Little update

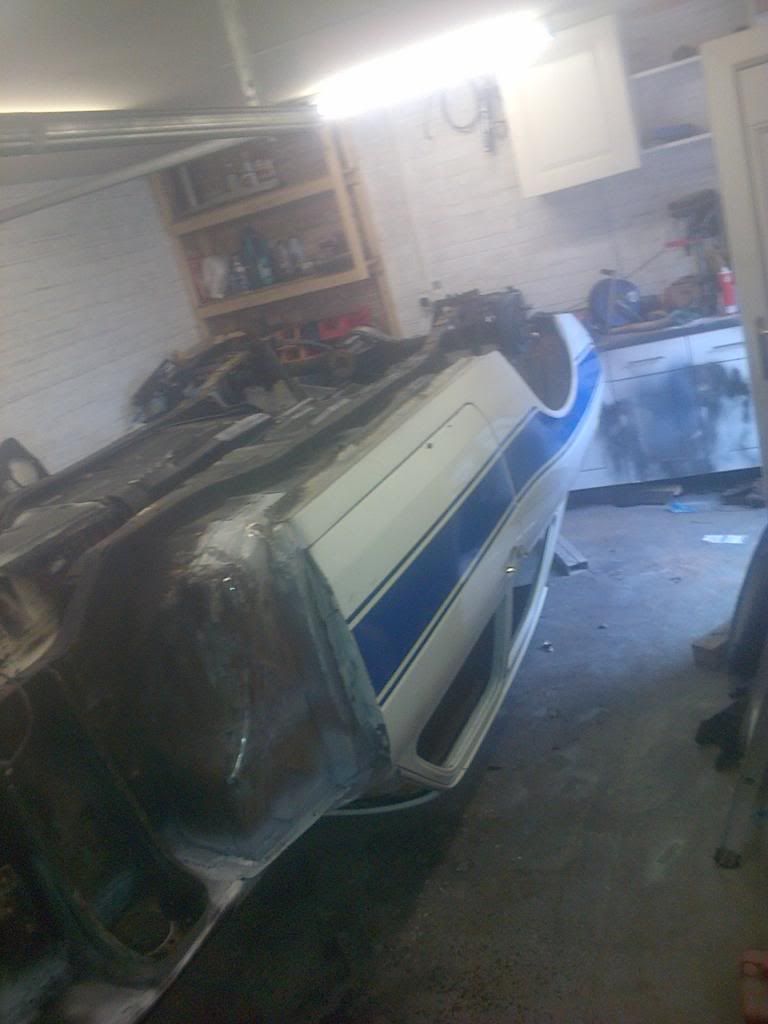
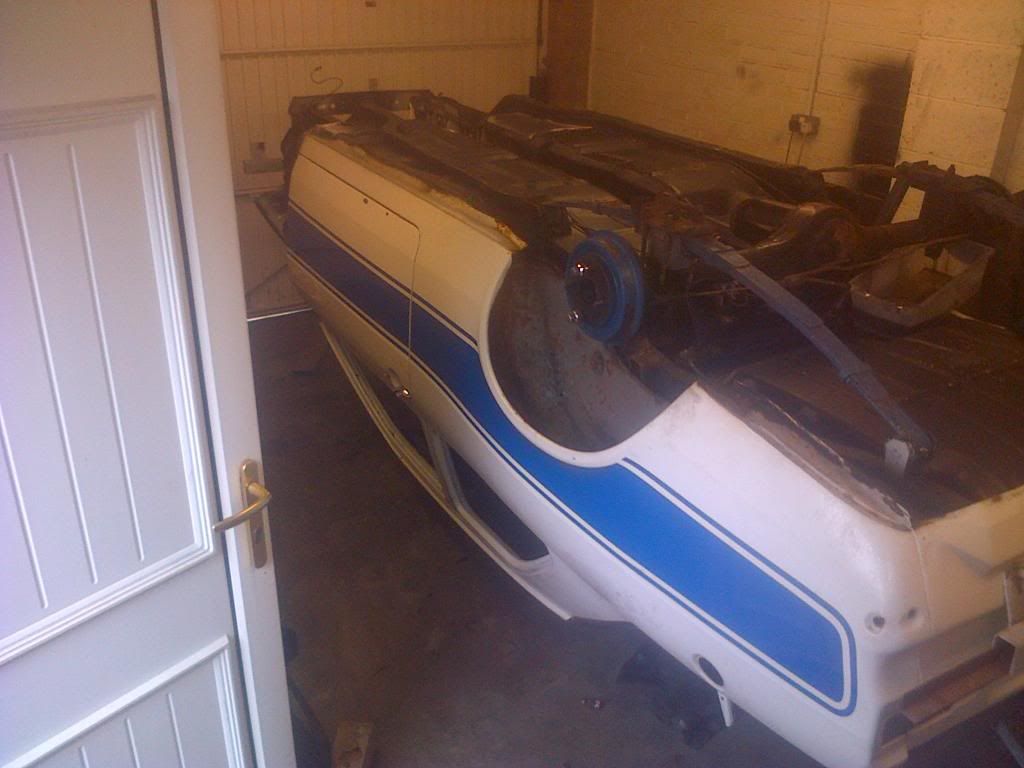
              Done a few small repairs to the floor and inner wings etc. Now I have it on the spit to do the underside. One or two repairs is all it needs! Quite happy!


              I've left the axle on so I can position the anti tramp bars/brackets and weld them in place. I will then remove the axle so the shell spins easier and proceed with the repairs and clean up/paint of the underside Sounds easy

              Comment


              • #37
                must of been awkward to spin it Lee lol.

                you stripping the underseal off and re doing it Lee.

                doing a good job as usual.

                Dave.

                Comment


                • #38
                  I had to put a long bar through the spit cross member to pull it around Dave with the axle on! I was quite nervous about it as with the Mk3's nothings ever been left on them!!

                  Yes, all will be stripped, repairs done then Ill etch coat it, Gravitex it and paint it black I think! I dont think Im going colour underneath, just black.

                  Comment


                  • #39
                    Nice work there Lee. Good to see it coming together at last.
                    Keep it up!!
                    sigpic

                    Comment


                    • #40
                      Thanks Mick! I'll be in touch soon about that rear window

                      Comment


                      • #41
                        Getting there Spit's can be worrying sometimes.
                        Autumn Has Arrived by Kevin Frost, on Flickr

                        CHES'S UNDERSTUDY...........

                        Comment


                        • #42
                          Very much Kev, especially as this was built for the mk3 so I had to adapt it! Roof was about 4 inches off the floor as it went around! Seems ok though

                          Comment


                          • #43
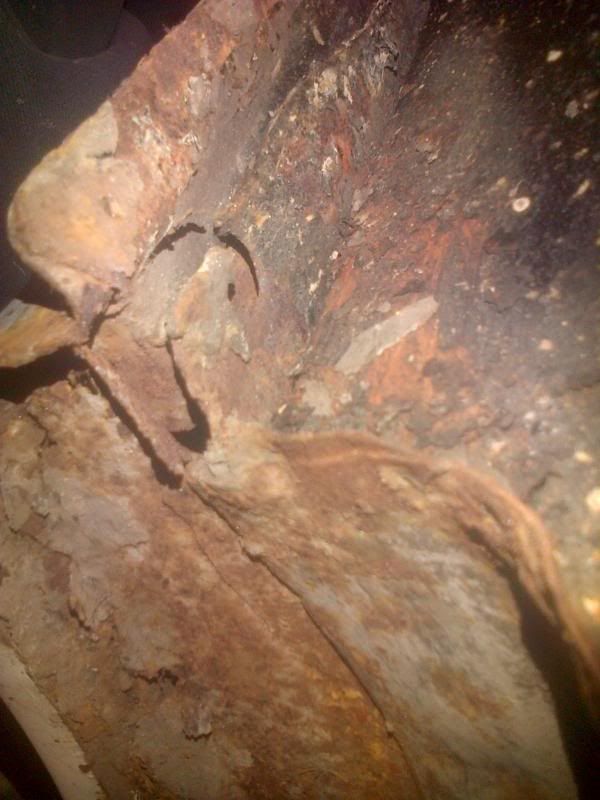
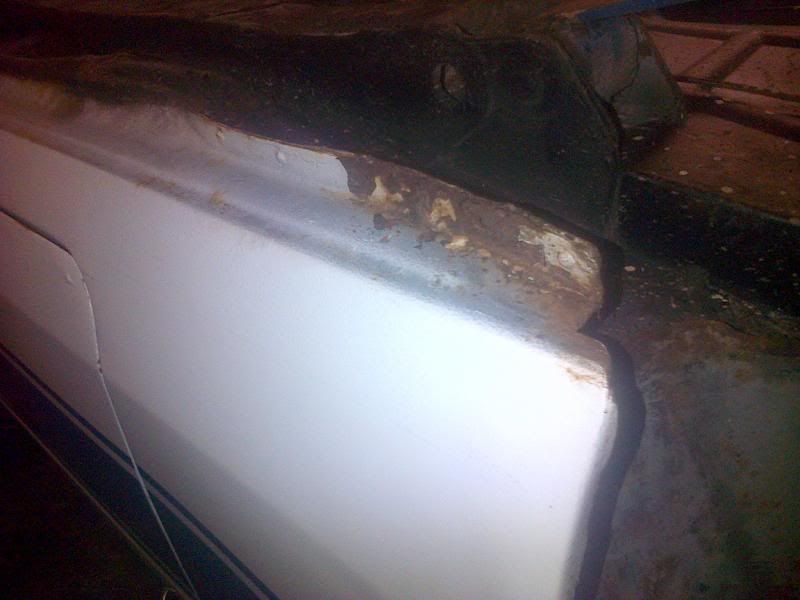
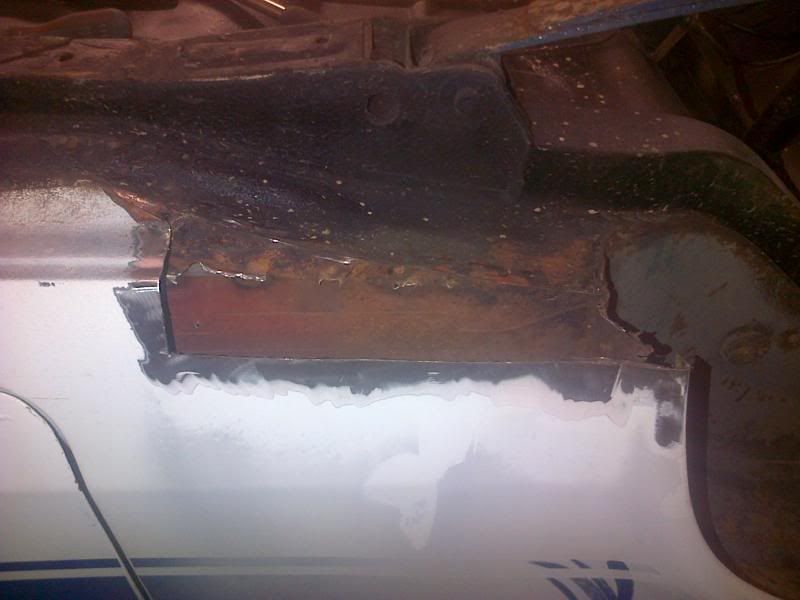
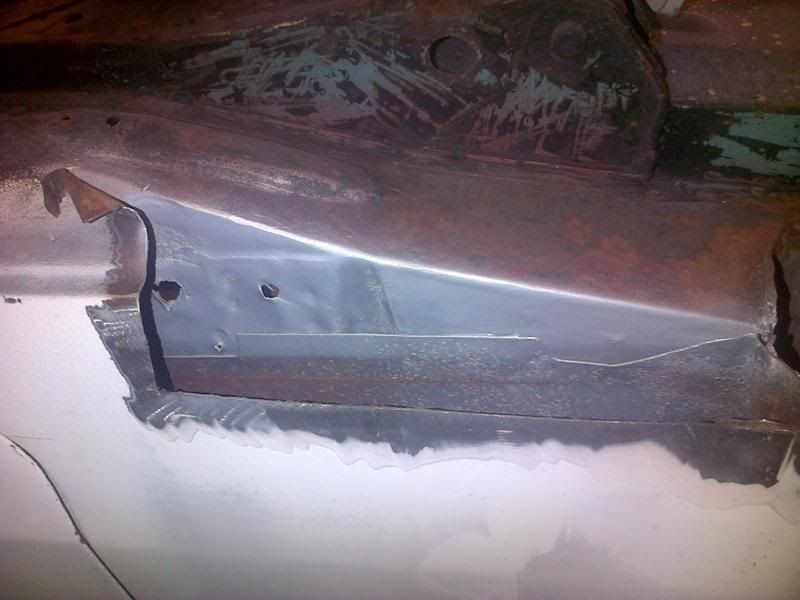
                            Managed to get a little done this weekend. The rear sill closing panels were rotten and had been 'MOT' style repaired on the passenger side but on the drivers side it has had a new sill on, you would think when they did that they would have repaired the closing panel then but they just welded a piece over it It is a jacking point there too so it had squashed!
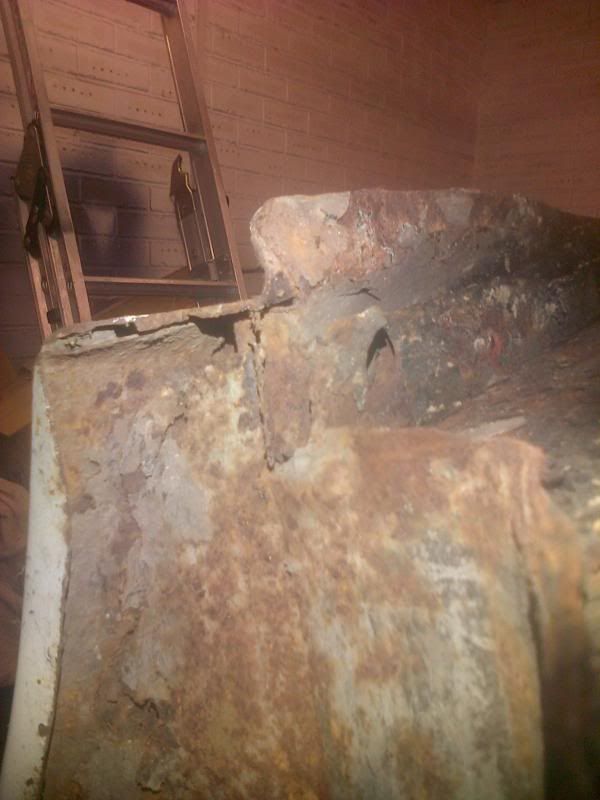


                            So I cut the sill away to gain access:


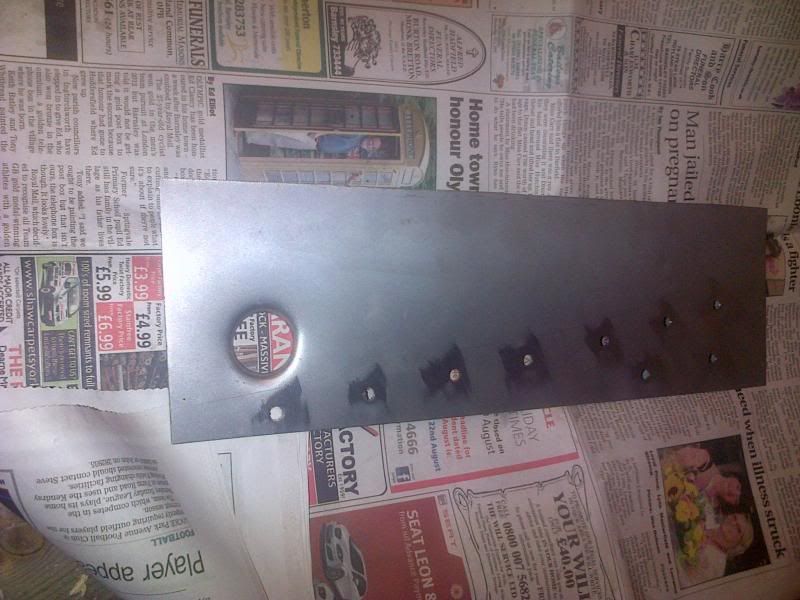
                            Then prepared the area:


                            Made a new closing piece, slightly bigger to trim down when sill is back in place:


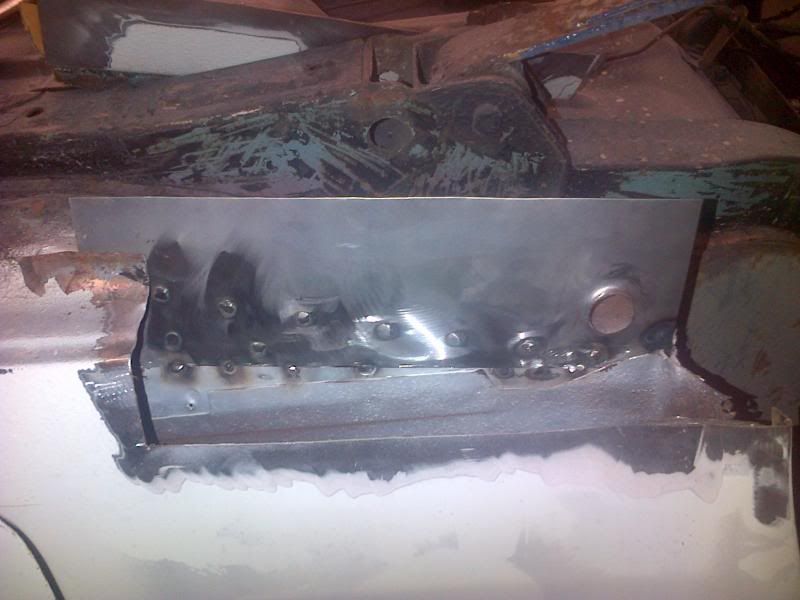
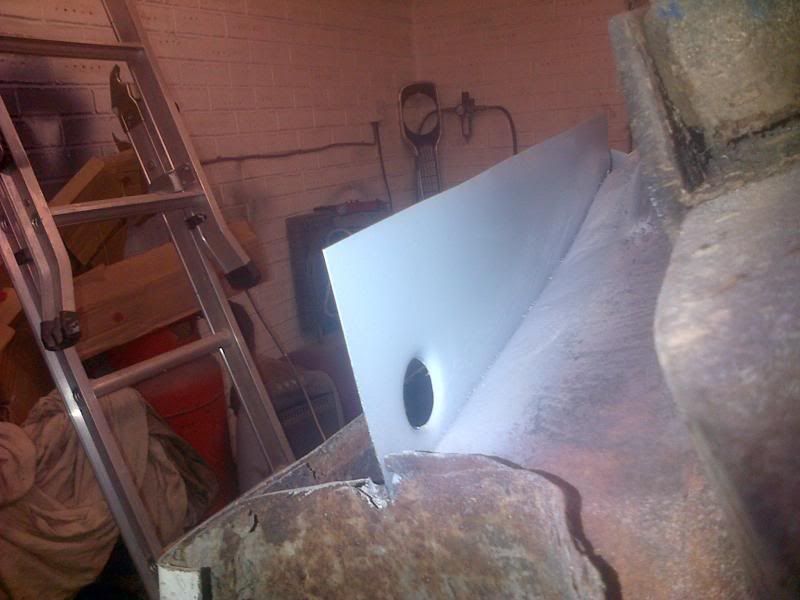
                            Welded in place and zinc primed :


                            The passenger side will get the same along with a new sill and front jacking point later.


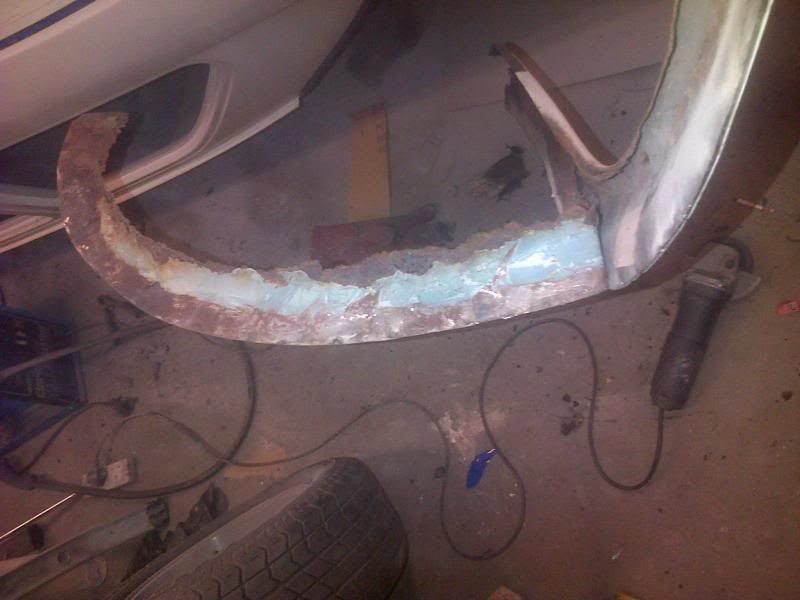
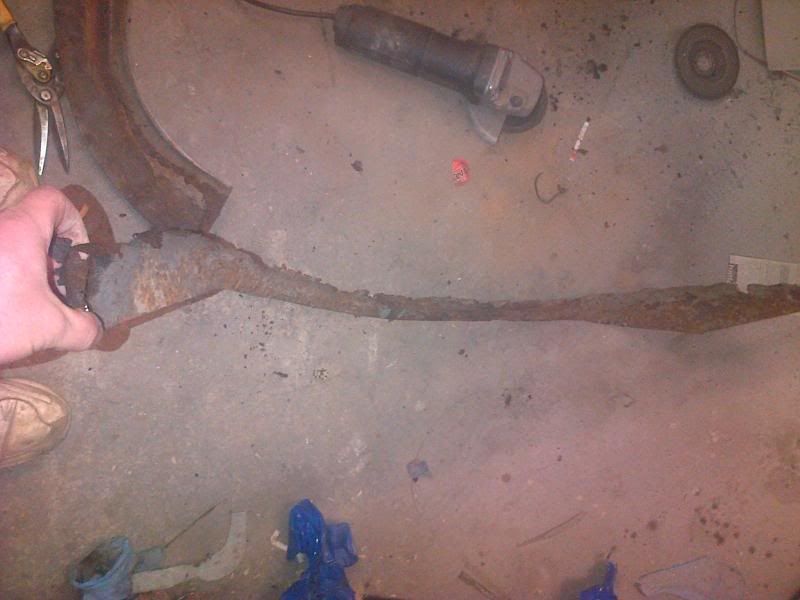
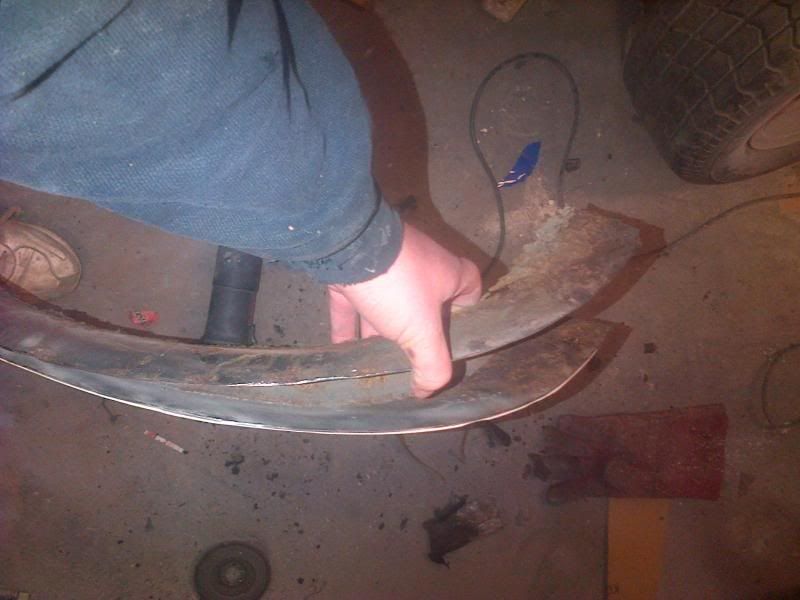
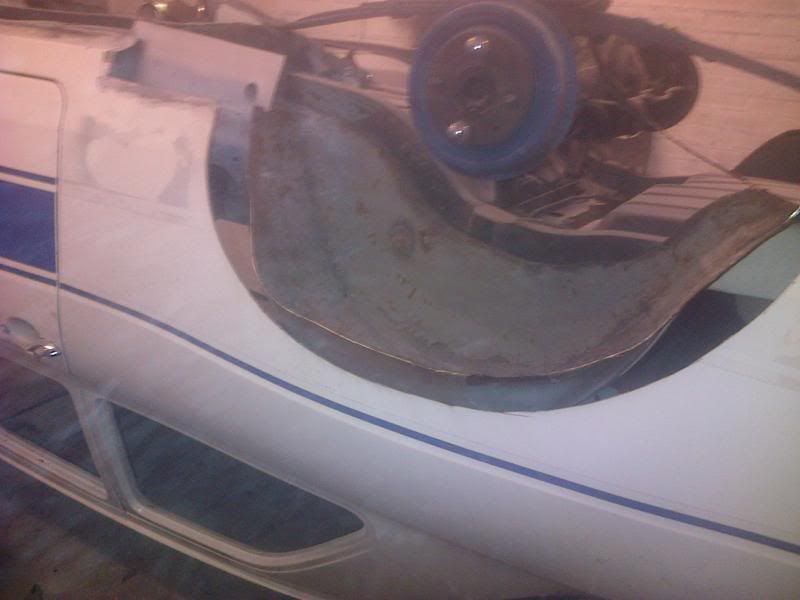
                            When doing that repair I could then see that even though the car has had new outer arches the inner was rotten! Obviously they had just welded the new arch in place and ignored the rotting inner one When I cut the inner rot away it became apparent that they had also lap welded the new arch on over the old rotten one Why do this? I understand MOT repairs being done to a lesser std, but arches are done in a restoration type manner! A lot of work goes into them so why not do it right?

                            Anyway, I decided to cut the arch off! It had not even been fully welded, just tacked and filled over Heres the result!


                            Shame about that as like Ive said its a cracking shell, so must have been even better back then! Just do things right :wall:

                            Comment


                            • #44
                              Nice work Lee, will be a solid job when you have it done mate.

                              If you want it, get it, before someone else beats you to it.
                              www.escortmk2harrier.webs.com/

                              Comment


                              • #45
                                Might as well bubble arch it now! I used 10mm copper for my petrol pipe
                                cheers Steve

                                Comment

                                Working...
                                X