-
-
Cheers guys, il add one of those to list of things to try and find then. As for the other side I guess there's some sort of grommet that goes in there that the fuel line runs through?Comment
-
Had another few hours this afternoon so while im waiting for the arch i thought id start on a couple of the small bits. There was a rotten bit around the lower corner of rear screen so powerfiled all the rot out
Made it up in 2 sections then dressed up with powerfile
Quick coat of zinc primer and its a nice repair. This was one of the most fiddly ones ive done so far as it was difficult to get in with grinder/powerfile etc.
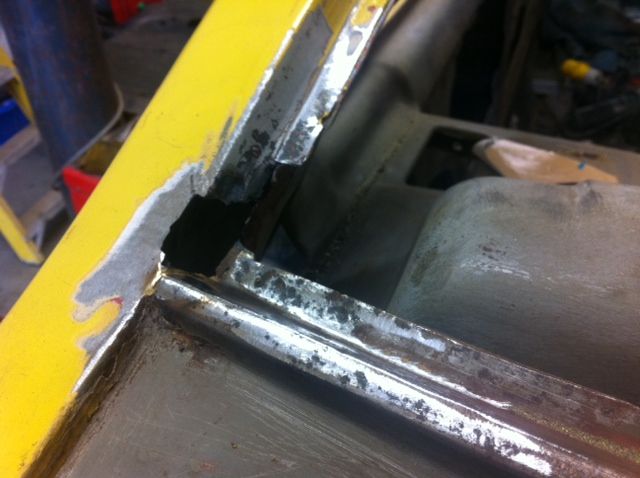
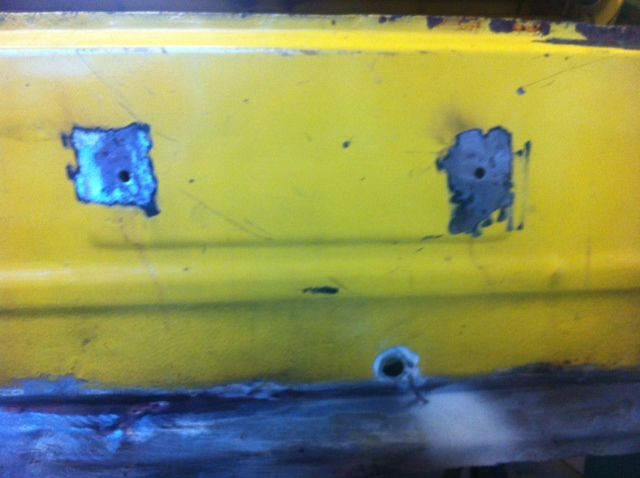
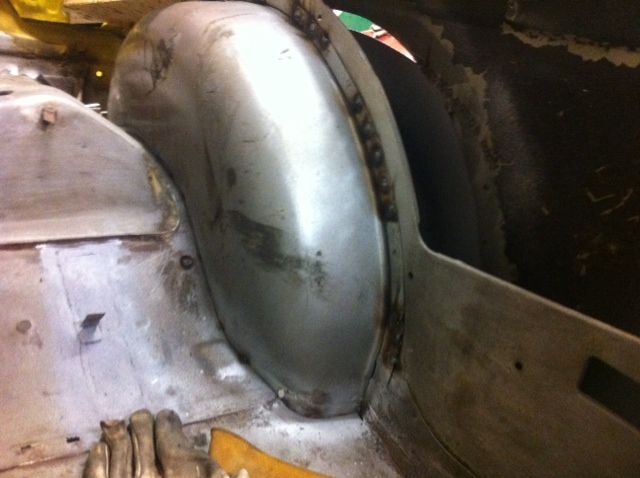
I then decided that as i cant afford a new complete rear panel id make a start on repairing what i had, first was to weld the holes up that someone had drilled when fitting so aftermarket numberplate lights
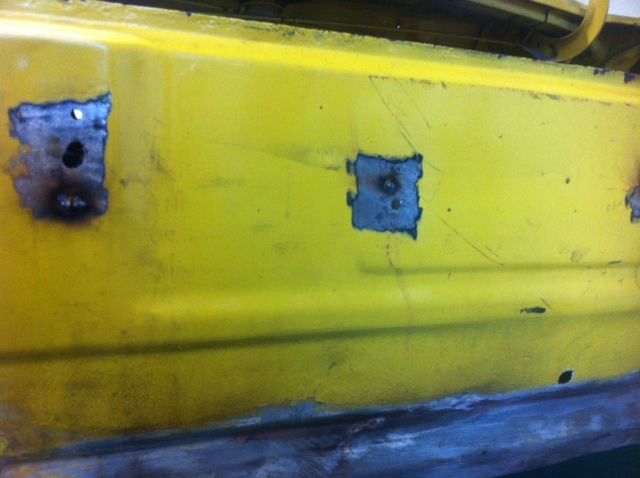
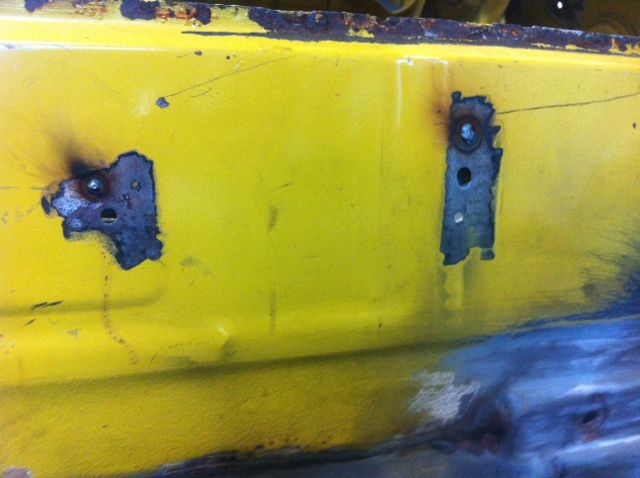
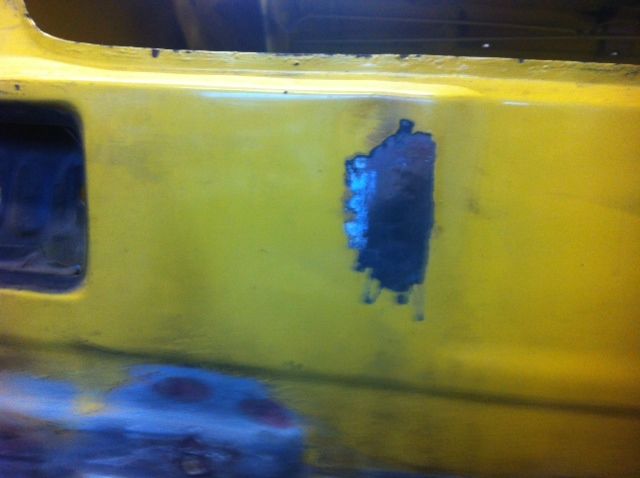
There was 2 larger holes around the number plate area, im guessing these were factory so ive left them for now unless anyone can tell me that they shouldnt be there and il weld them up to.
Got some grot to sort out around where the boot seal goes on but thats fairly straight forward. Then started wire wheeling the rear panel down, all the layers of paint came off really easy apart from the factory black it has a really good hold.
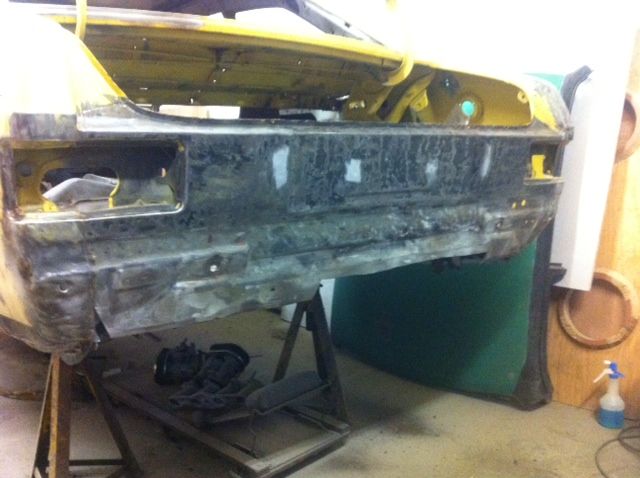
Got carried away and got half the quarter done too, not to much old paint to get rid of now
Comment
-
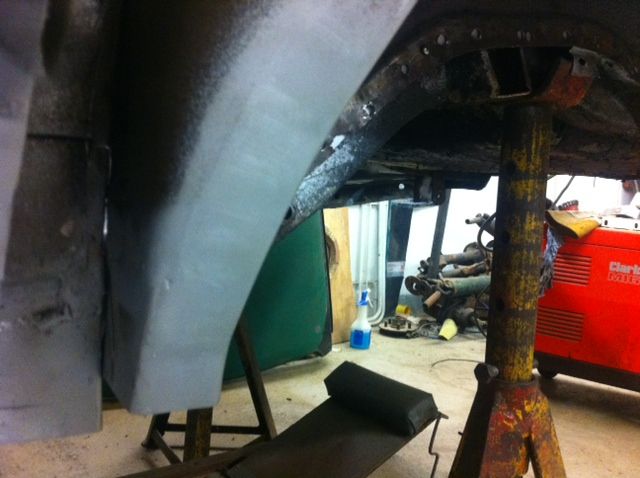
Got the arch off expressed now so started fitting the outer arch up to the correct measurements tonight and made a couple of repairs to the boot floor before fitting the tub, hopefully get quite a bit more done tommorow.Comment
-
Thats a nice little repair round the bottom corner of the rear window Jon.
Looking forward to seeing the latest pics of the wheelarch fitted.Comment
-
I did turn out to be a real nice repair tony even if i do say so myself.
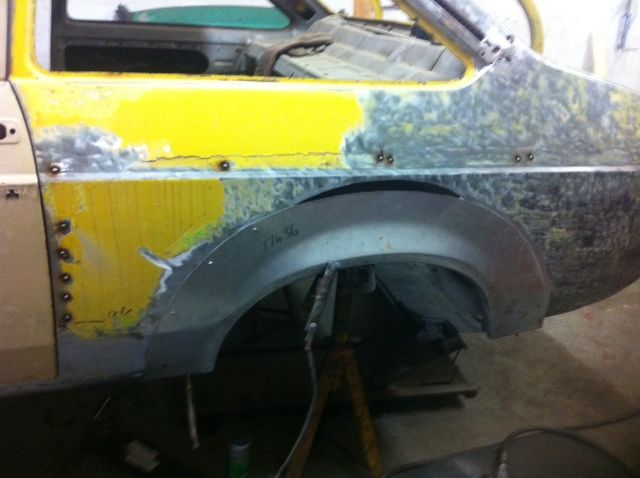
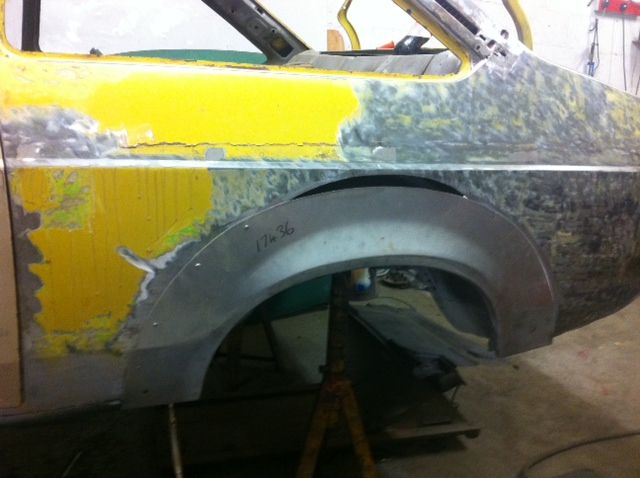
Got sometime again this afternoon so set the arch up in the correct place with some self tappers to hold it temporary.

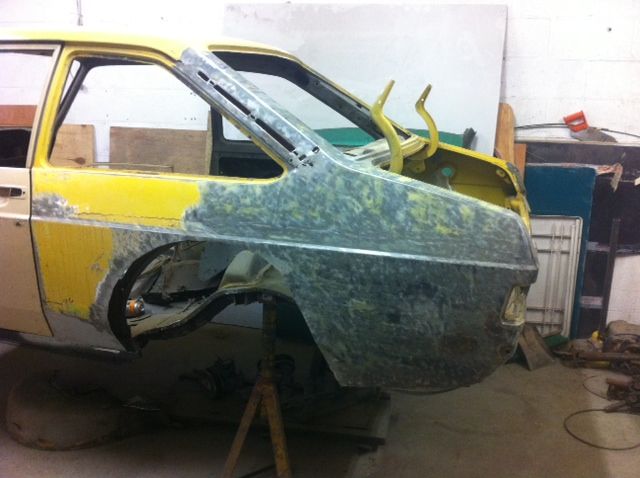
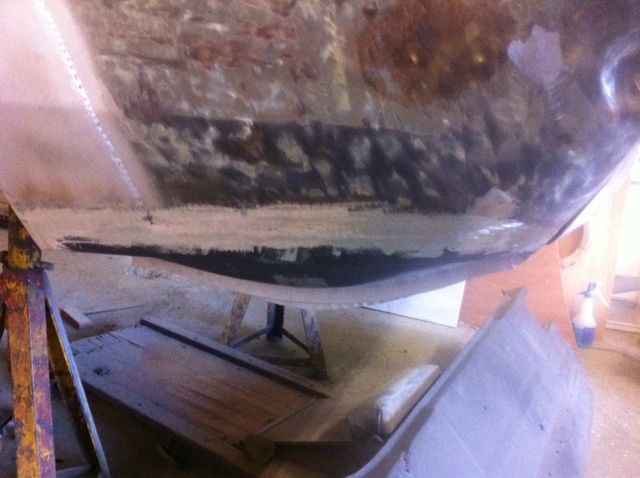
I had repairs to make on the tub but couldnt really do them until i had the wheel arch so once the arch was held it place i put the tub in and self tappered that into position to do the repairs. You may have seen in the previous pictures how ropey the front of the tub was, all i had left was this and some rust on the floor
Made this up in 2 sections, nice strong and solid now
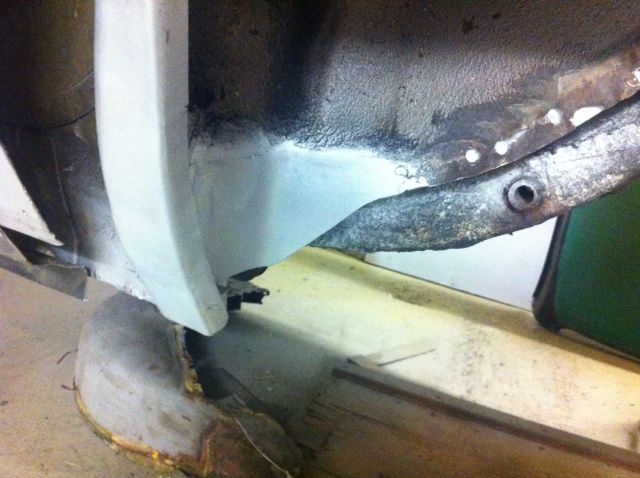
Still have a small piece to make up around the back edge where it meets the spare wheel well But as soon as thats done i can get the arch welded on and il feel like ive broke its back then.Comment
-
 Some nice work there looking good
sigpic
Some nice work there looking good
sigpicComment
-
Coming together now Jon. Would love to see it once you have completed it.Comment
-
Completion might end up being delayed as im in the process of buying my first house but it does have a garage so i might be ok. Didnt fancy doing the arch tonight so i decided id get the spit ready for getting the car on. Its a home made thinjk but is strong enough and works ok. Only problem is it didnt have any means of holding the shell in any place so i had a dig in a friends scrap bin and found a front hub off a skoda. I turned the centre out on the lathe to the same size as the steel bar then i welded it onto the bar and made a bracket to put a 12mm wheel bolt through to hold the shell in % different positions.
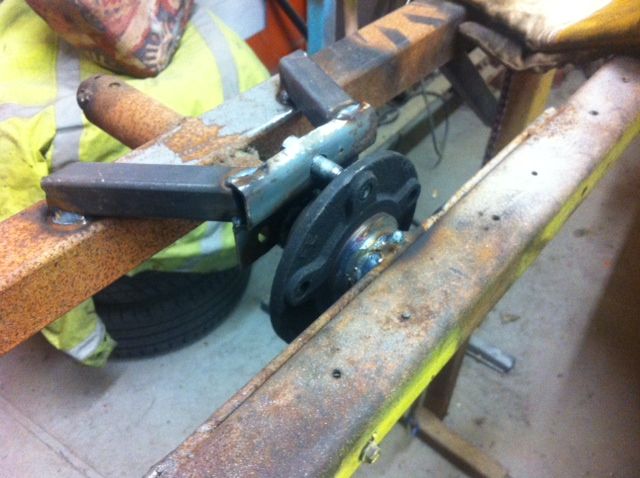
Its a bit slap dash but im hoping it shoukld be strong enough, i think the wheel bolt might be the week link and could possibly shear but only time and testing will tell. If it is succesfull i can drill and tap some more holes in the hub for more positions on the spit.Comment
-
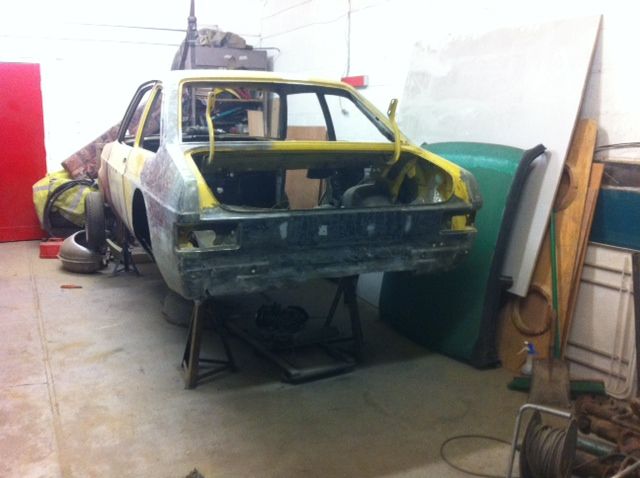
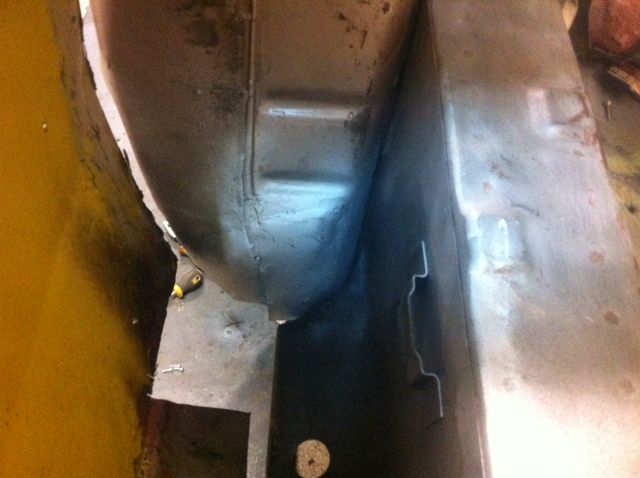
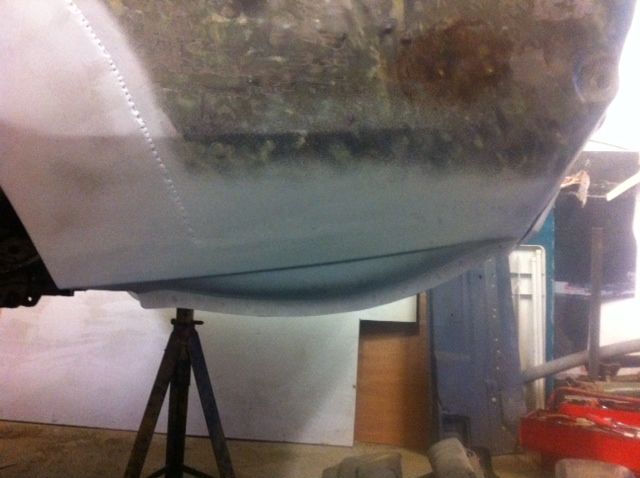
Not much of an update but chipped away a bit more tonight and got the tub totally finished, i must say i looked at it and thought thank F**K for that!!!
The tubs so far have been the most time consuming part of the build so far but now they are done and are totally rust free its a big weight off my mind. Finished the rear corner off,

Its not mint but at least its fresh metal. The inside doesnt look to bad but will need a skim of filler over the welded area if i decide to go that far.
Just need to find some time to get that arch on and finish off the lower rear corner Then i can get it on the spit.Comment
-
Well i really had my heart set on getting the arch bonded and welded on tonight but i forgot i had to go to the bank and sort my mortgage and everything else out........." hours later and my head in a spin i had to get into the garage for some sanity
My mind was a bit boggled so i decided just to leave it till tomorrow night when ive got a clear head so i spent half an hour and welded the holes up in the quarter where there had been previous screw holes
Then power filed / metal finished the welds both side so no one would ever no they were there (apart from us lot lol)
Its another job off the list at least, i trial fitted the arch again and the rear corner / spare wheel well side of the arch didnt seem to sit right against the quarter that well, its looks like i need to shrink the arch lip a touch to get it to fit right but as my cars been messed about with so much il call round a friend tommorow and take a cardboard profile/template of one of his never welded sheels to see wether the wheel arch repair panel is to blame or the lower rear corner part of my quarter. Id have been stuck without his cars to work off through this build.Comment
-
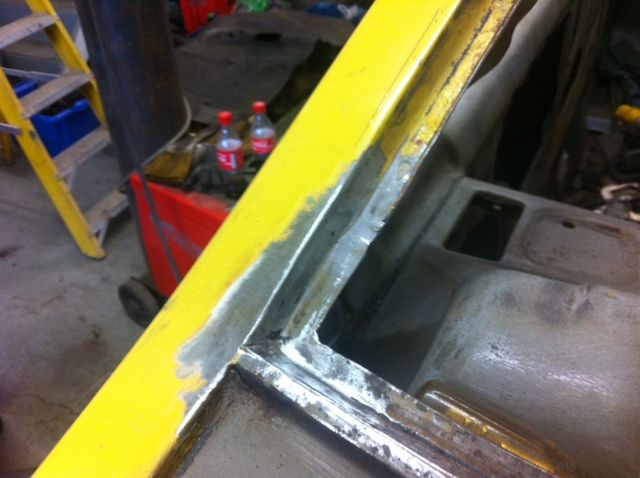
Well managed to get round my friends this morning and get some measurements of his shell, it was the arch to fault slightly so i tweaked it a touch on the shrinker, then fitted the tub in and bonded the arch on. Got a few spots on to hold in pleace
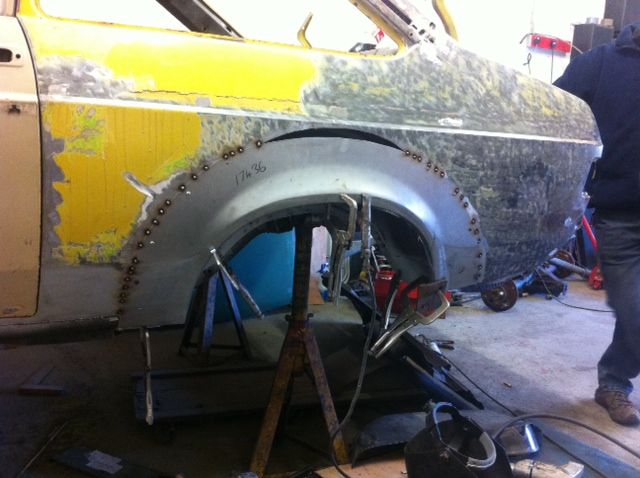
Then got the tub all welded in properly apart from a couple of welds where the clamps were, will do them tommorow when the bonds gone off.
Still need to put some more welds on but its time consuming doing a spot at a time! Also welded the sill edge to edge with arch and welded the outer sill lip to the inner. Hopefully will have time tomorrow to let the small piece in the quarter thats missing and spend an hour or more cleaning all the welds up.
A pic from the inside will look fine once its all sealed up and painted
I feel like ive got all the worst jobs out of the way now so hopefully it will come on a bit quicker now.Comment
-
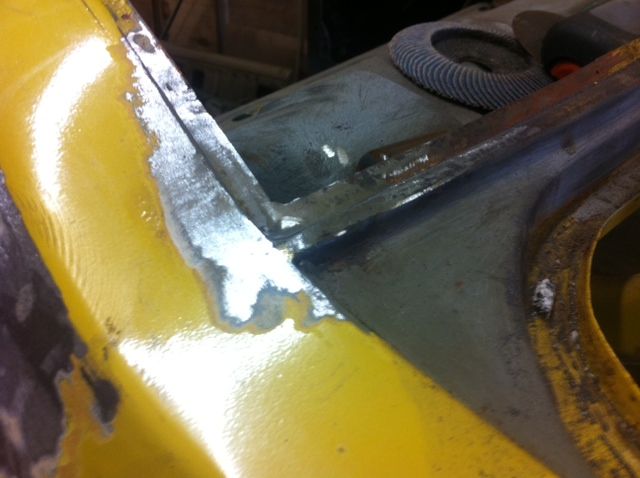
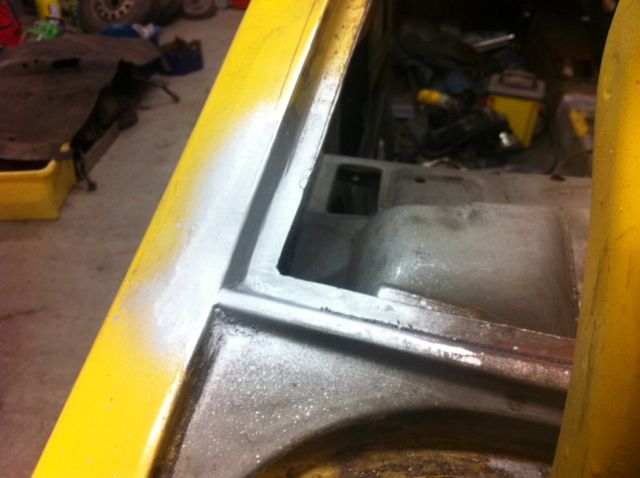
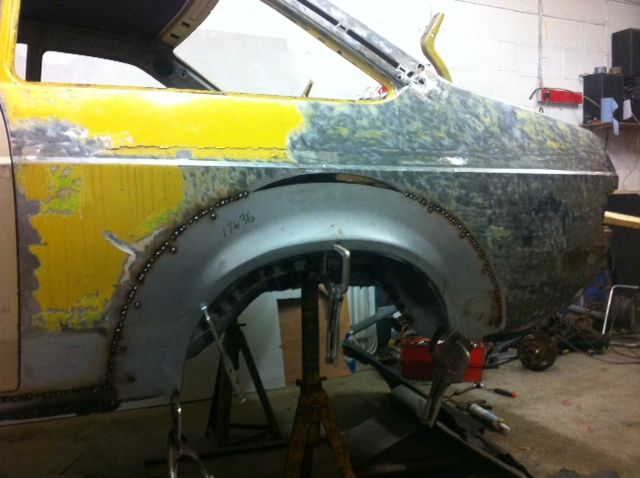
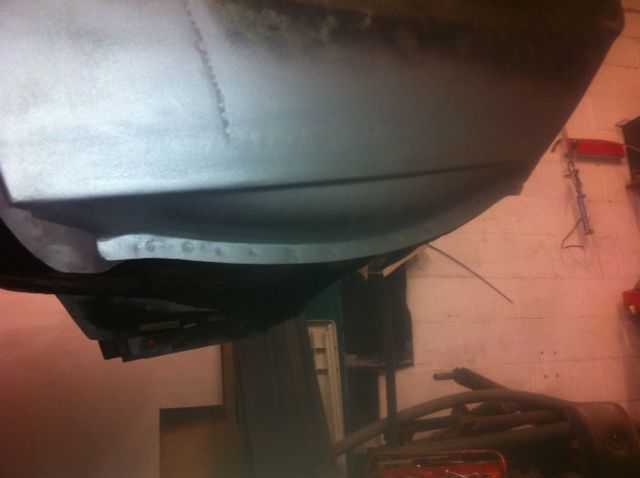
Managed to chip away a bit more today as the mrs was at work. Got the arch/quarter all finished off apart from the repairr at the bottom of c pillar, forgot to get a pic of it. Once that was done it was only lunch time so i thought id have a go at doing the lower rear corner. I only put in what i needed to so cut the panel to suit and tacked in position

I then welded it fully took about 45 minutes as i just kept doimg it a spot at a time until it was fully welded. Then powerfiled it down inside and outside
wont require much filler
lastly i spot welded the 2 lower lips together as it looks nicer than just migged on. i then dressed the 2 edges up so they were both the same and im quite happy with the outcomeComment
-
Comment
-
looking good m8. dav
davComment
 Tweet
Tweet
 .
.
Comment