 Tweet
Tweet
Hi,
After being made redundant in 2009 in decided to start working for myself. Lucky I already had a workshop that I used to tinker about in doing my own projects so I was all set. I rebuilt a few engines for people and done the odd service here and there then In August 2010 I was asked to restore an Mk2 Escort RS2000 custom, which was described as being one step away from being broken for spares.
This particular vehicle had been brought as a project to restore by the pervious owner but unfortunately due to other commitments he never found the time to give it the attention it needed. So for some fourteen years this car stood under a lean-to with the passenger side exposed to the elements before the current owner stumbled across it and decided to bring it back to its former glory.
I hope you enjoy the pictures
Arrival
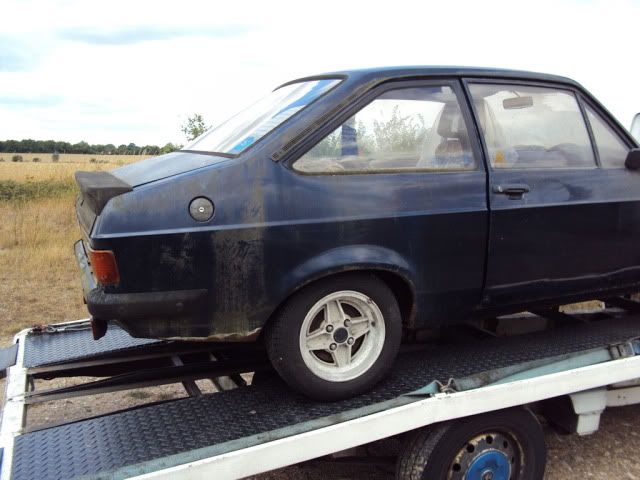
I took delivery of the RS2000 Custom. It arrived on the back of a transporters and at first glance didn�t look to bad so it was pushed into the workshop for a closer inspection.

Initial inspection
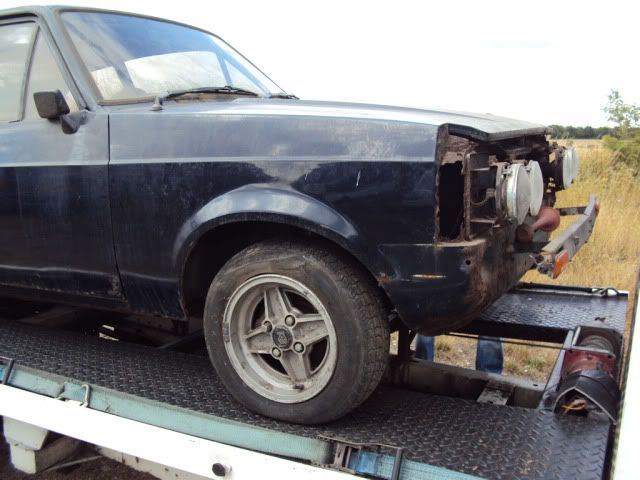
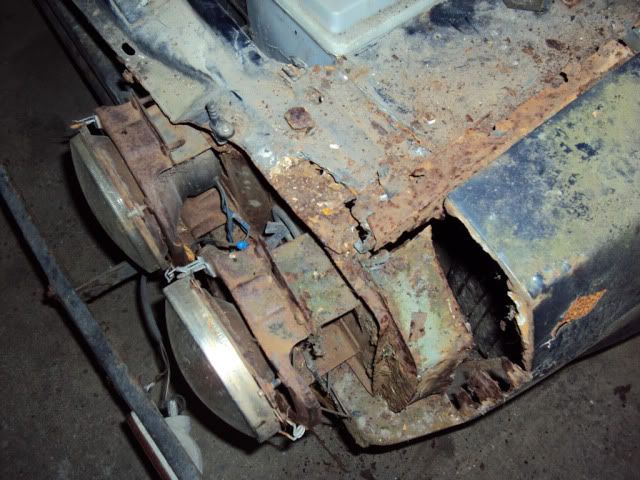
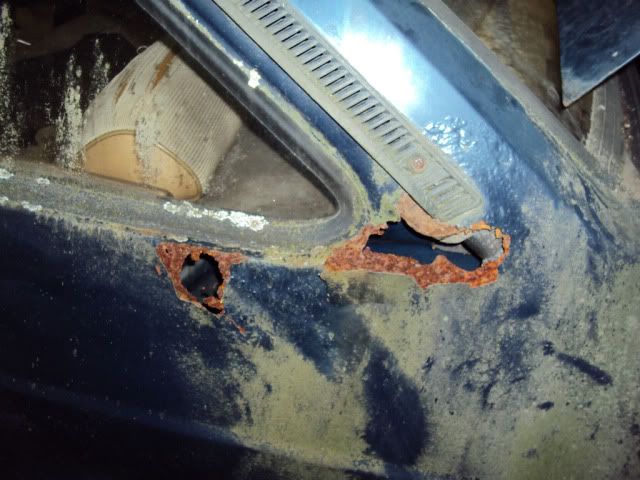
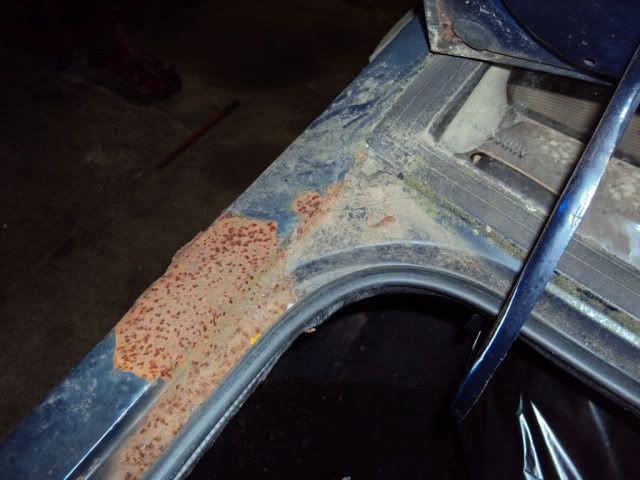
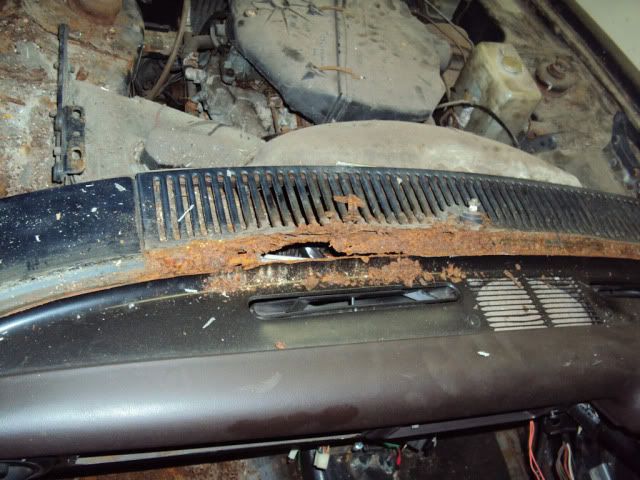
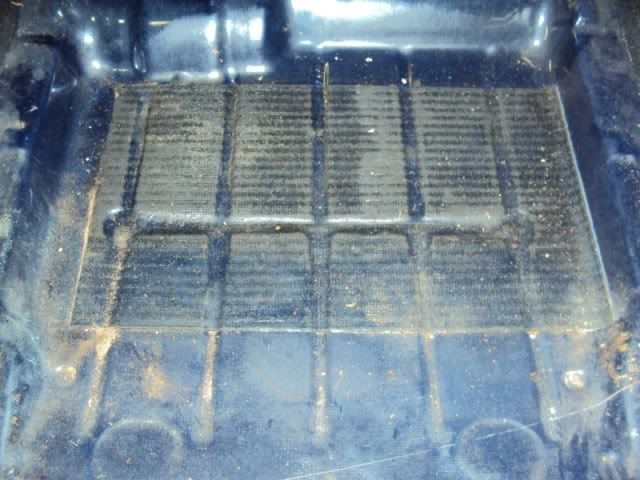
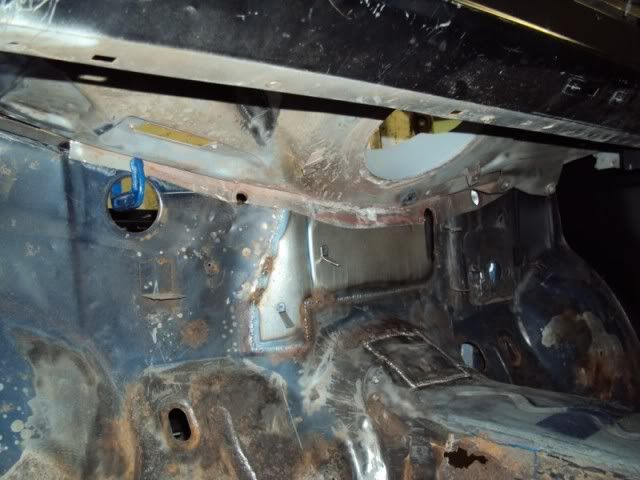
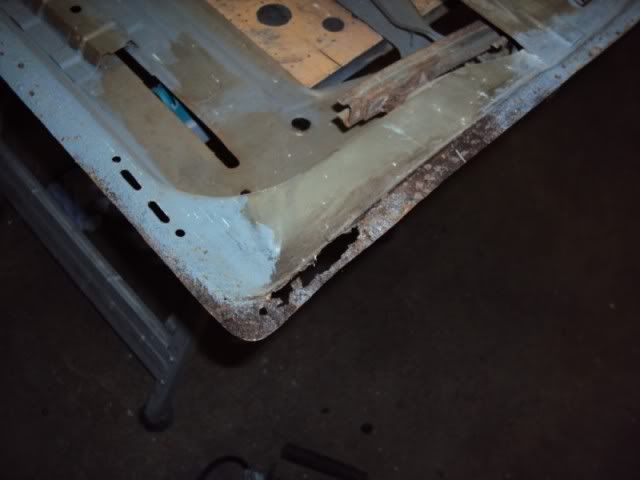
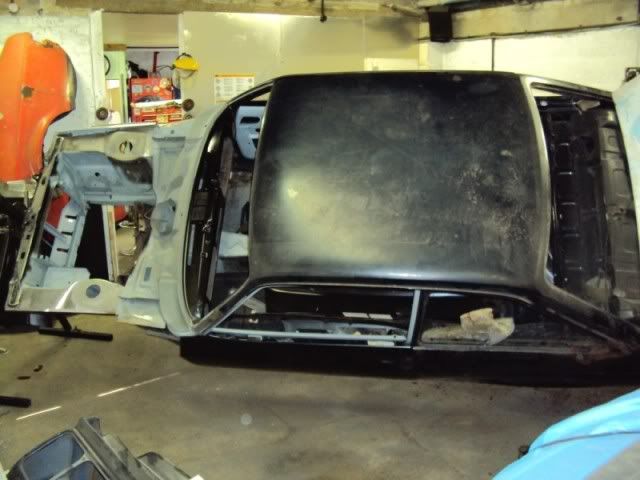
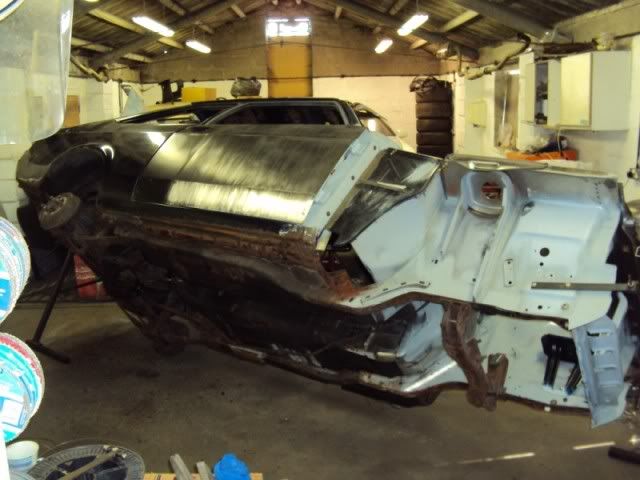
Once under the lights of the workshop it was easy to see which side of the car had seen fourteen winters and fourteen summers. I removed some of the outer panels to find the shell was in bad shape with the worst of the rust on the passenger side but lucky the chassis rails were in surprisingly good condition. After I report my findings I was given the go a head to start work but I could see that this was going to be a major restoration inside and out.
Strip out
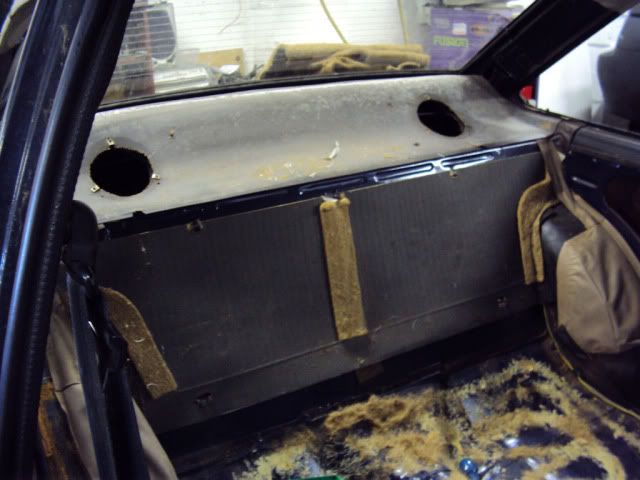
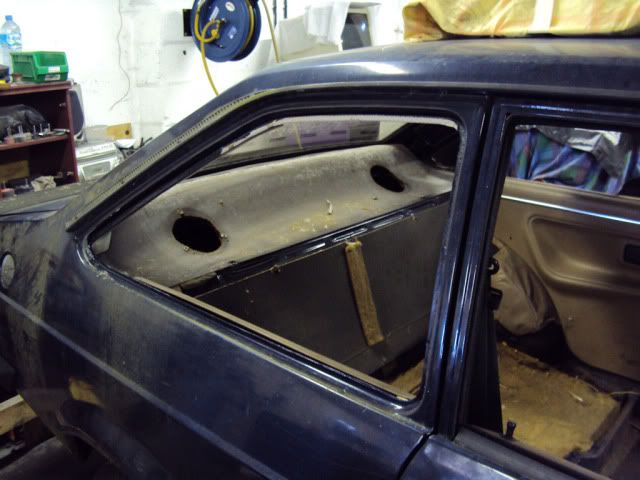
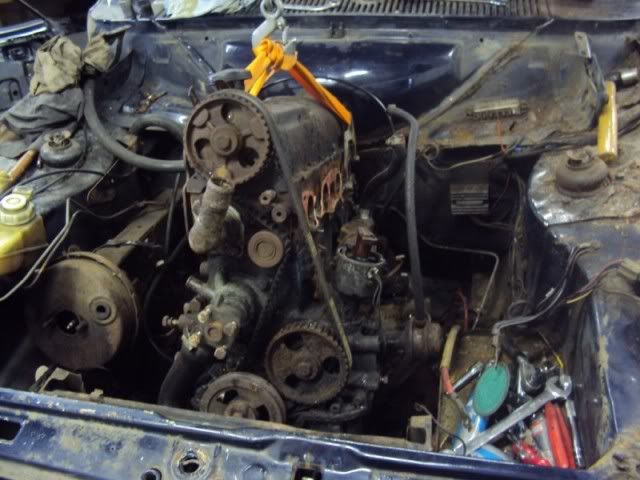
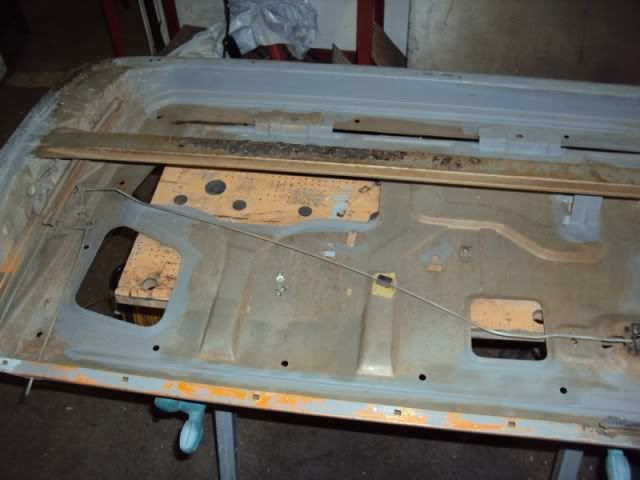
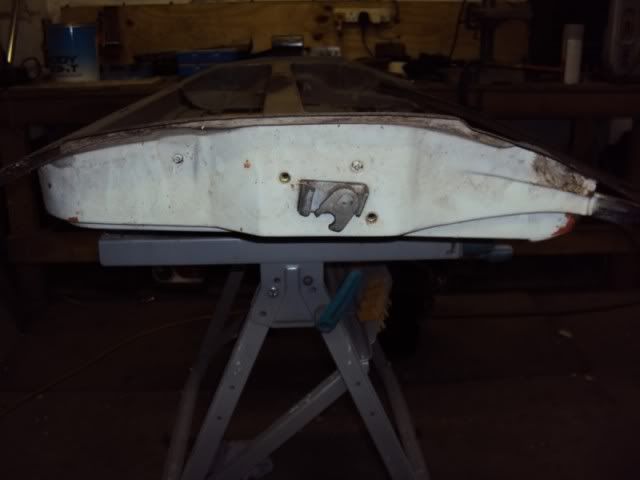
The vehicle arrived at the workshop has a complete car and with a boot full of spare parts the pervious owner had collected over the years but had never fitted. The escort was stripped down to a bare shell and a list of replacement panels and parts was made.
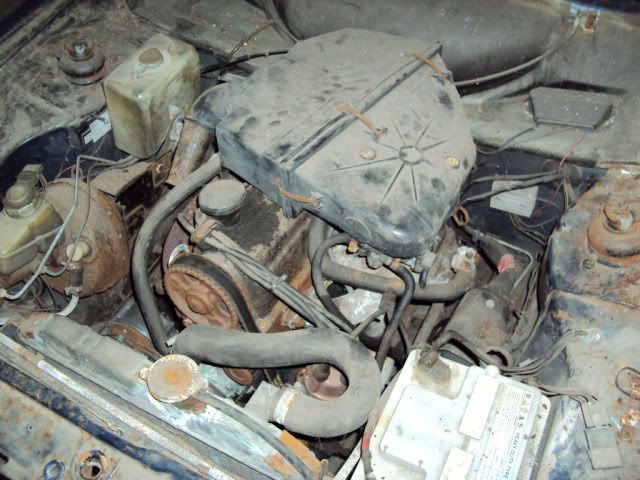
Engine Bay
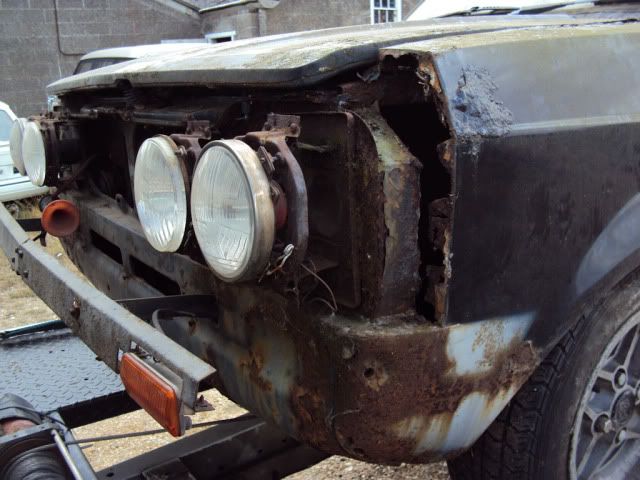
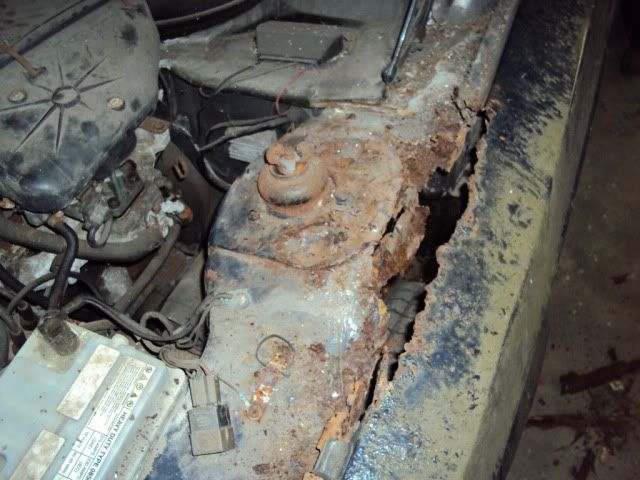
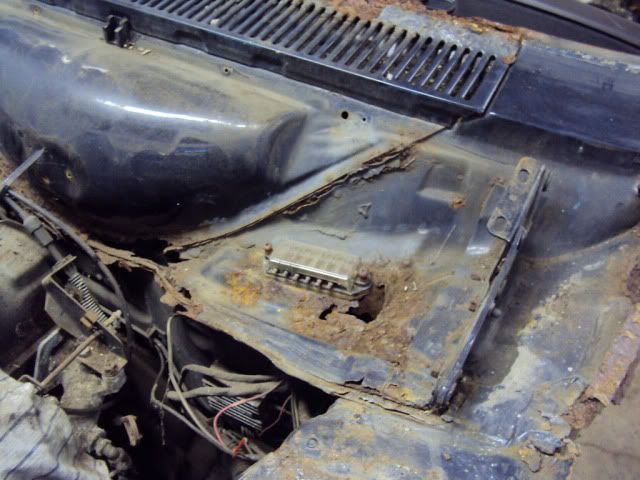
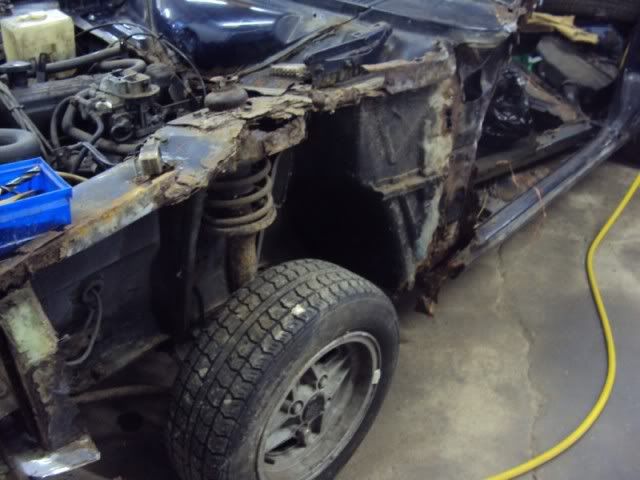
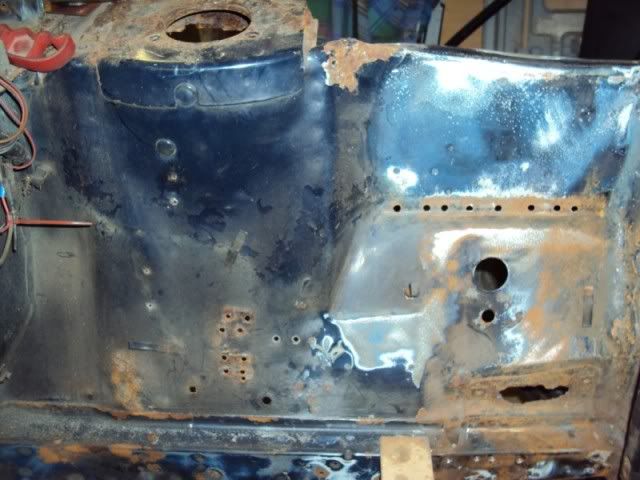
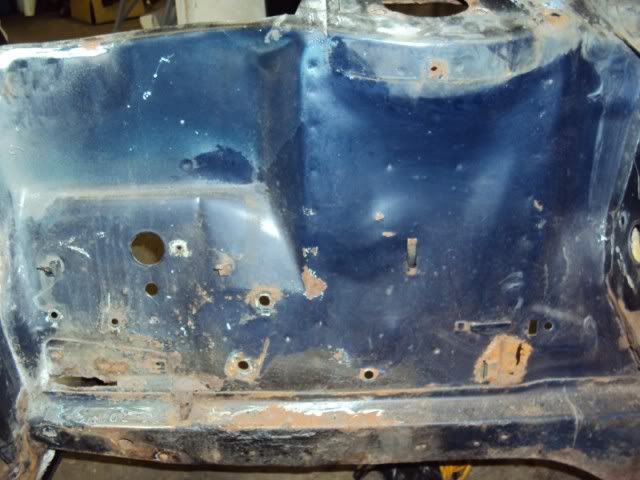
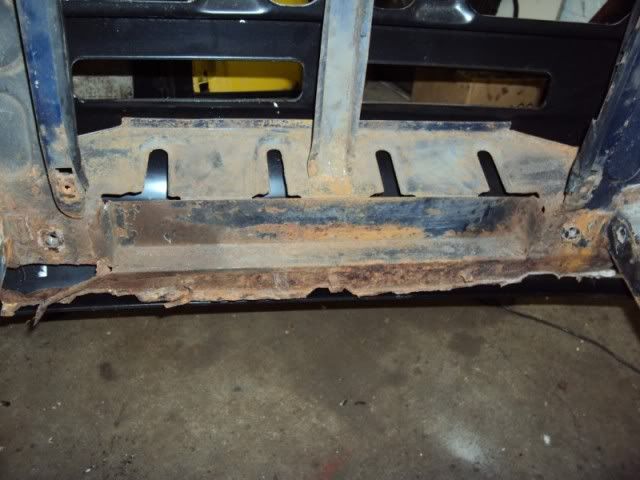
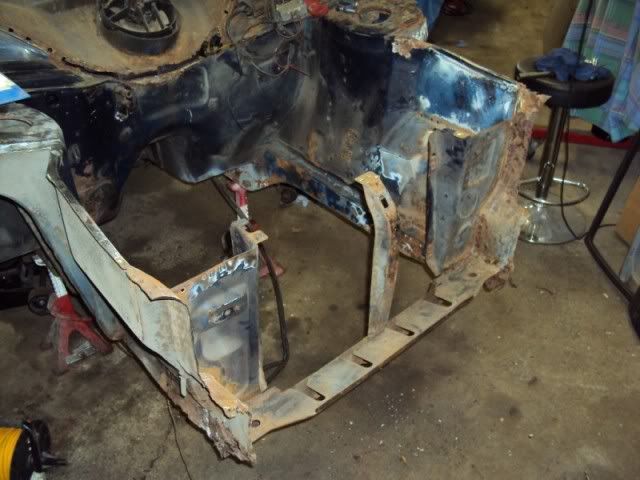
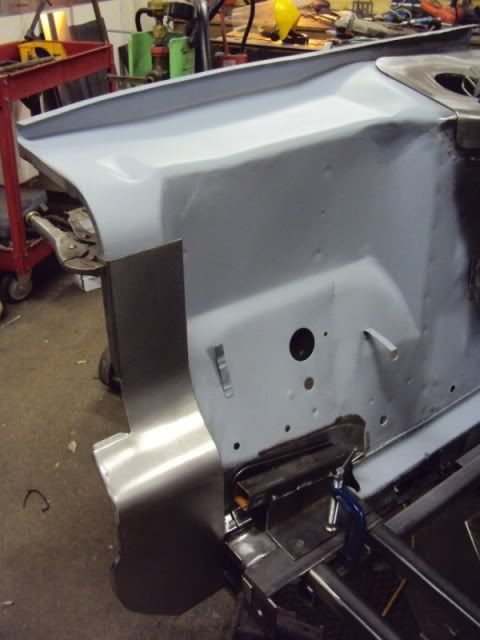
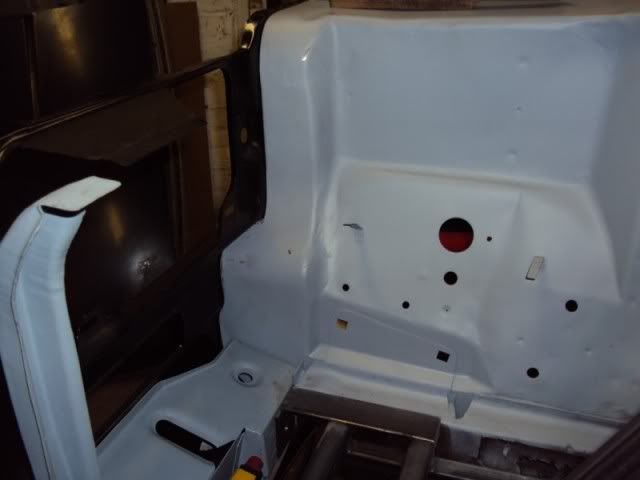
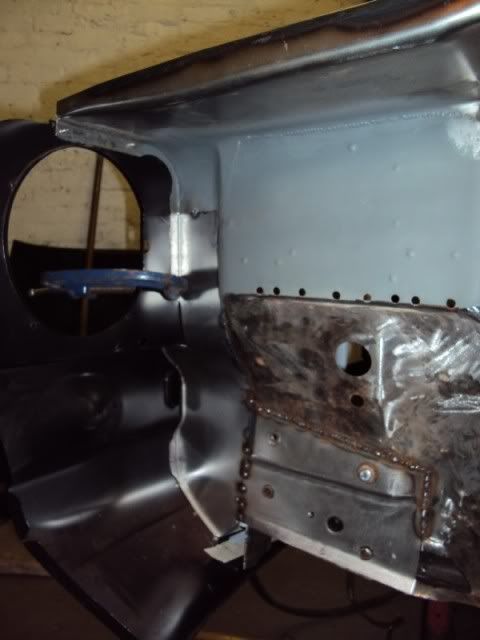
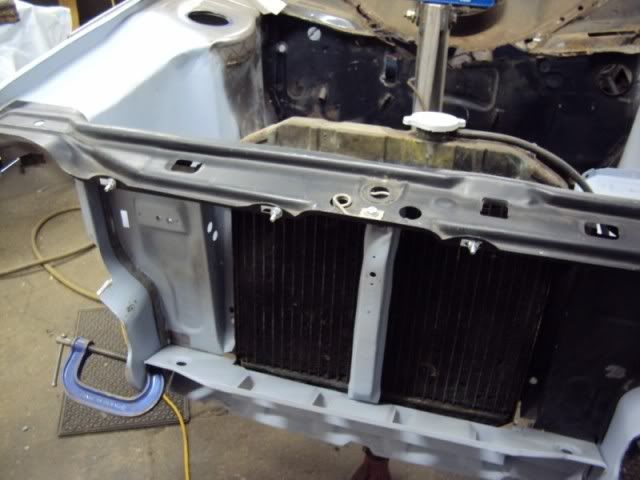
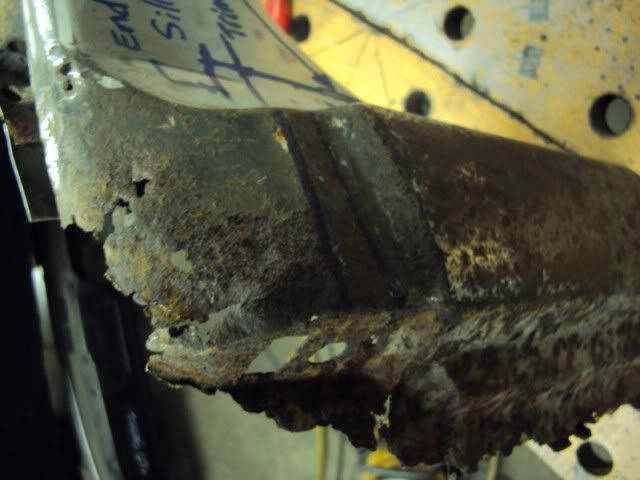
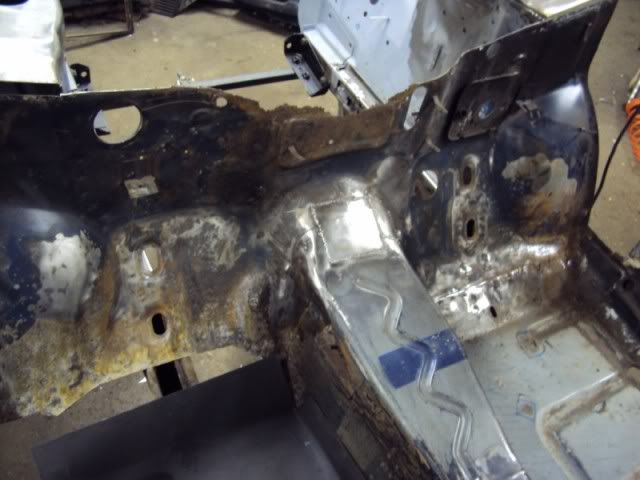
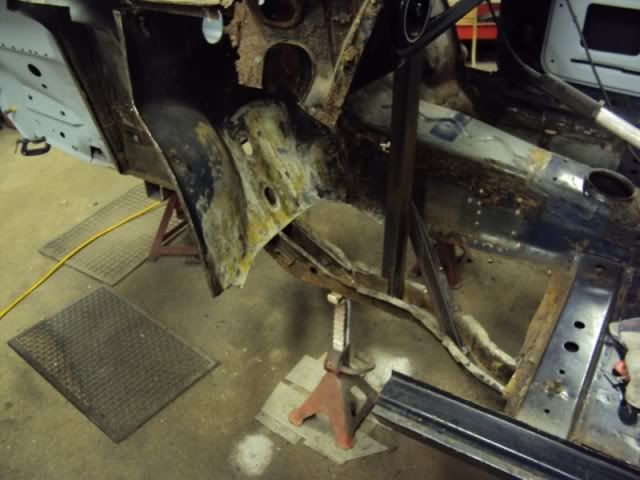
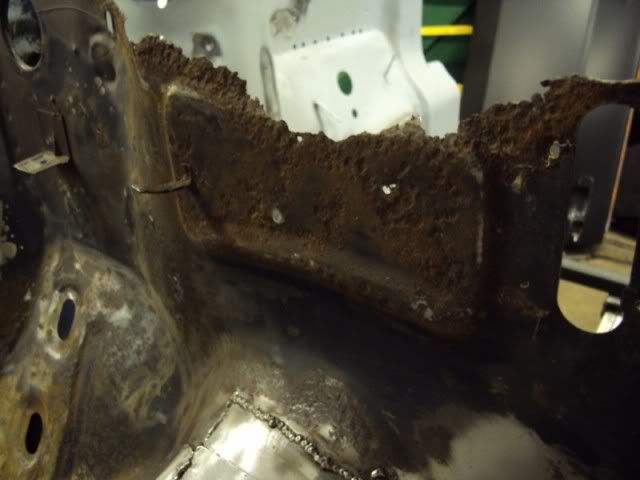
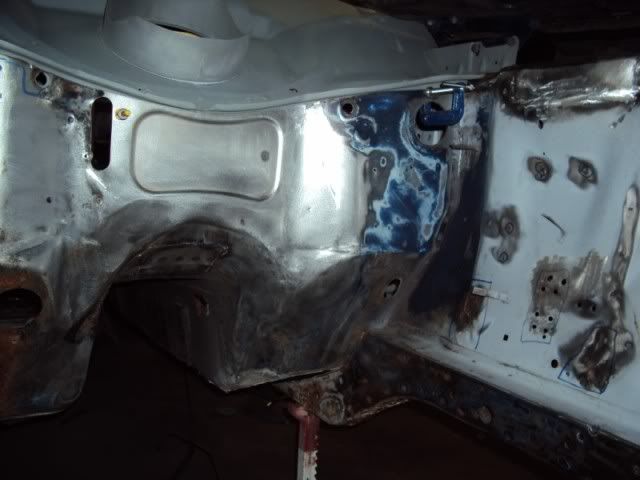
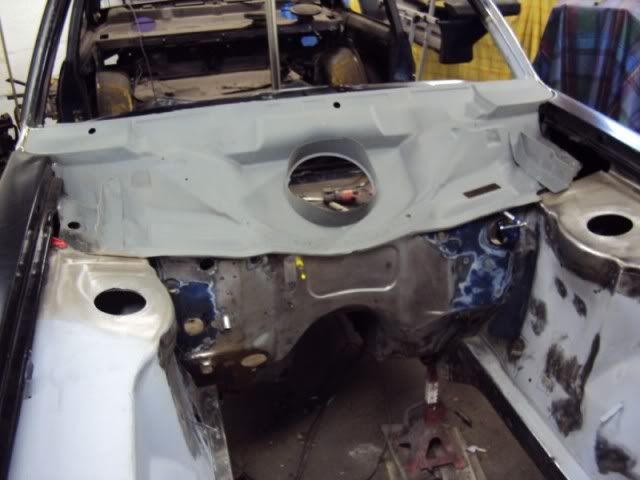
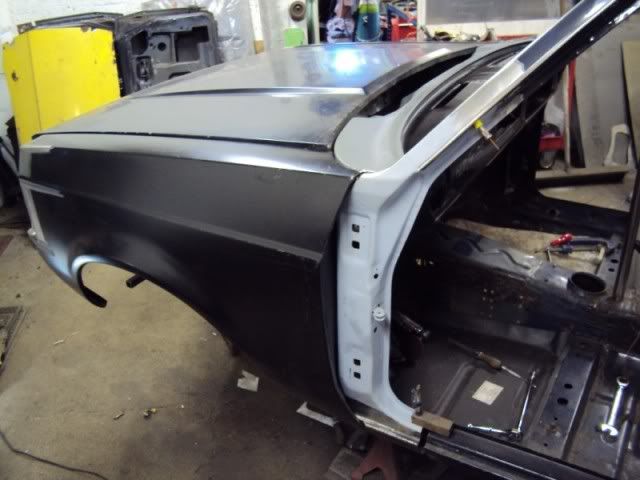
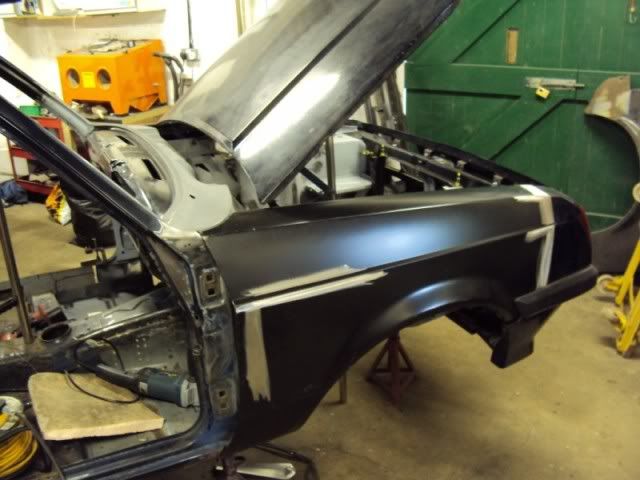
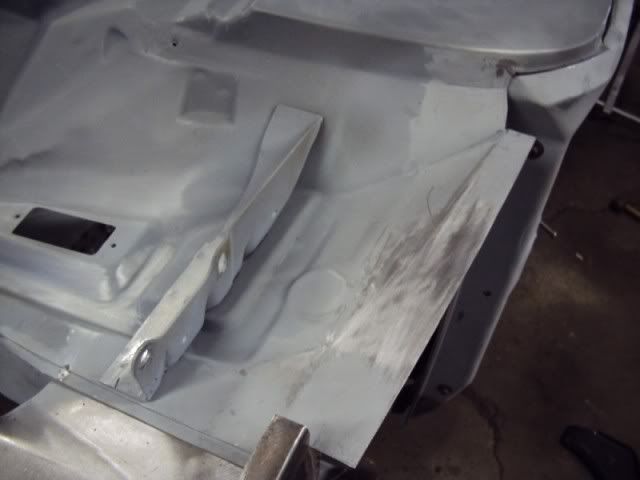
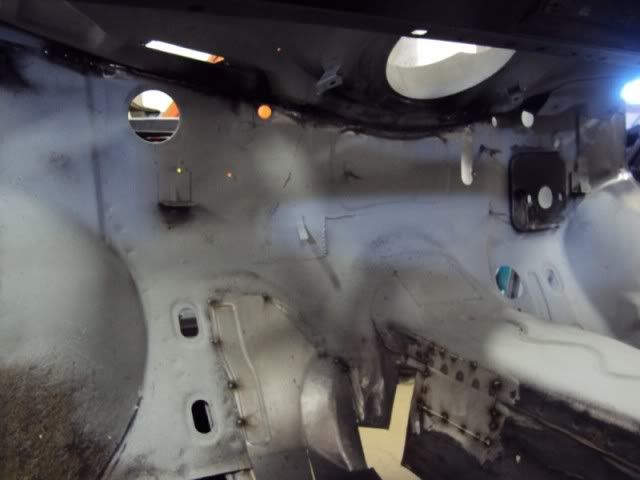
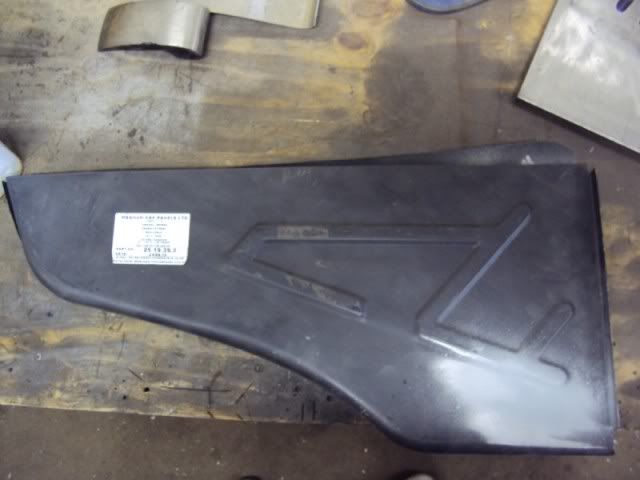
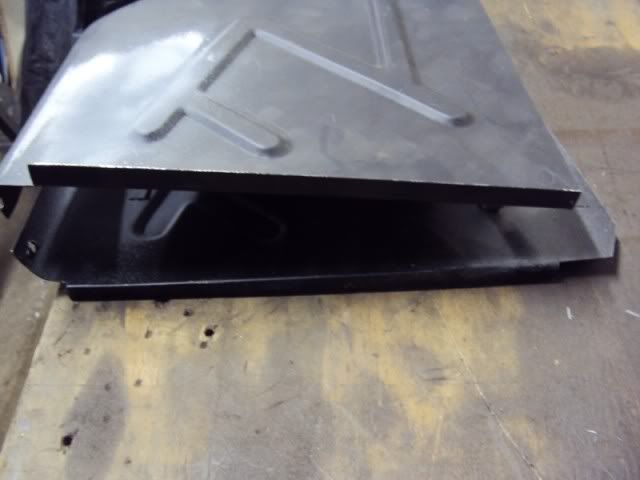
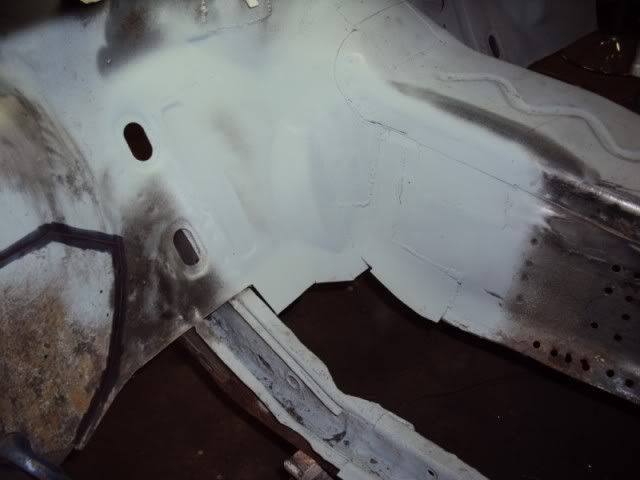
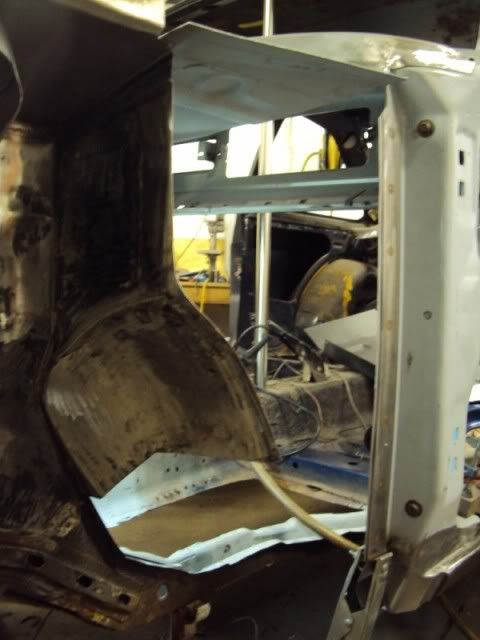
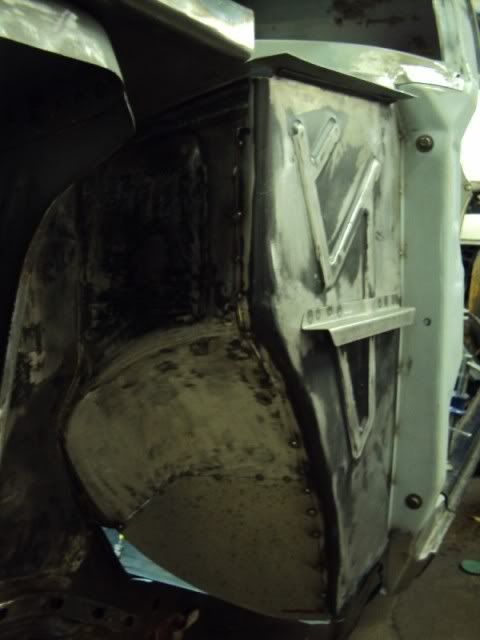
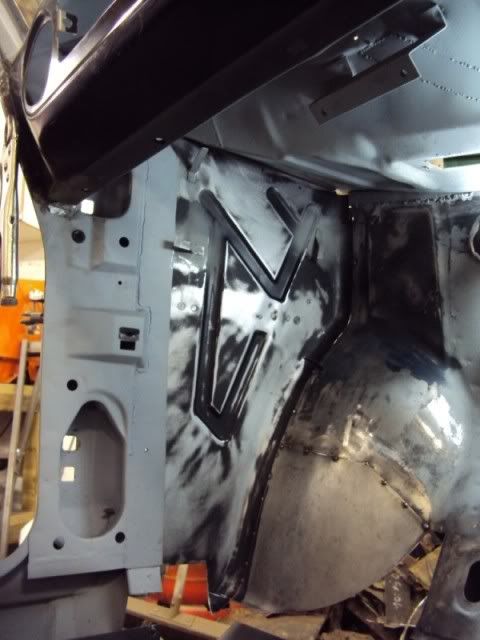
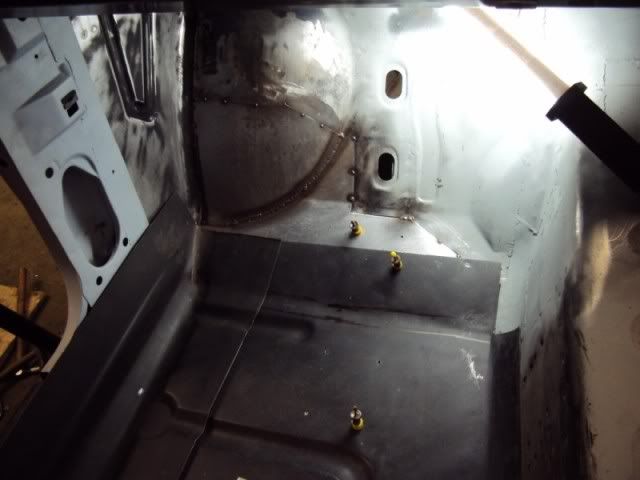
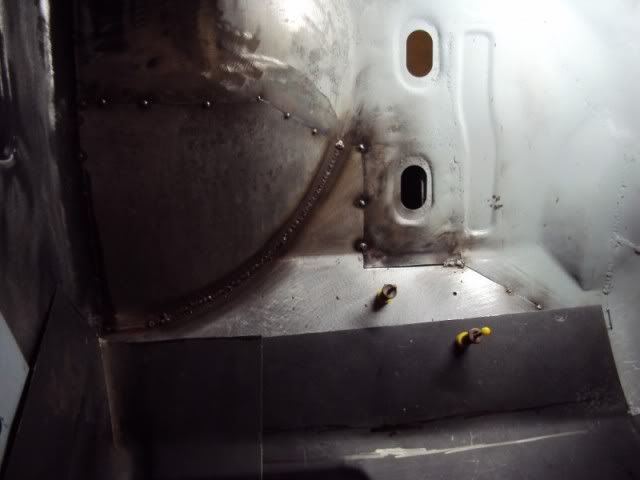
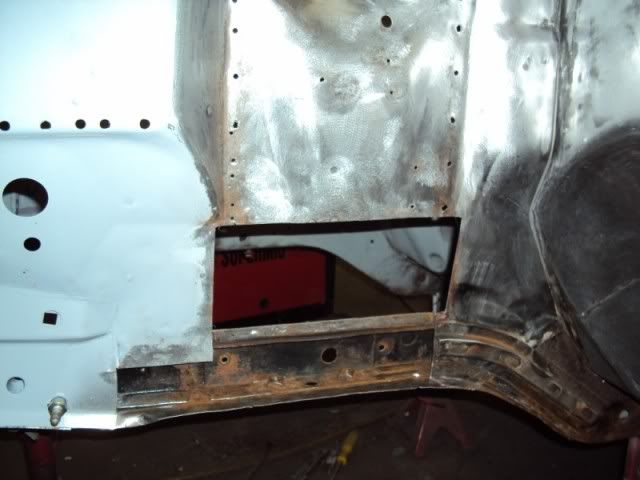
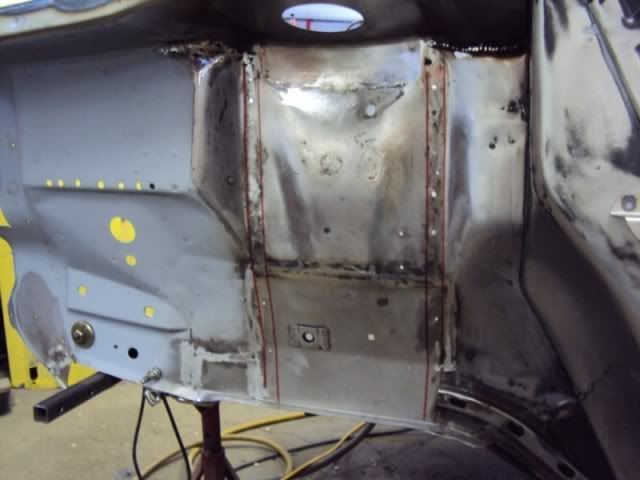
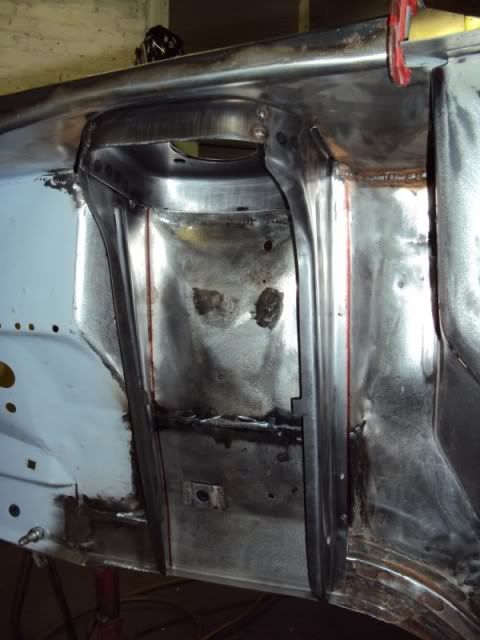
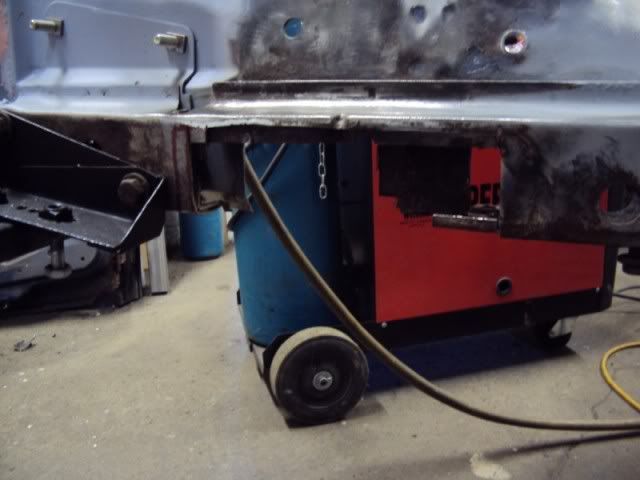
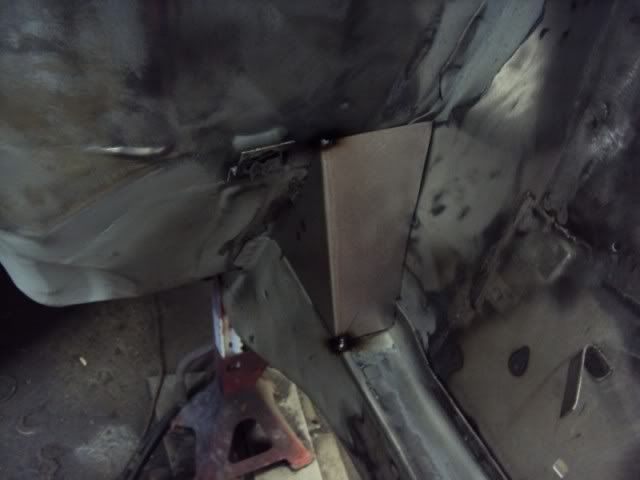
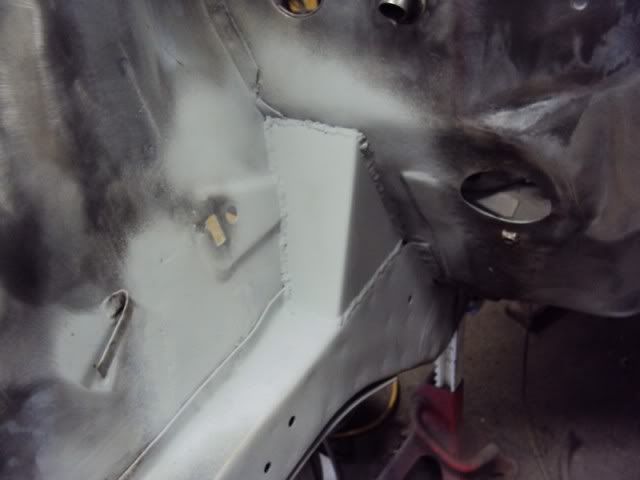
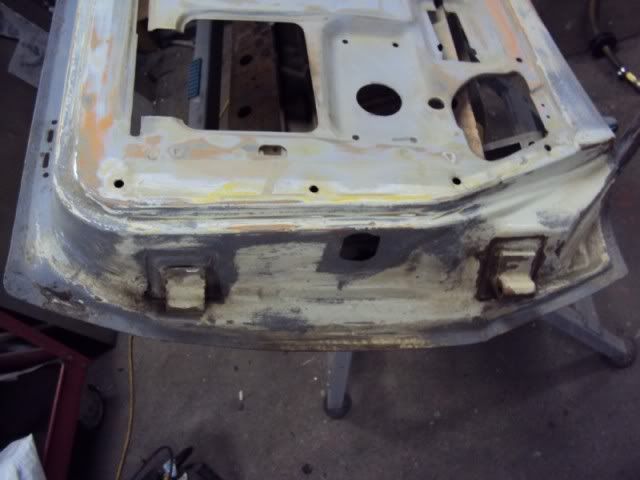
It was decided that the engine bay was the worst part of the vehicle so that�s where I started. Due to the availability/lead time of some panels I would have to replace what I could with new panels and fabricate the rest. I removed the wings, front panel, slam panel, battery tray, radiator mounts and front cross member. Apart from the tops and front edges the inner wings seemed to be in good condition so replacement tops panels were ordered.
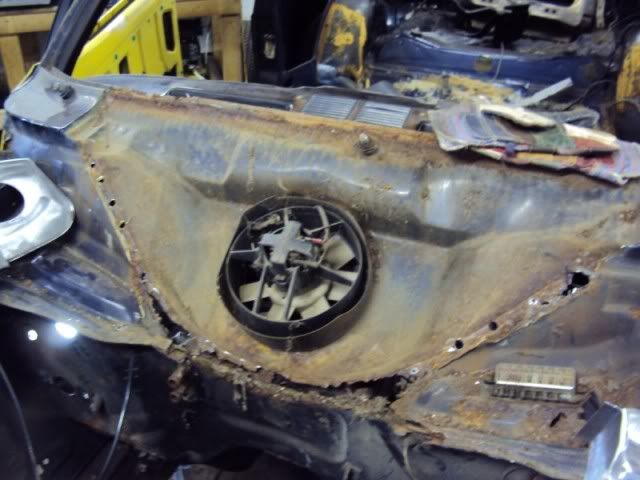
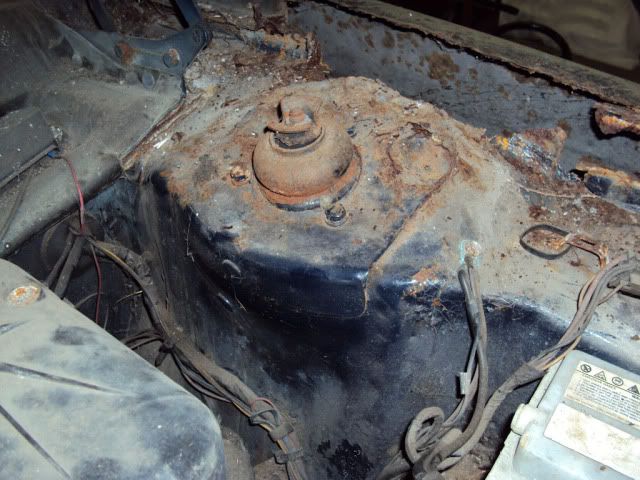
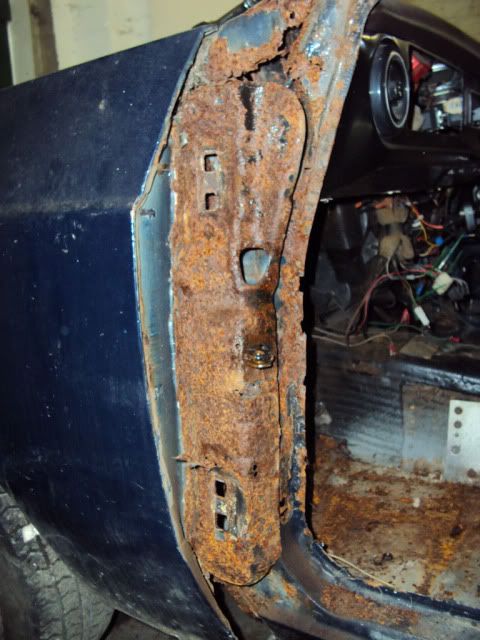
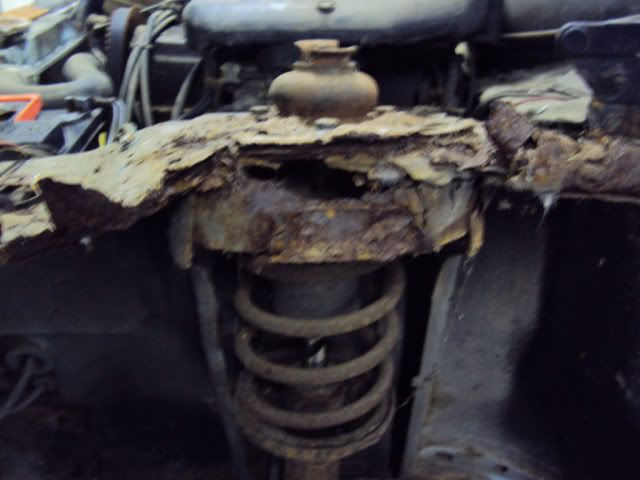
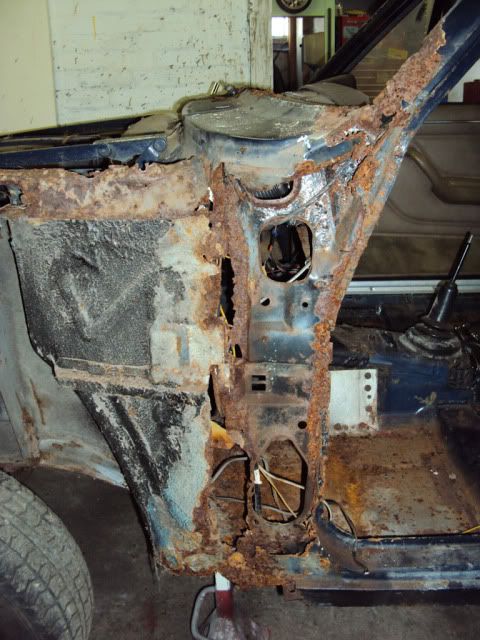
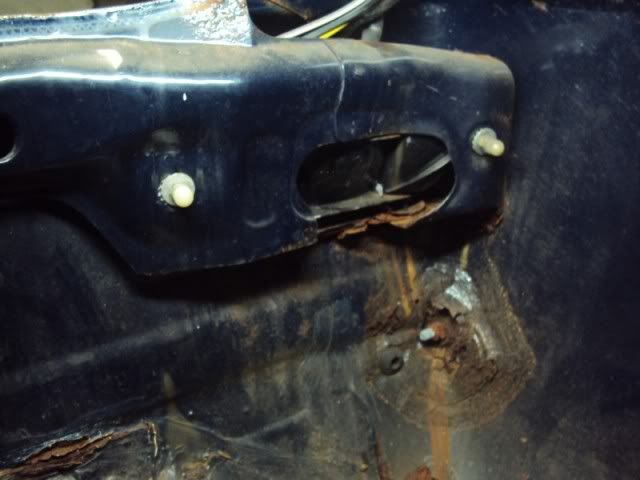
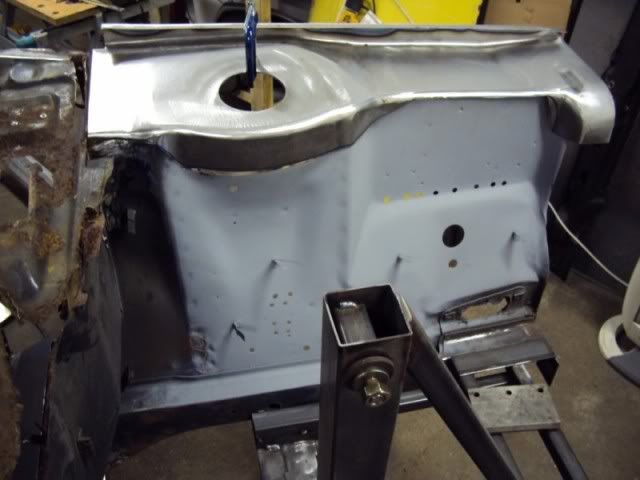
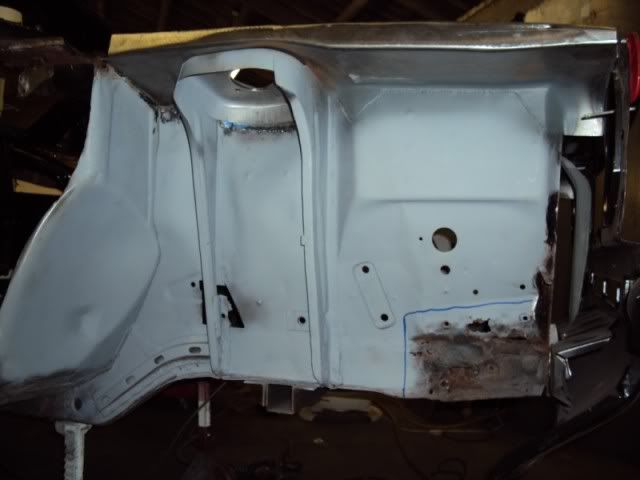
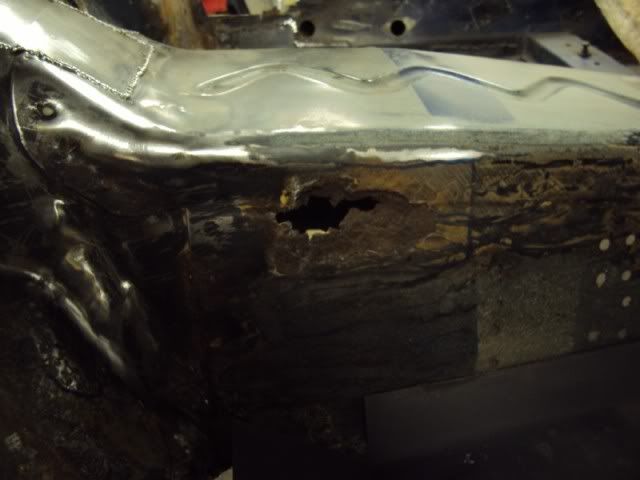
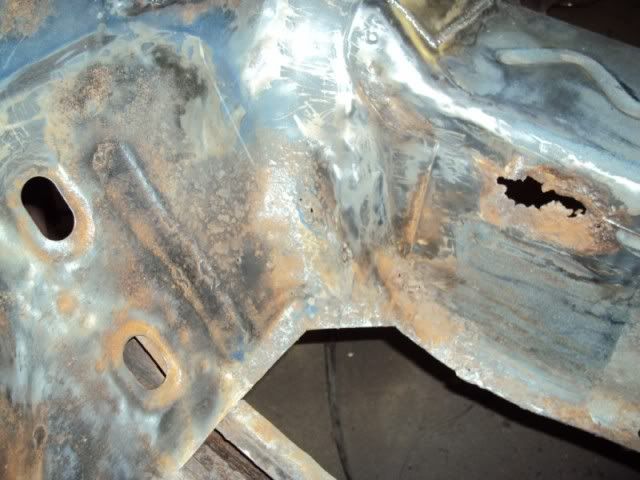
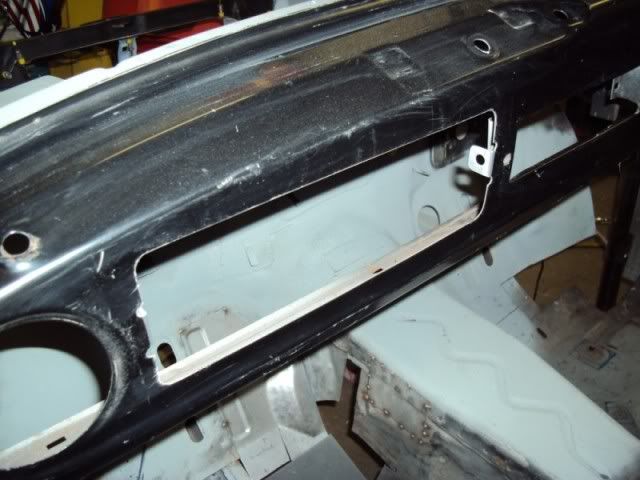
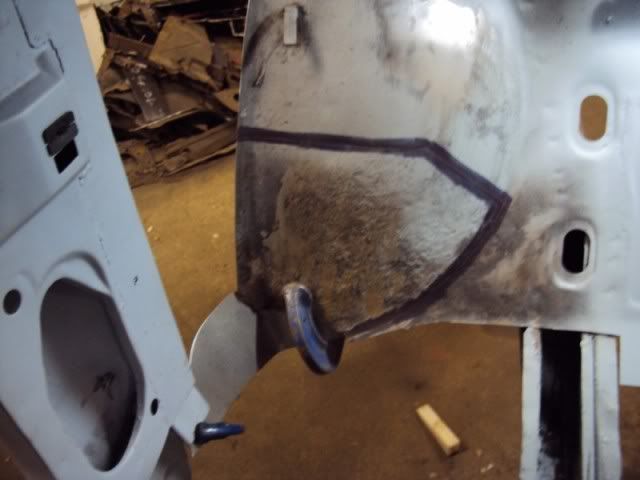
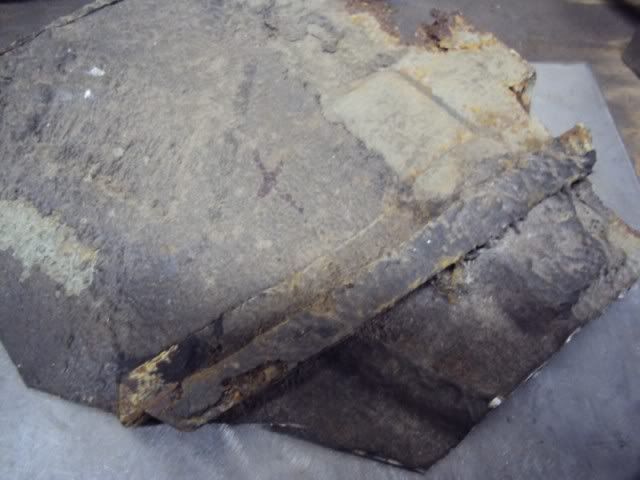
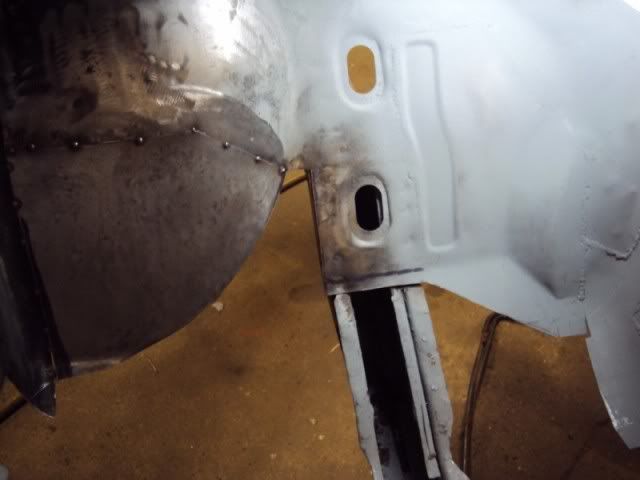
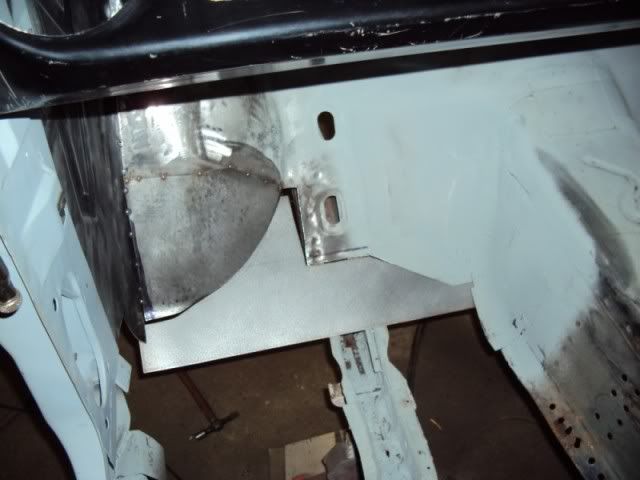
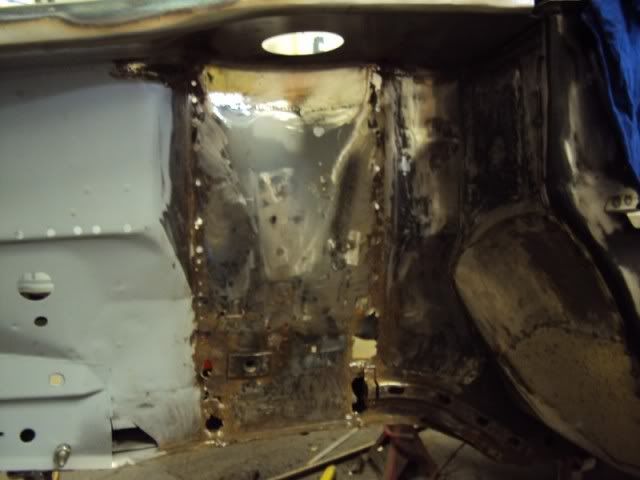
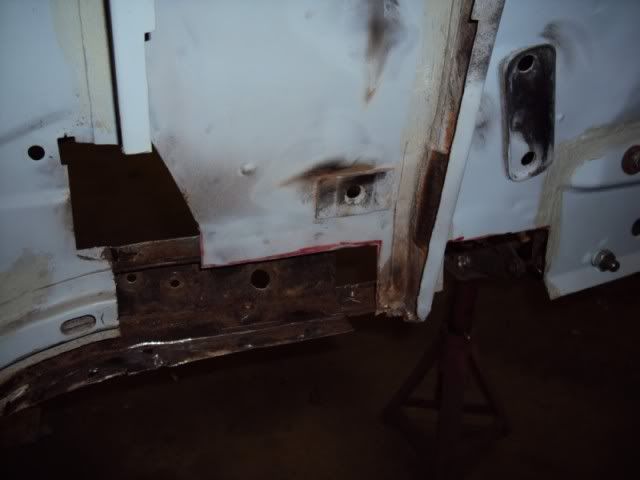
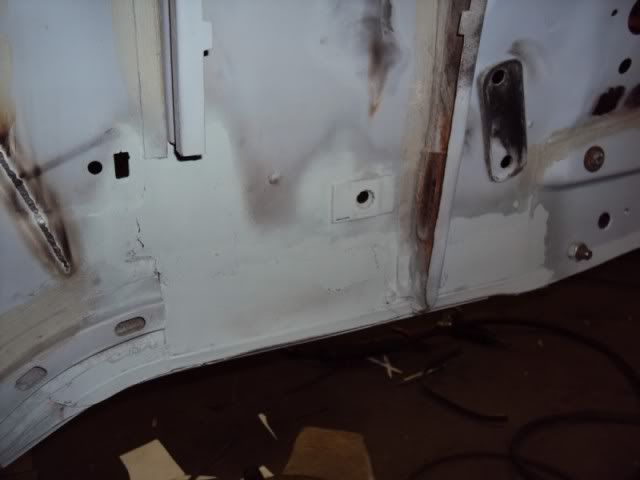
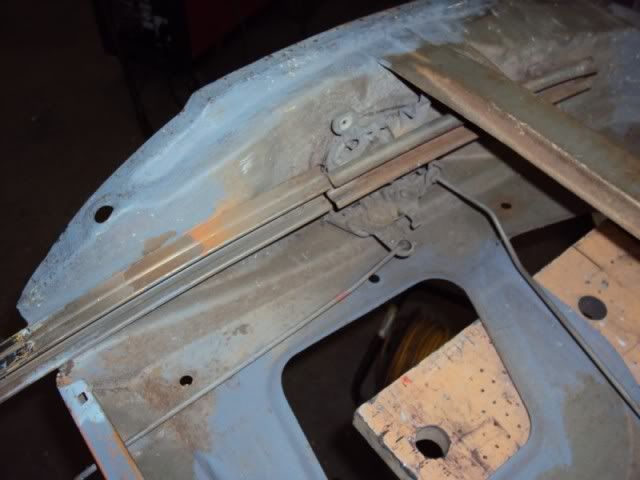
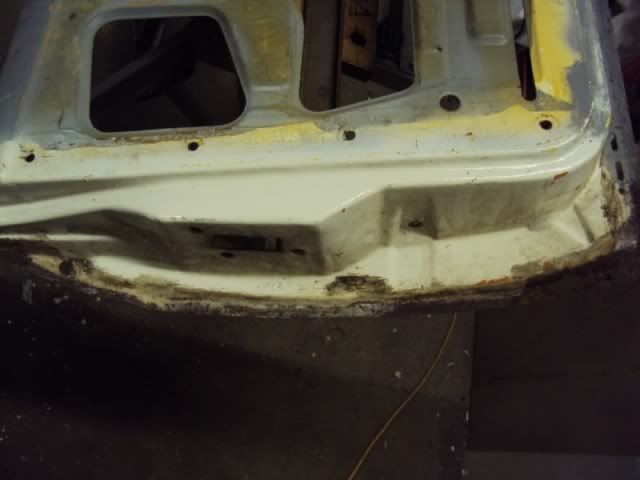
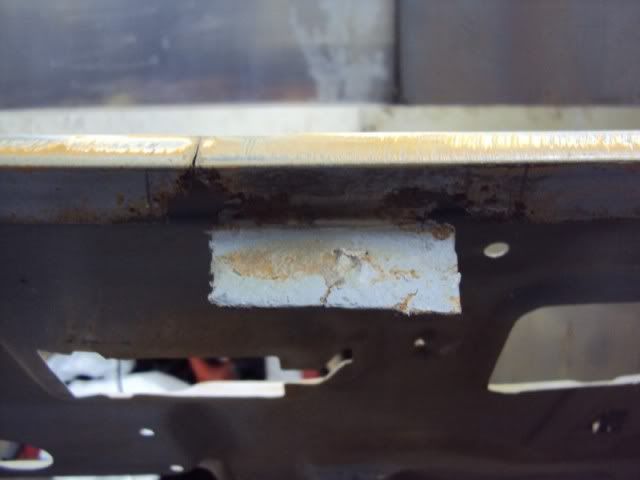
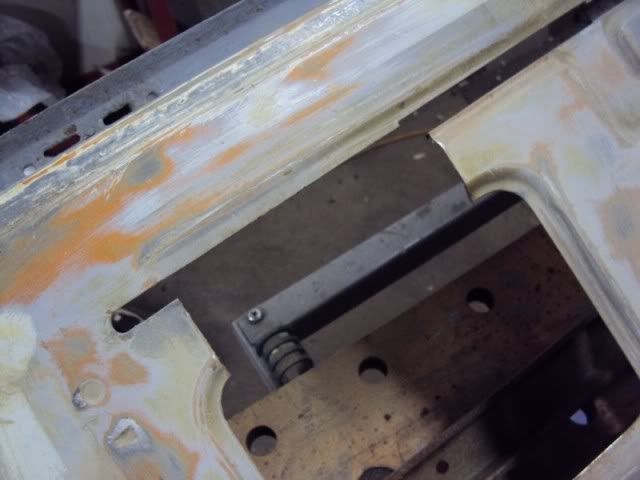
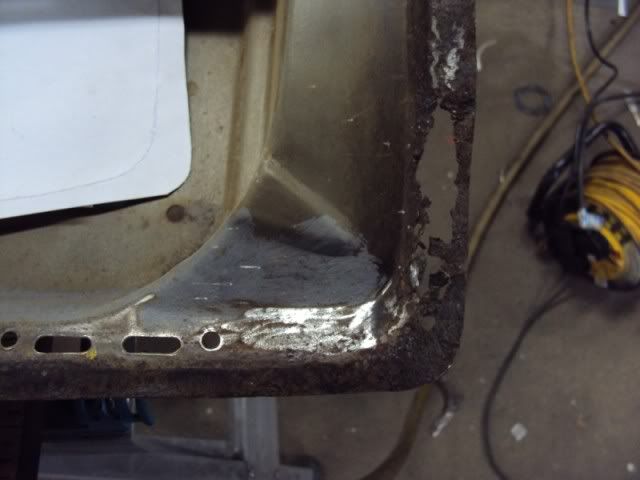
The front suspension mounts and chassis rails also looked serviceable but sadly this could not be said for the bulkhead. The top of the bulkhead on the passenger side had rusted through and the drivers side had some poor repair work carried out at some stage this will require and new or second-hand panel.
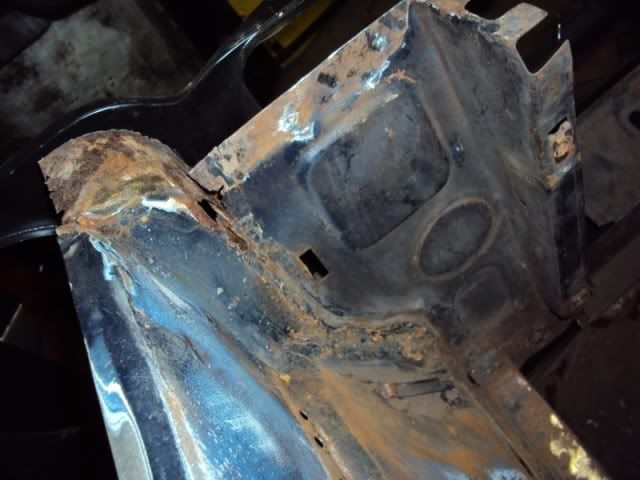
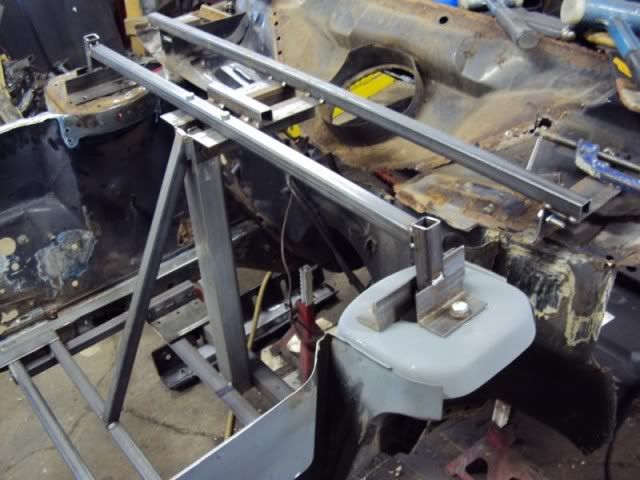
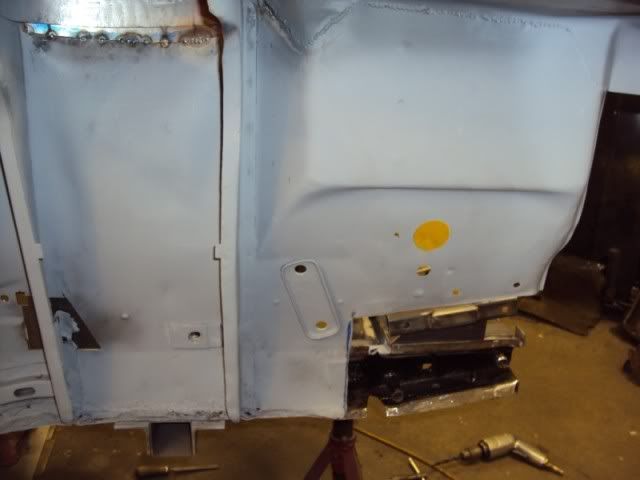
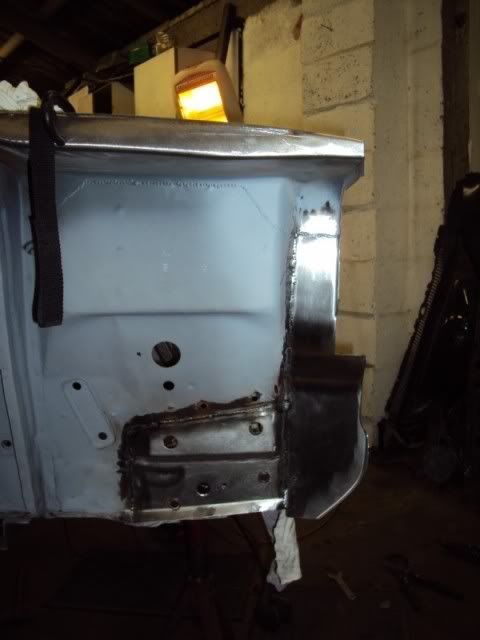
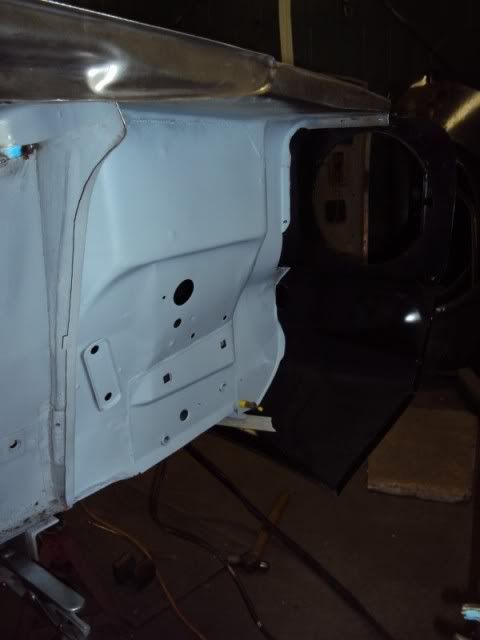
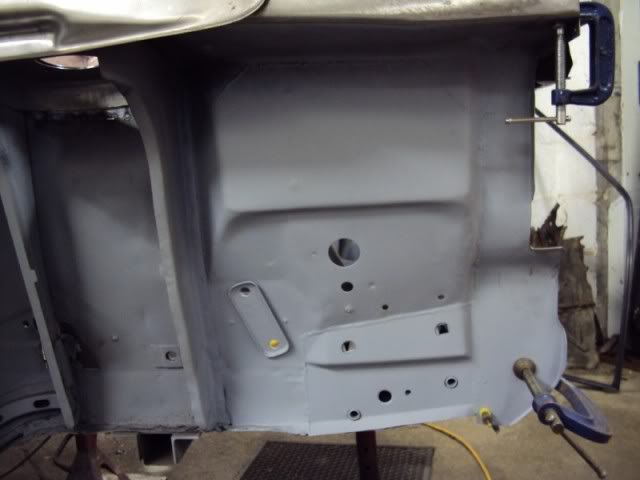
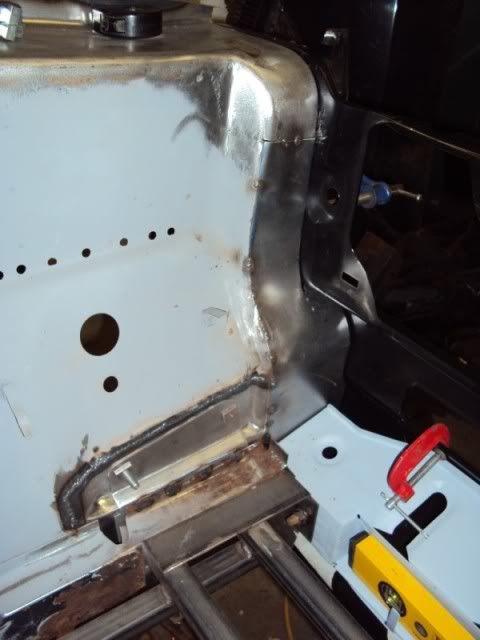
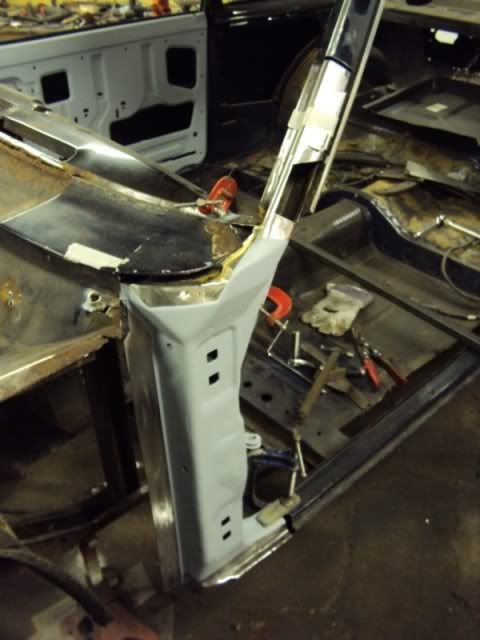
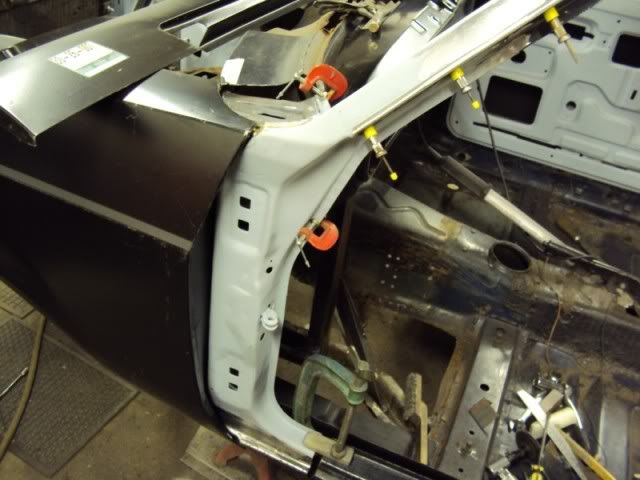
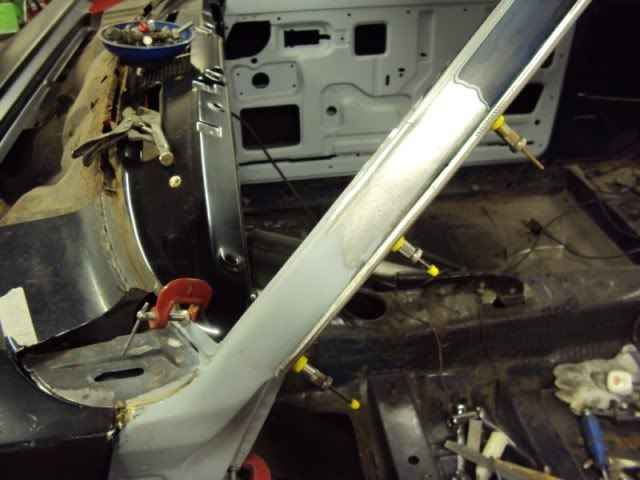
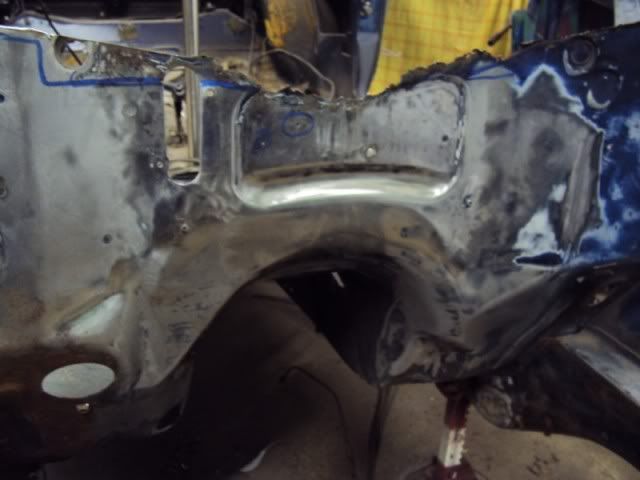
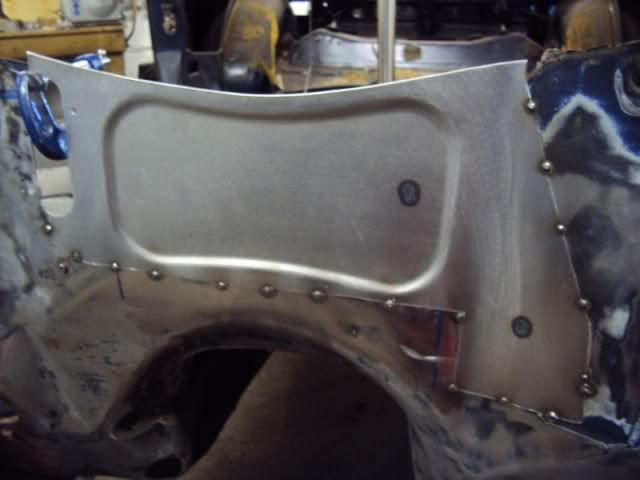
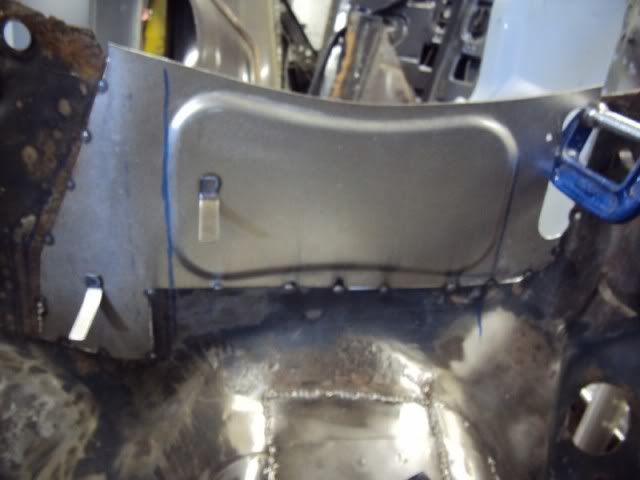
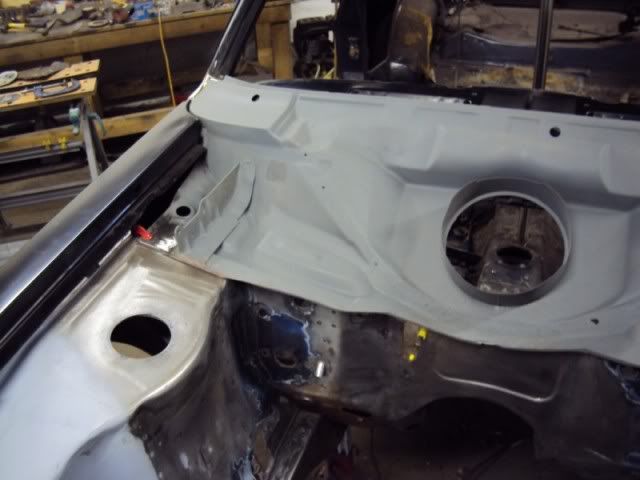
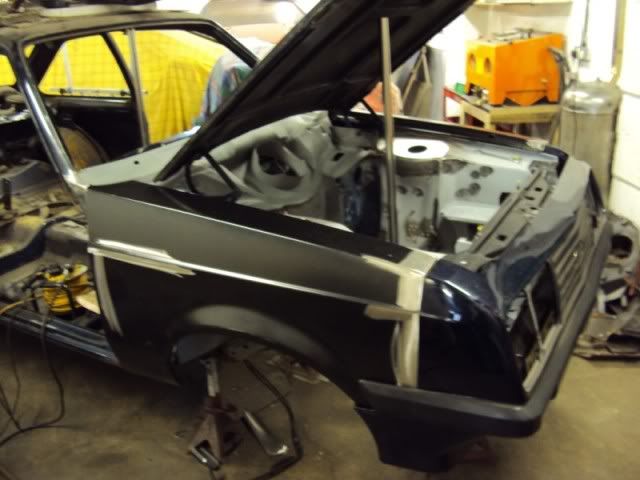
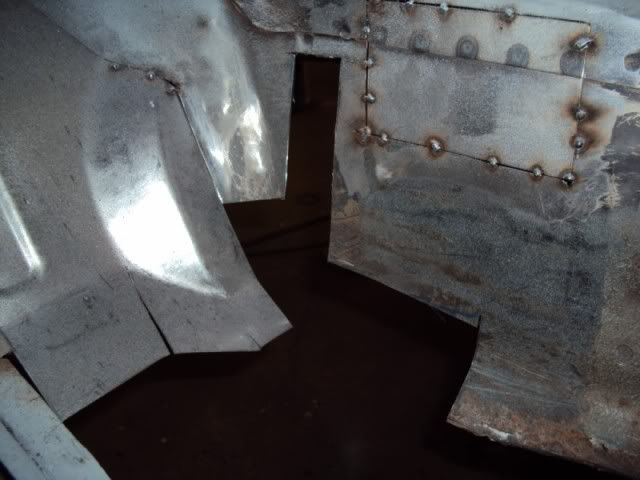
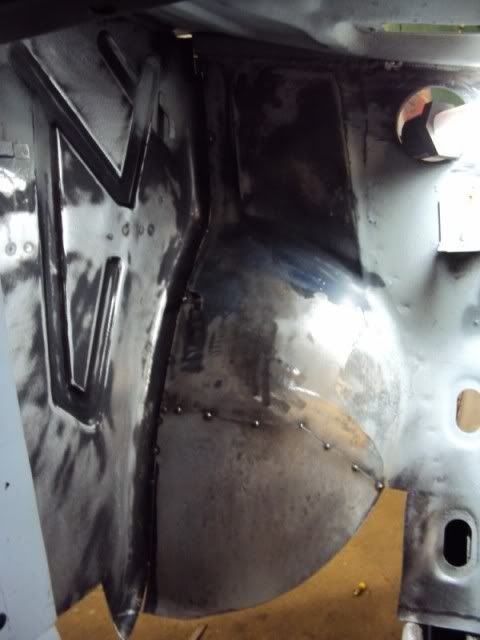
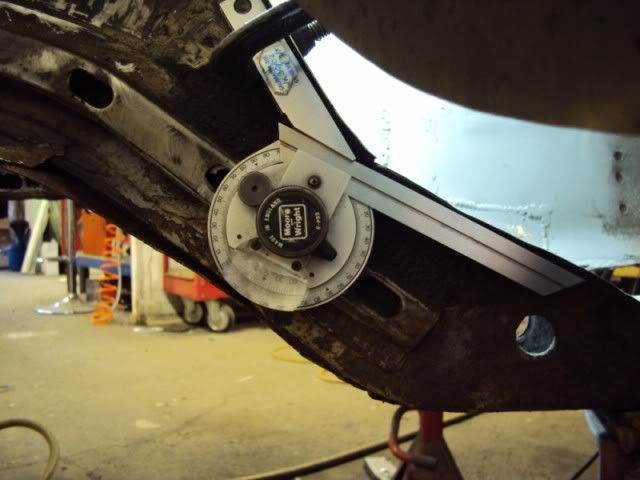
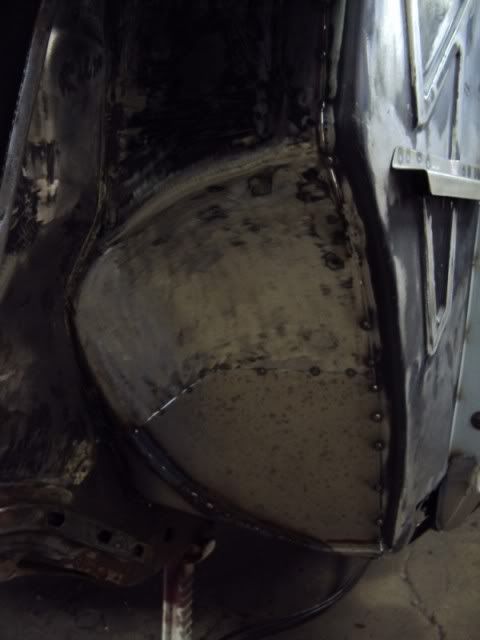
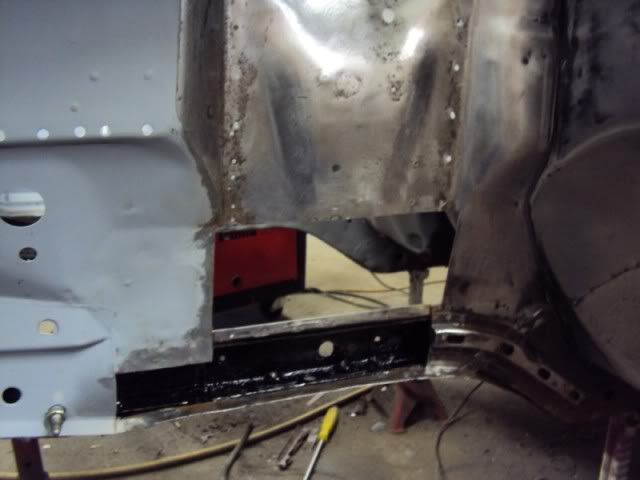
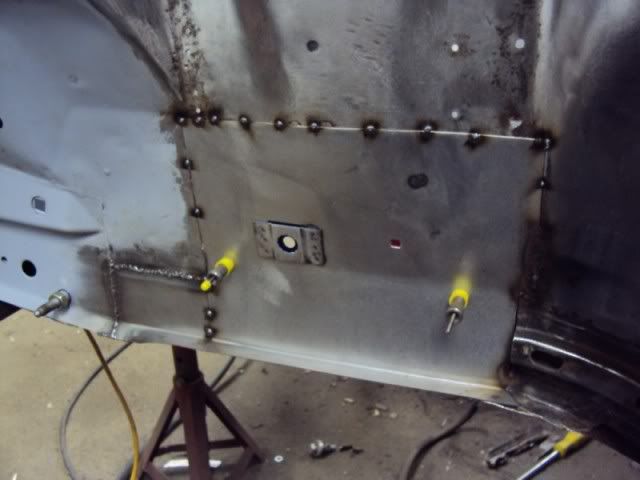
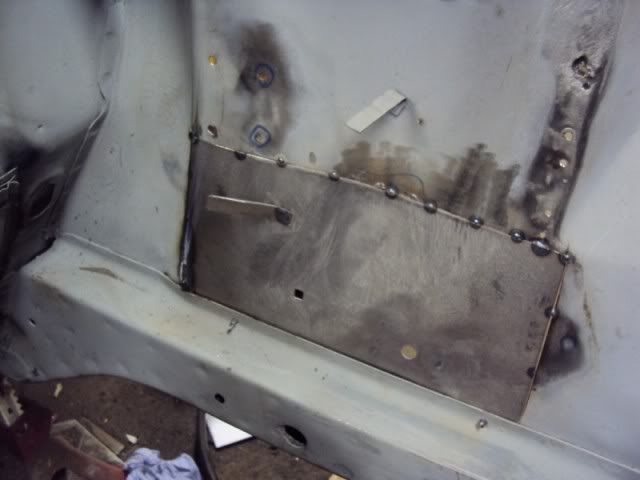
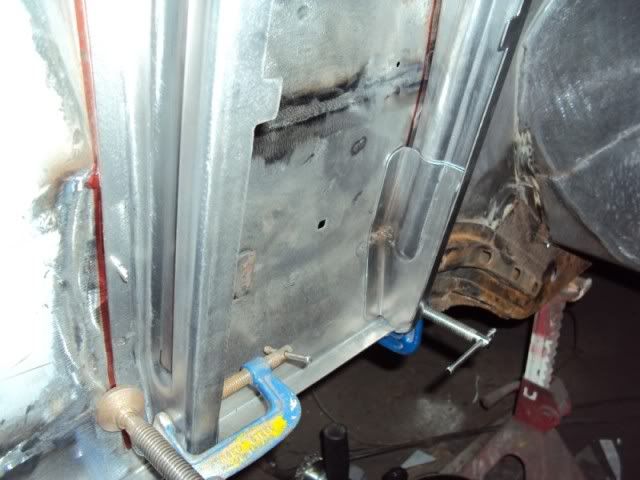
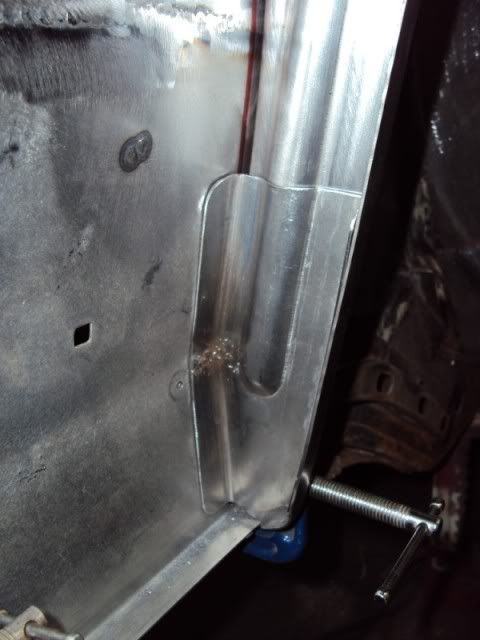
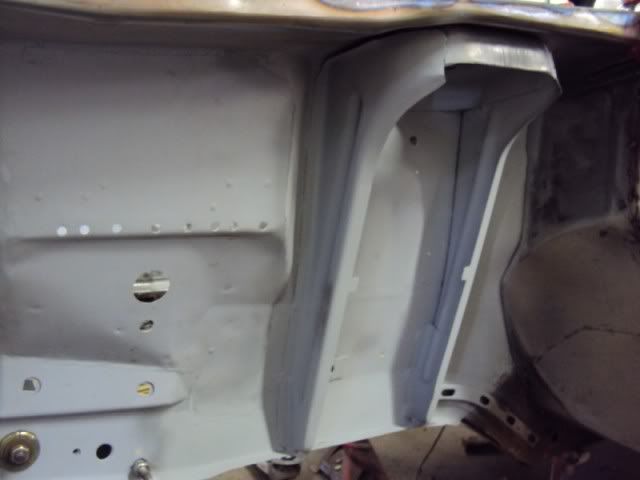
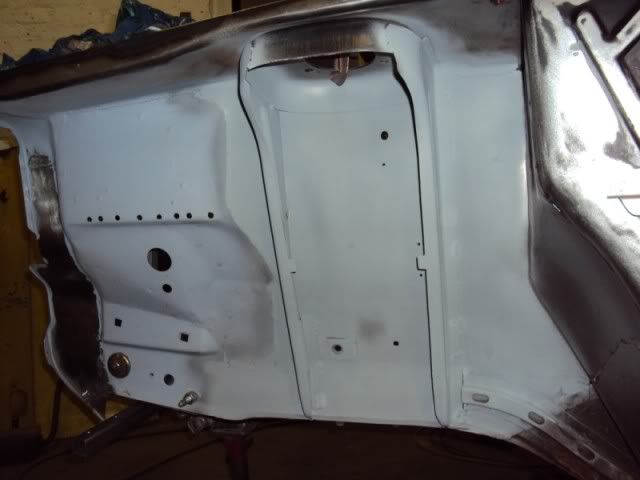
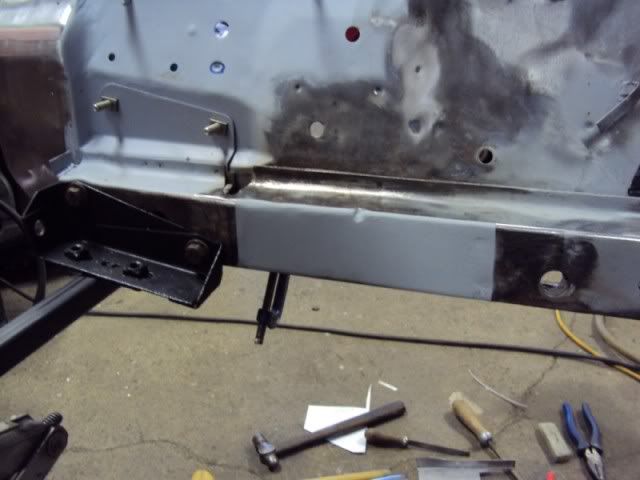
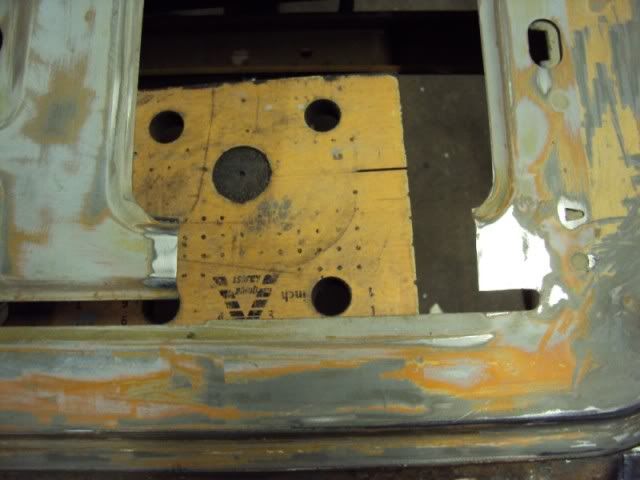
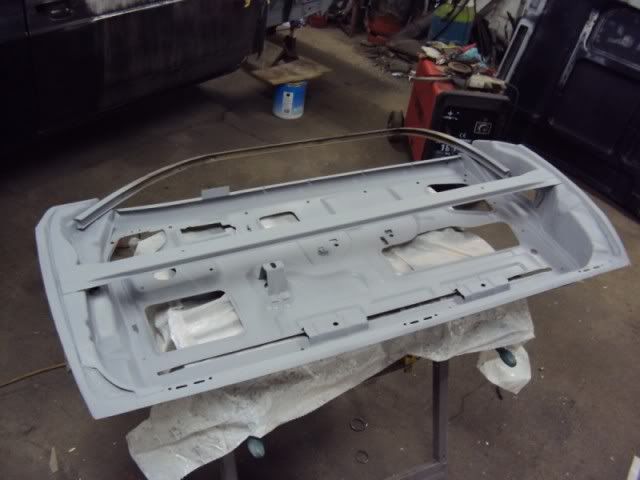
Once all the old panels where removed a jig was made to relocate all the new panels and hold everything square.
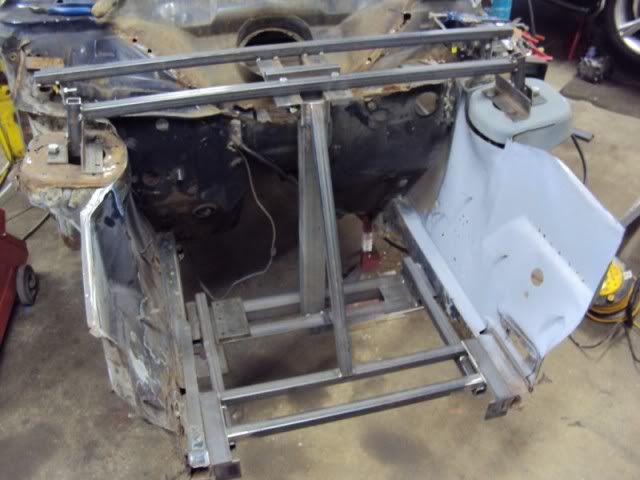
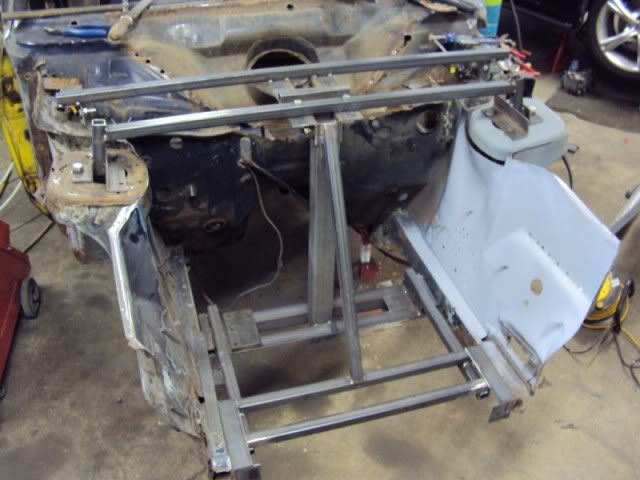
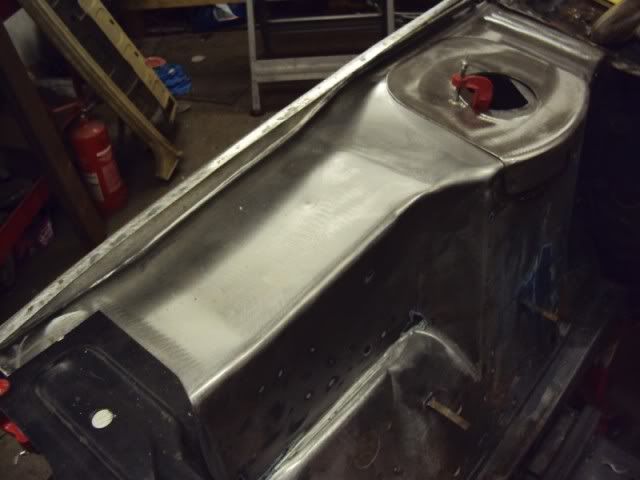

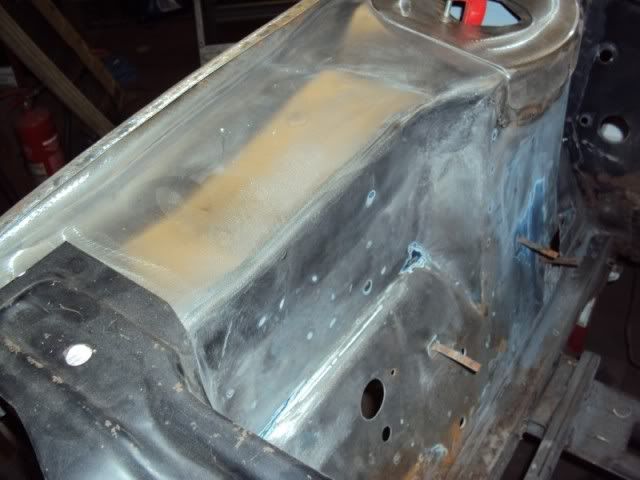
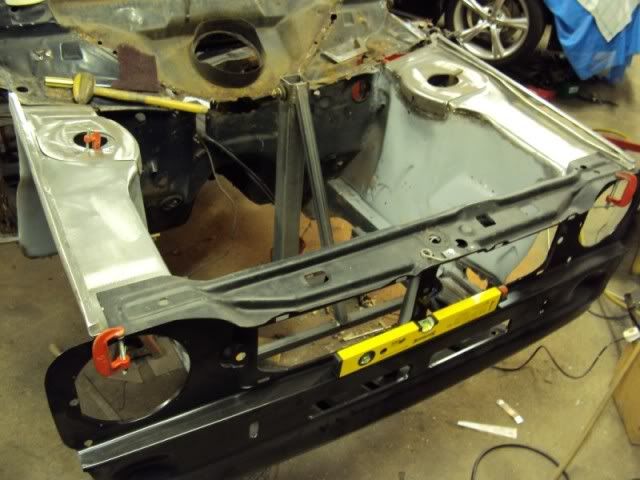
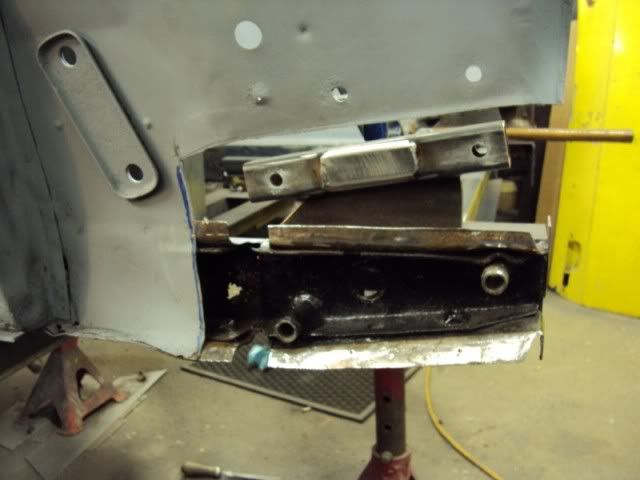
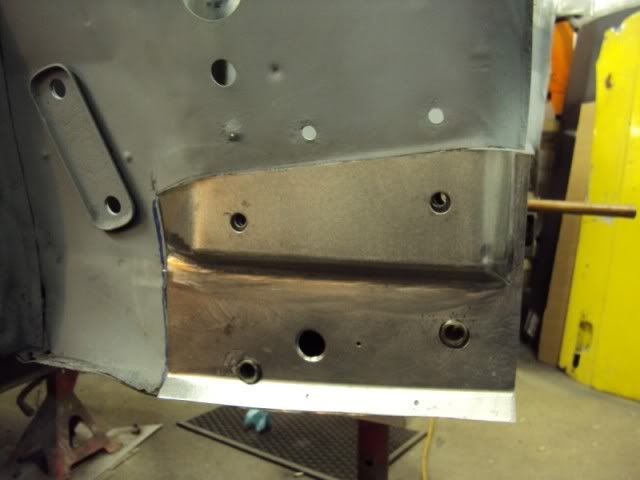
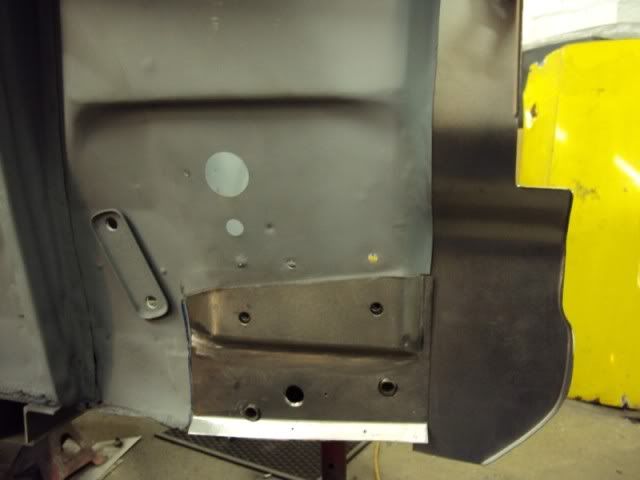
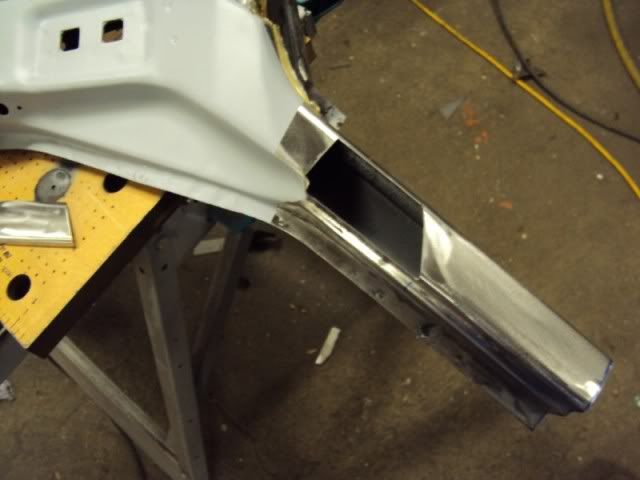
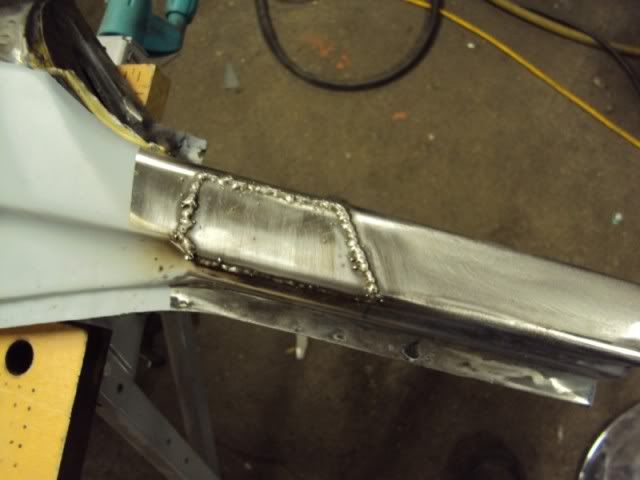
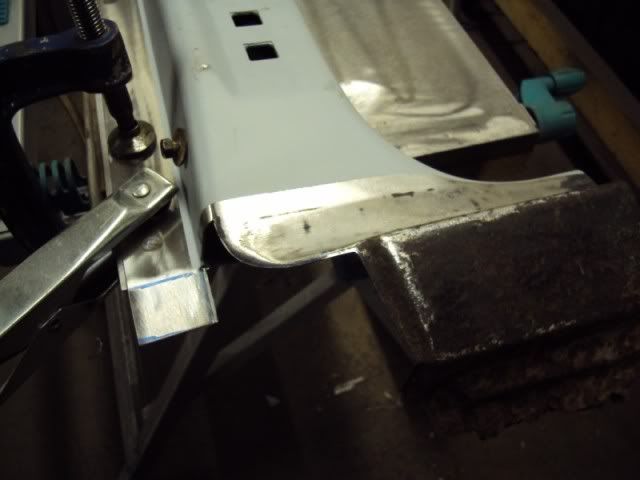
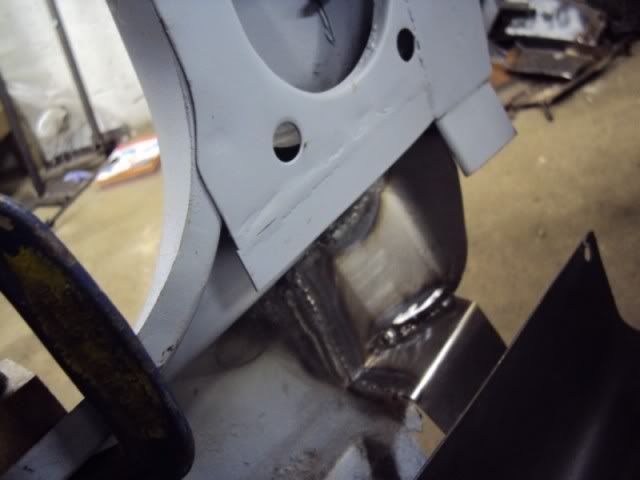
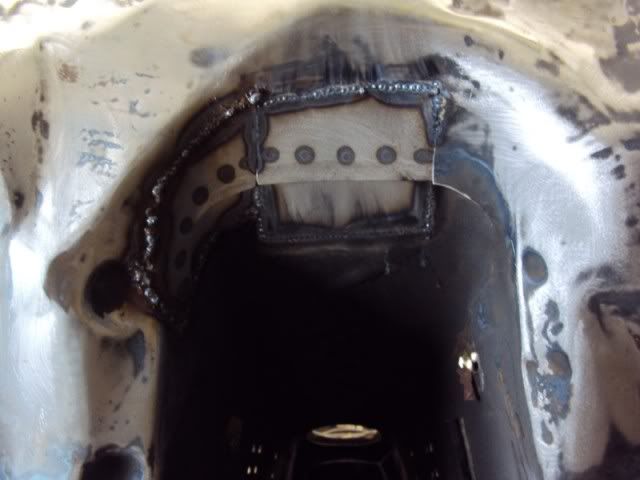
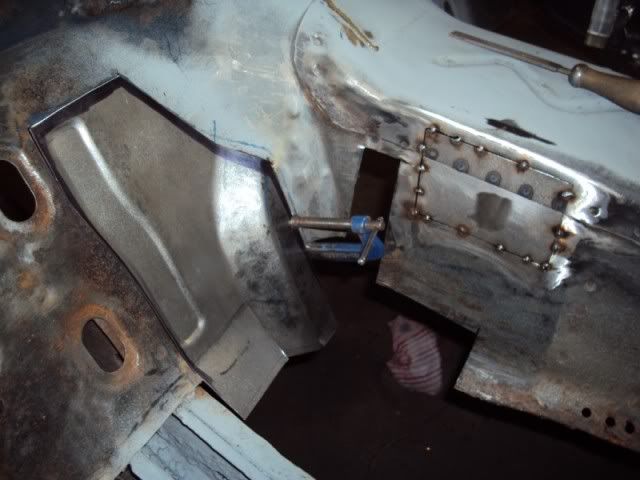
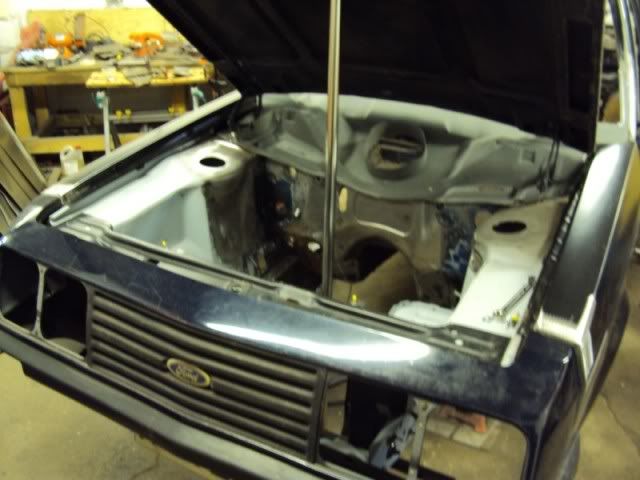
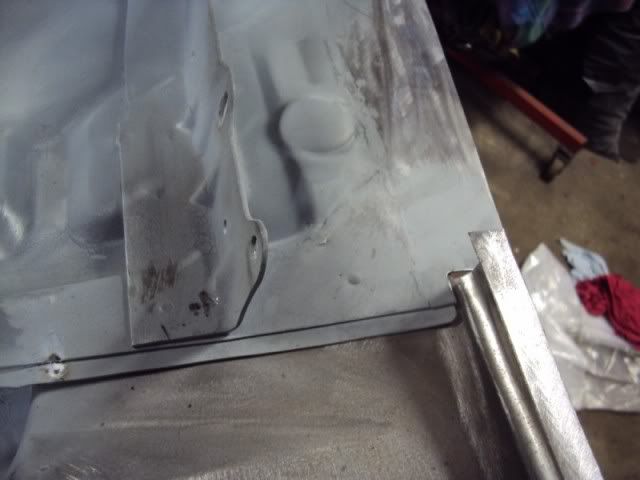
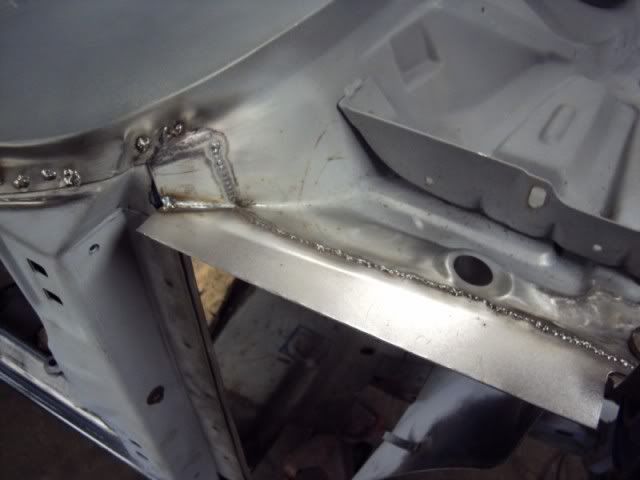
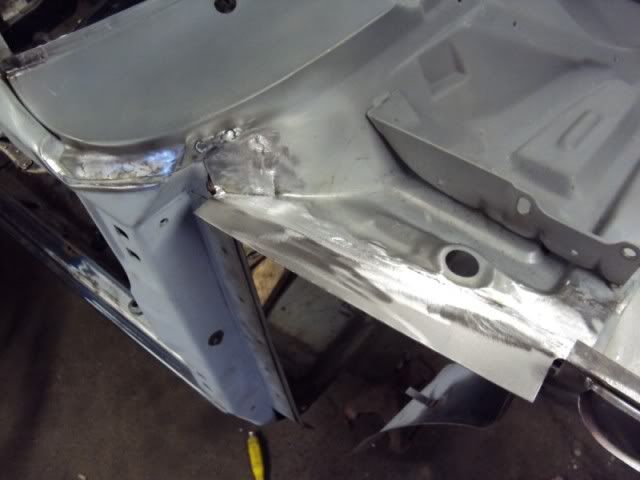
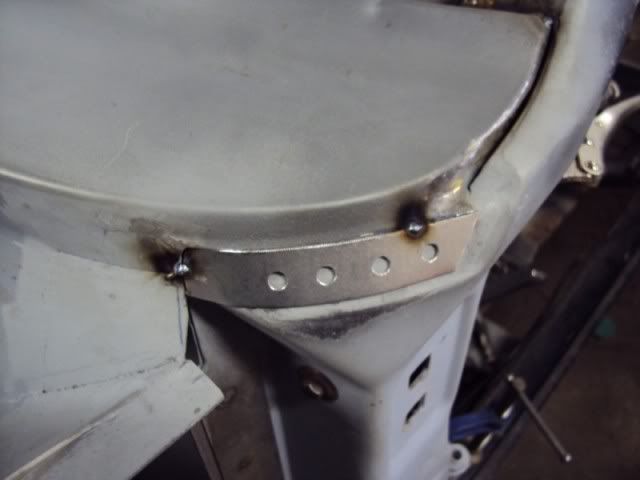
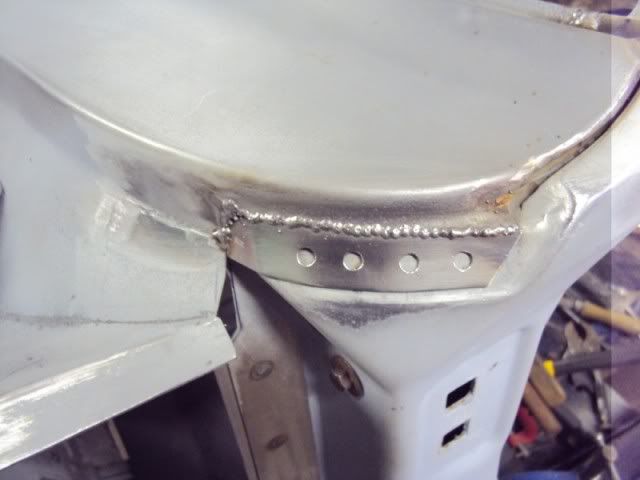
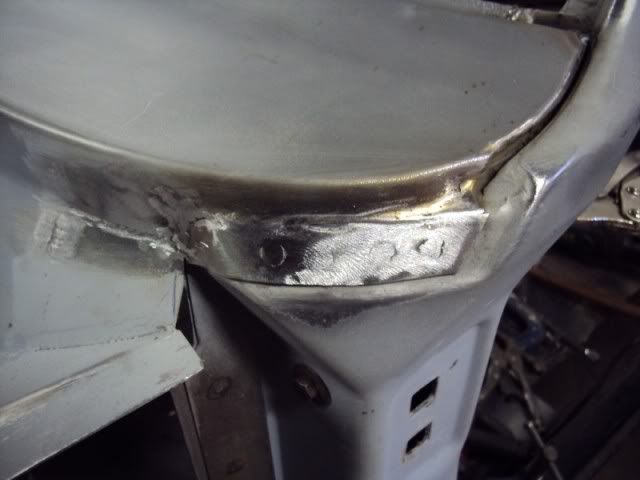
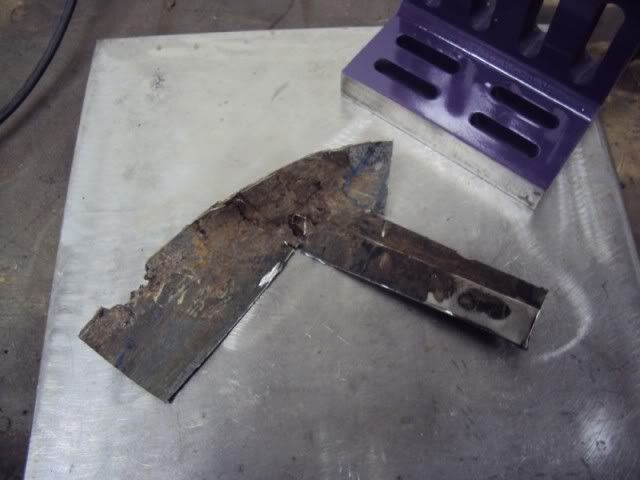
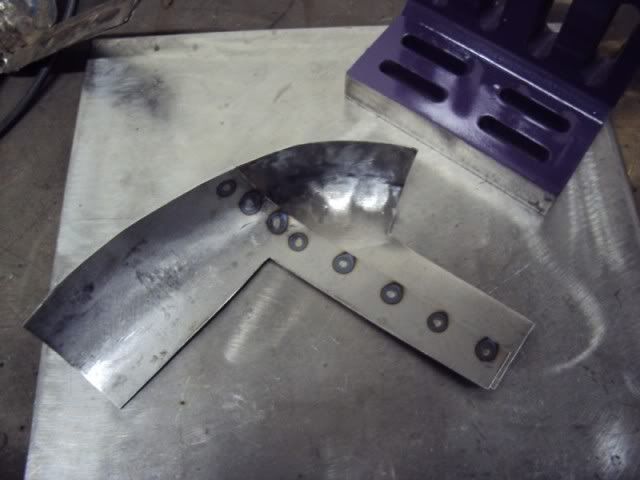
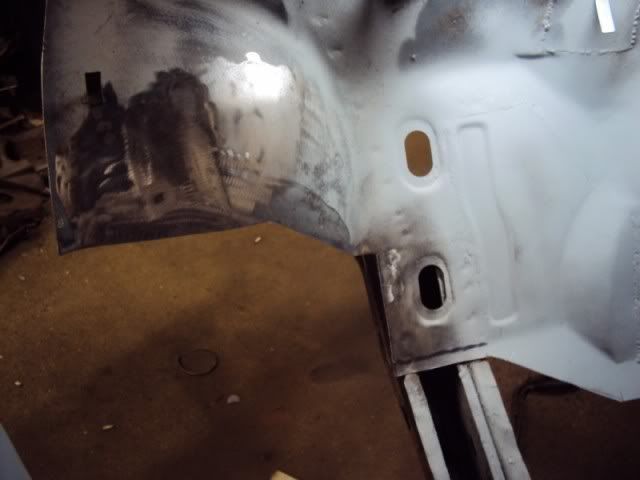
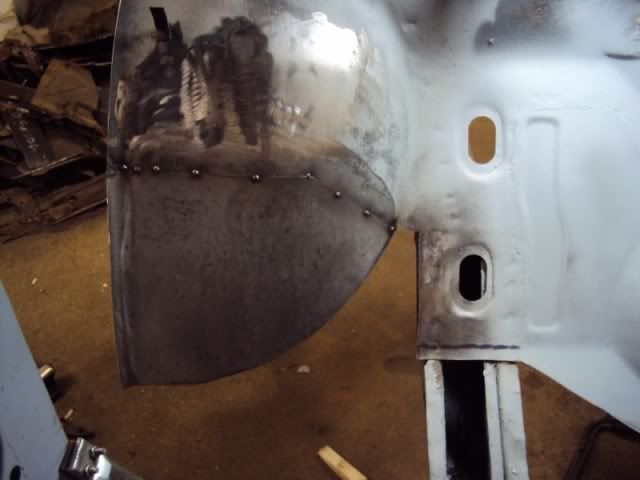
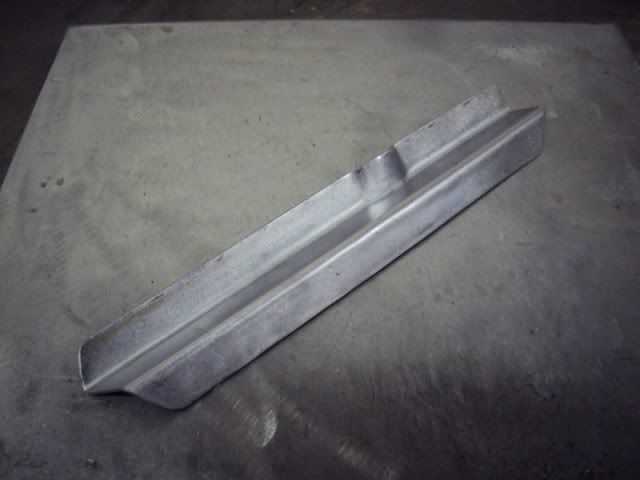
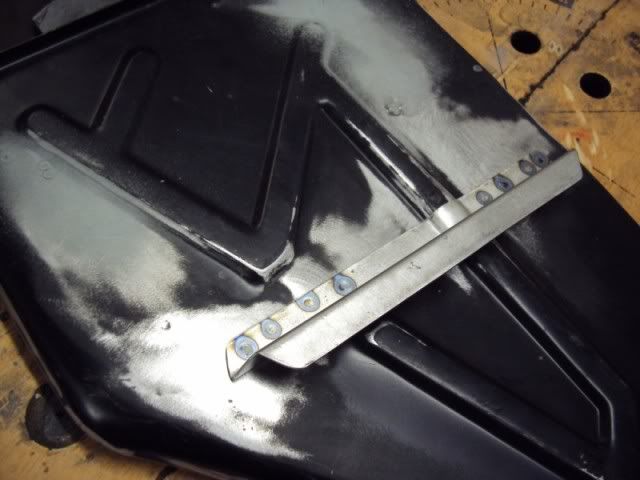
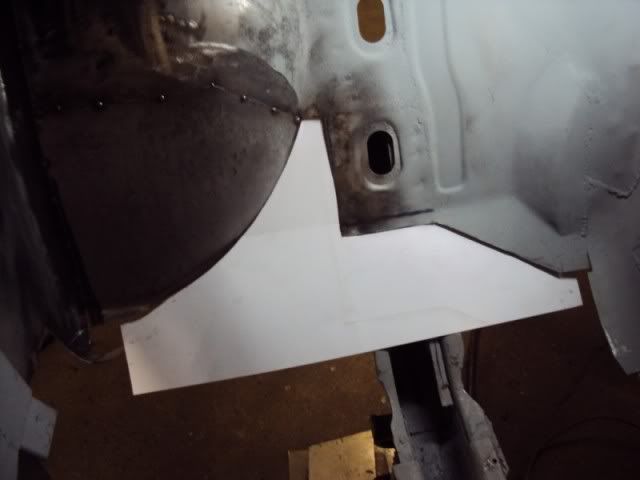
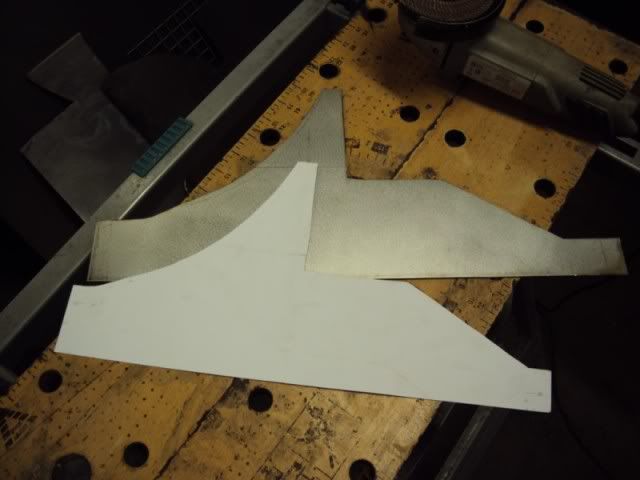
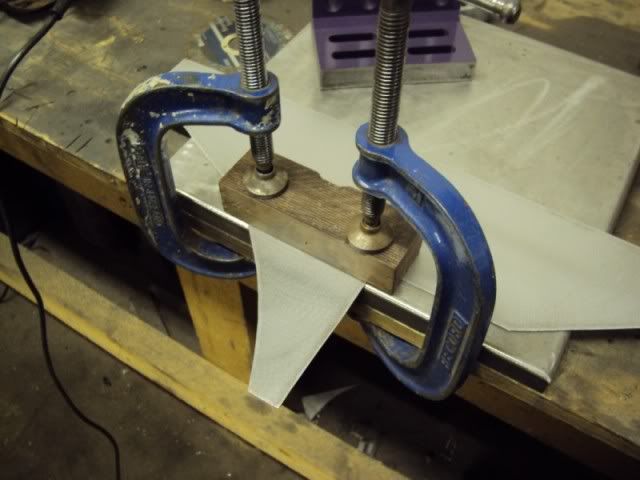
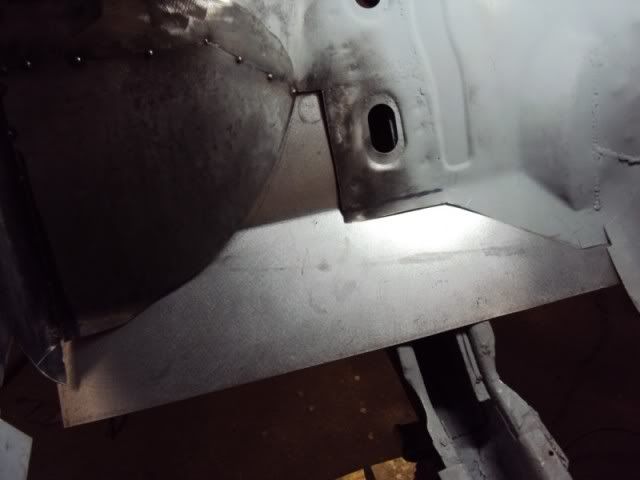
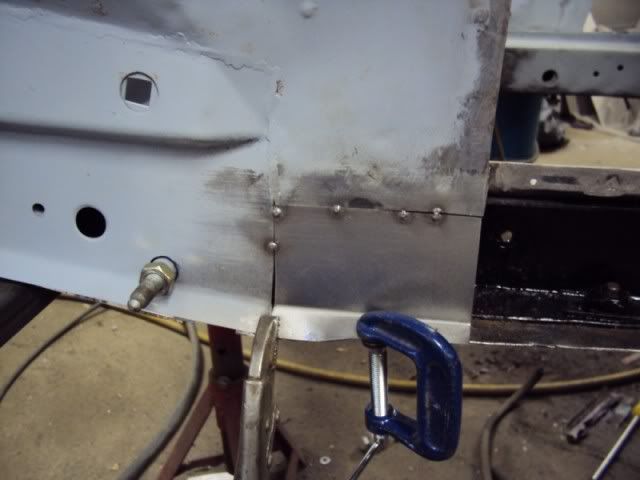
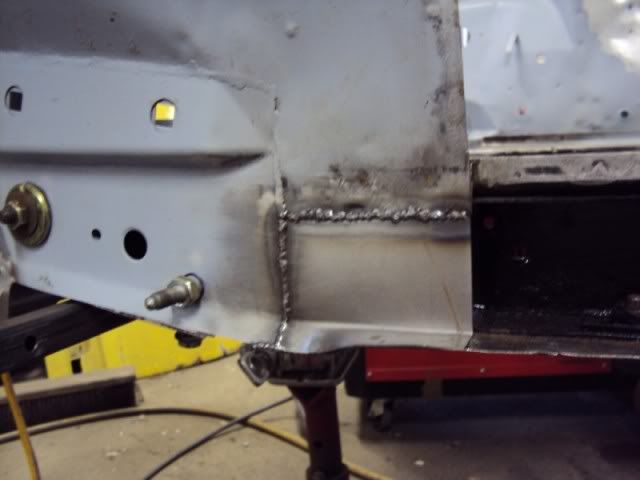
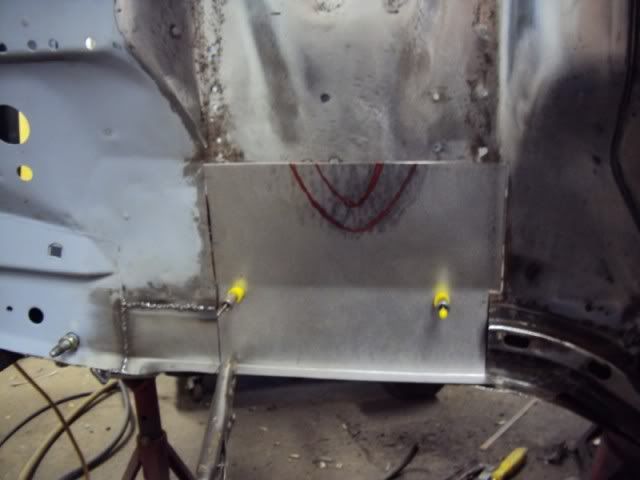
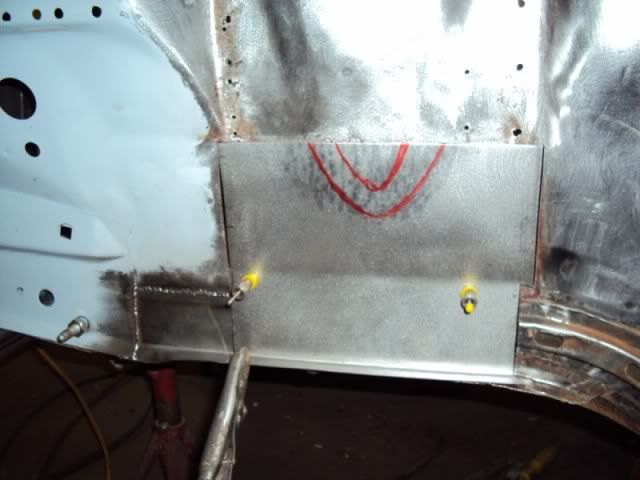
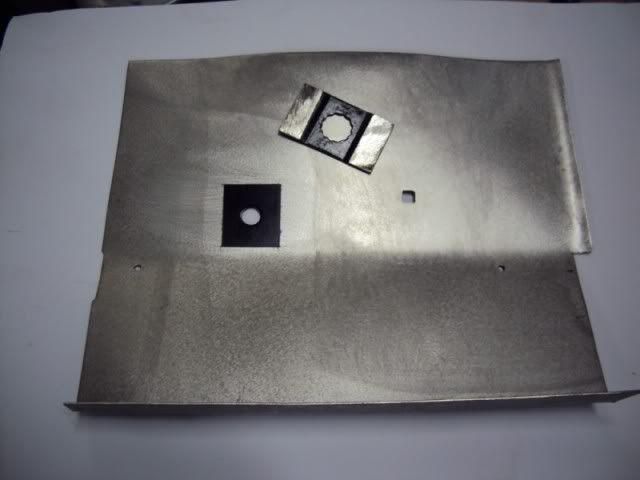
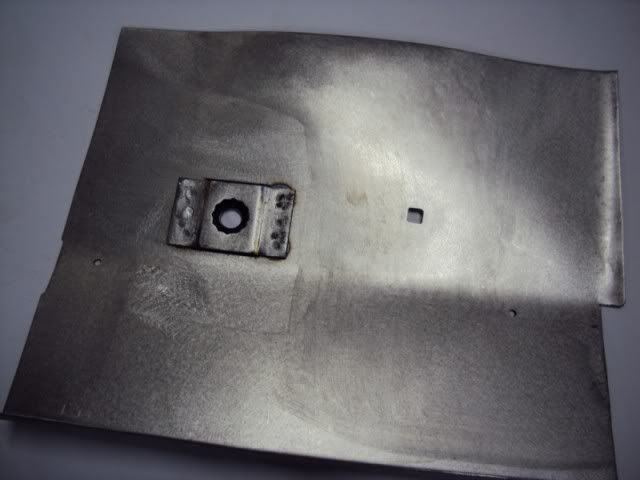
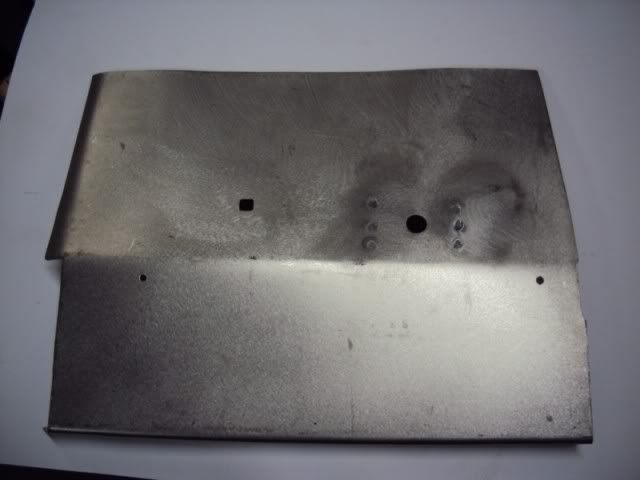
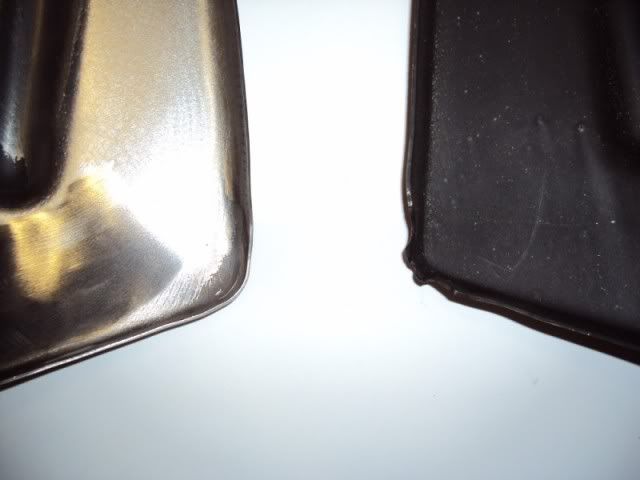
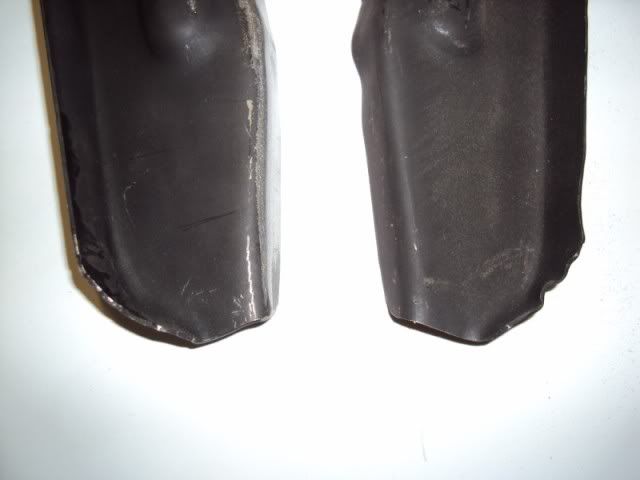
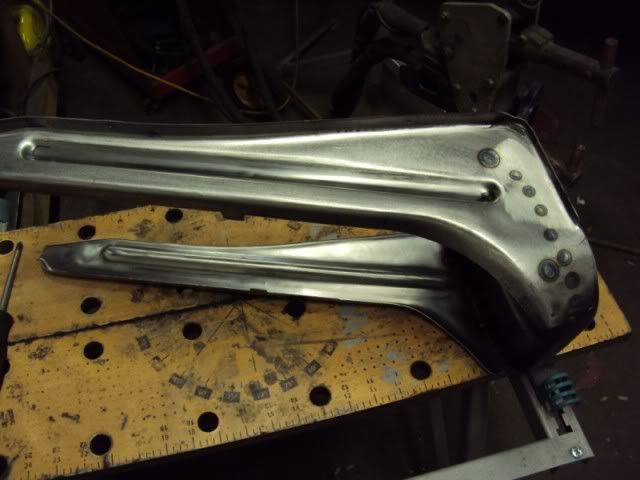
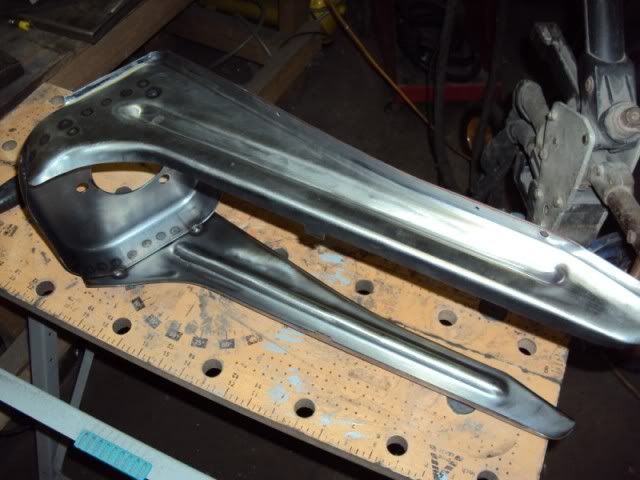
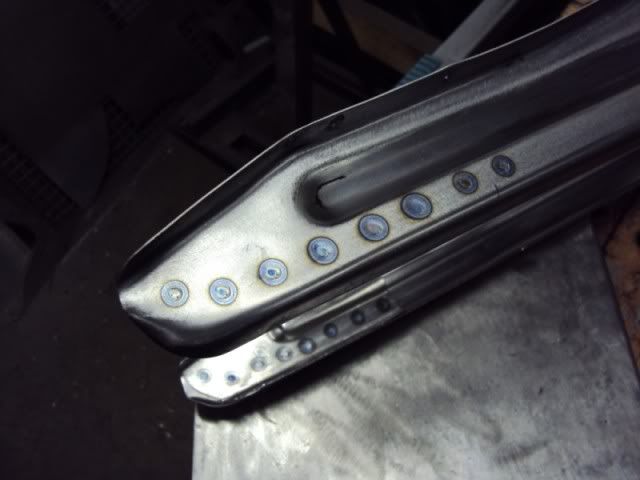
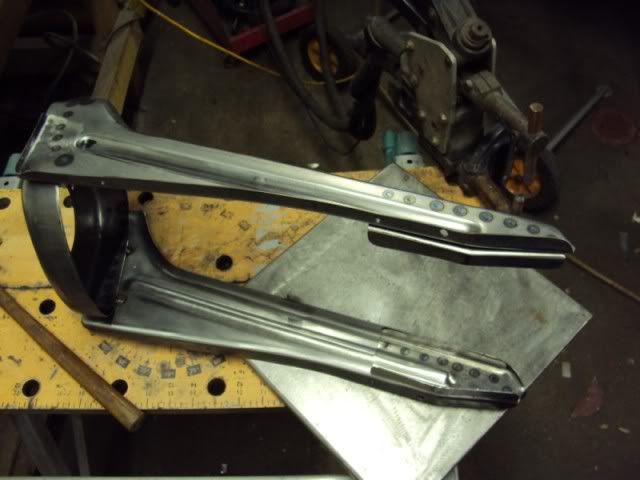
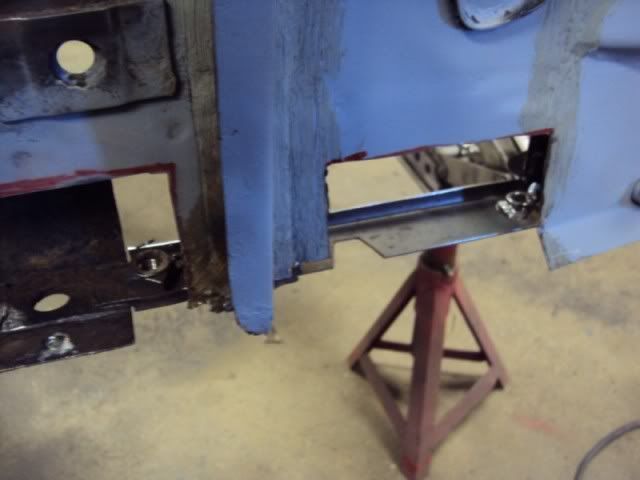
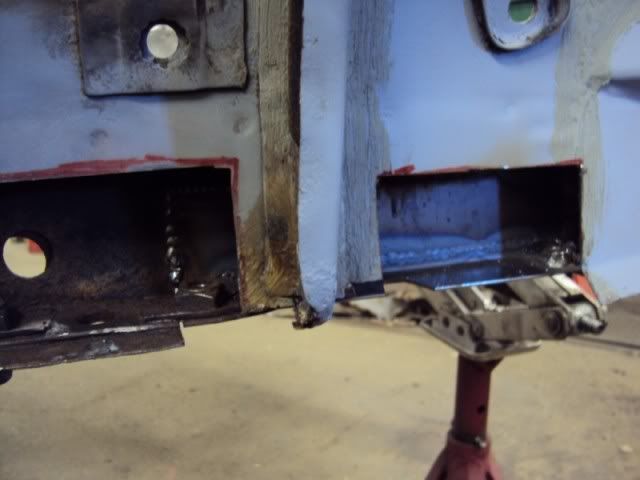
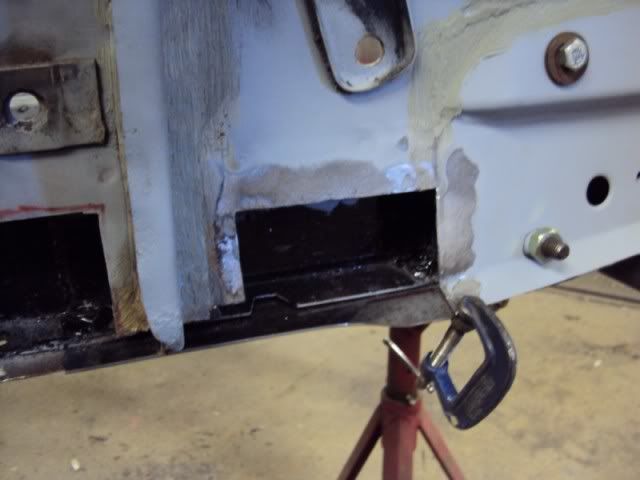
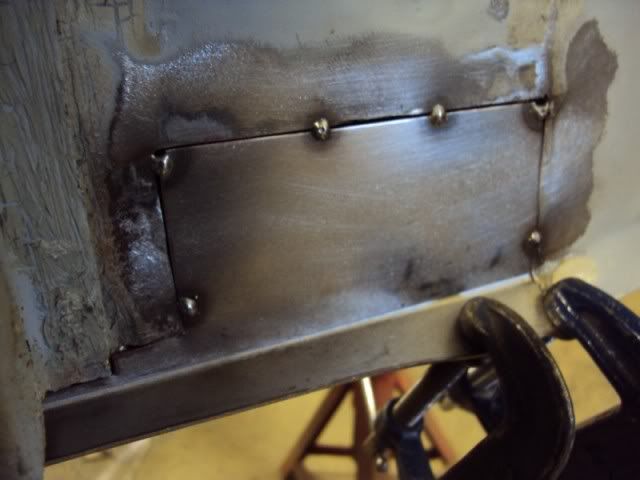
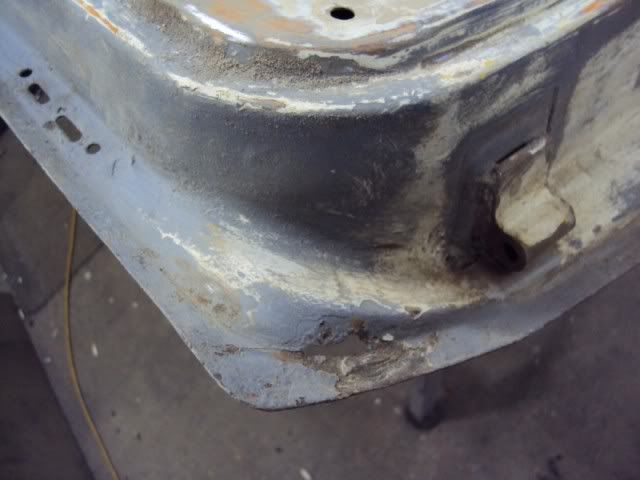
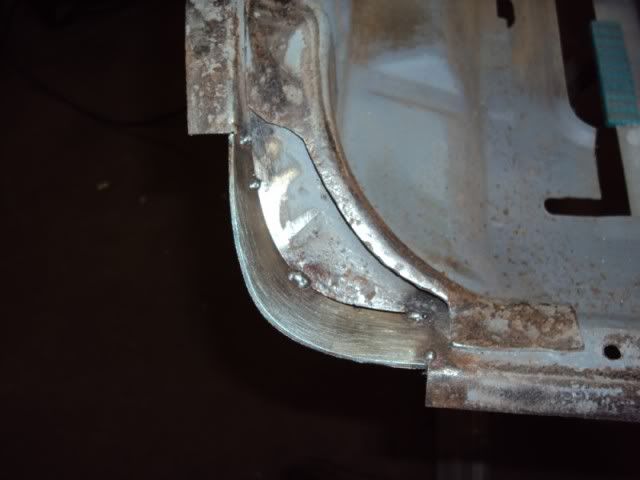
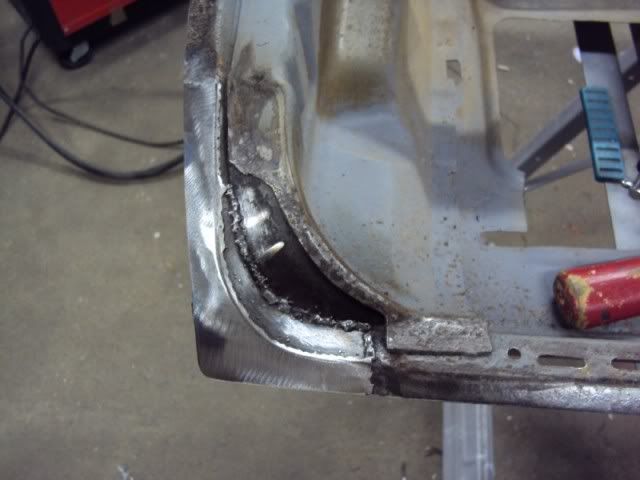
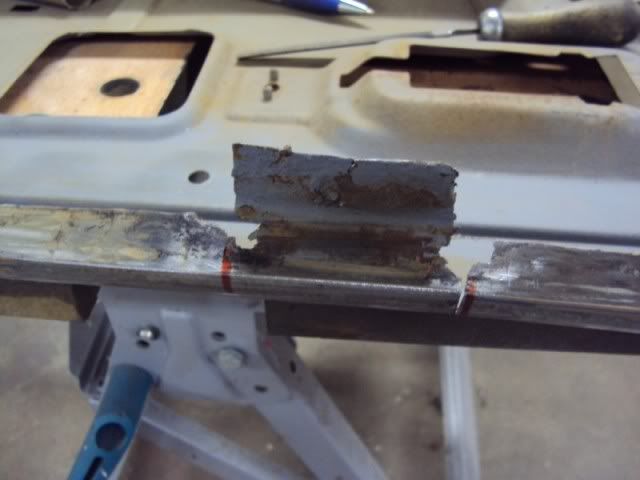
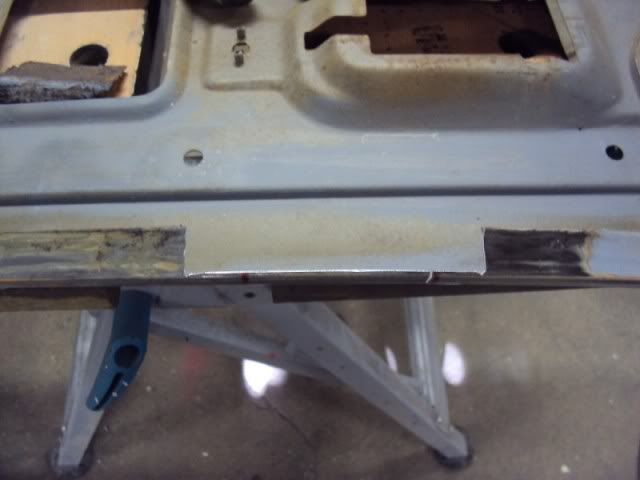
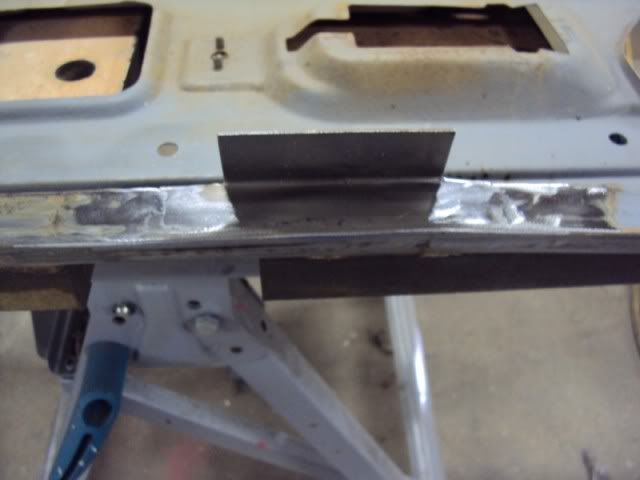
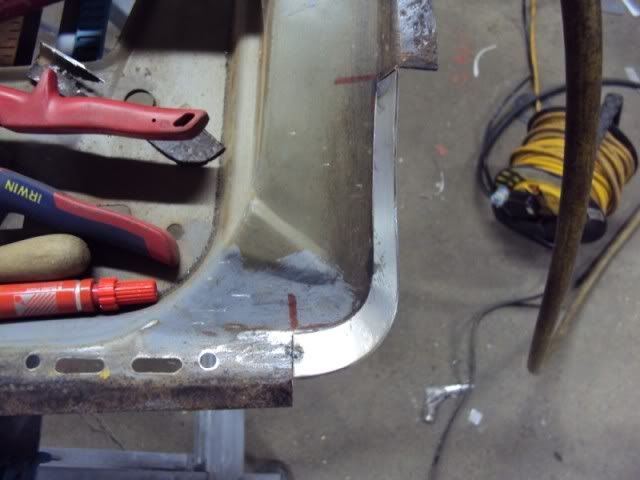
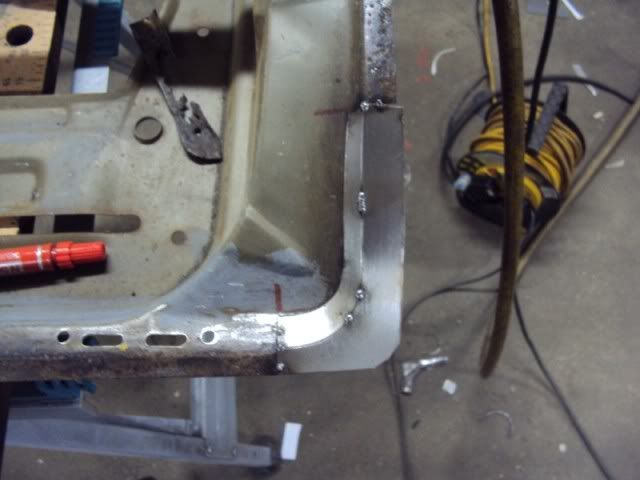
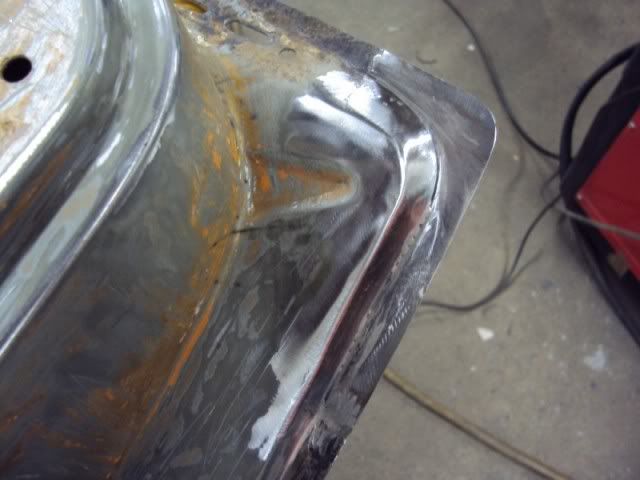
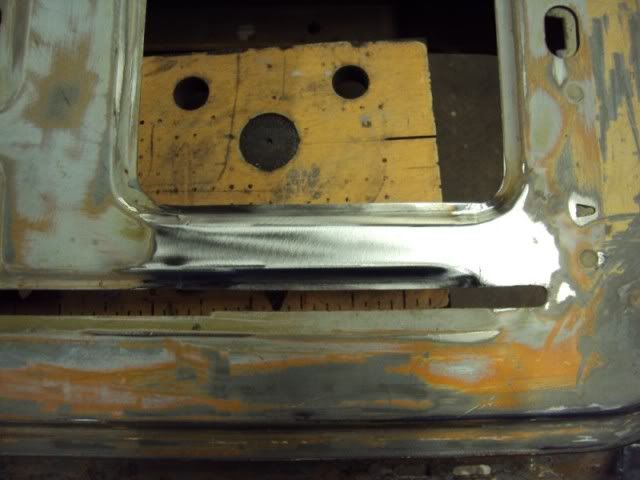
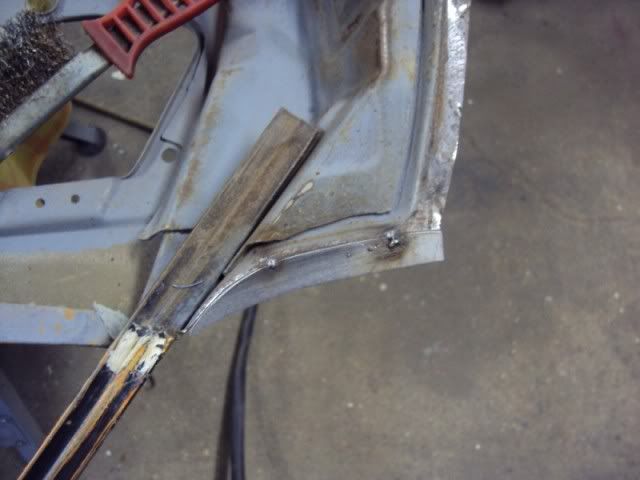
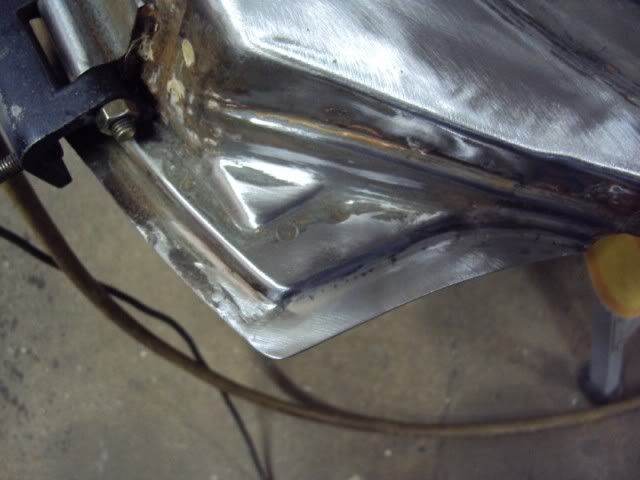
Front bumper mounting lugs and front edges patterns were produce using my CAD system. The patterns were transferred to mild steel cut out, formed and welded into position.


more to follow...
After being made redundant in 2009 in decided to start working for myself. Lucky I already had a workshop that I used to tinker about in doing my own projects so I was all set. I rebuilt a few engines for people and done the odd service here and there then In August 2010 I was asked to restore an Mk2 Escort RS2000 custom, which was described as being one step away from being broken for spares.
This particular vehicle had been brought as a project to restore by the pervious owner but unfortunately due to other commitments he never found the time to give it the attention it needed. So for some fourteen years this car stood under a lean-to with the passenger side exposed to the elements before the current owner stumbled across it and decided to bring it back to its former glory.
I hope you enjoy the pictures
Arrival
I took delivery of the RS2000 Custom. It arrived on the back of a transporters and at first glance didn�t look to bad so it was pushed into the workshop for a closer inspection.
Initial inspection
Once under the lights of the workshop it was easy to see which side of the car had seen fourteen winters and fourteen summers. I removed some of the outer panels to find the shell was in bad shape with the worst of the rust on the passenger side but lucky the chassis rails were in surprisingly good condition. After I report my findings I was given the go a head to start work but I could see that this was going to be a major restoration inside and out.
Strip out
The vehicle arrived at the workshop has a complete car and with a boot full of spare parts the pervious owner had collected over the years but had never fitted. The escort was stripped down to a bare shell and a list of replacement panels and parts was made.
Engine Bay
It was decided that the engine bay was the worst part of the vehicle so that�s where I started. Due to the availability/lead time of some panels I would have to replace what I could with new panels and fabricate the rest. I removed the wings, front panel, slam panel, battery tray, radiator mounts and front cross member. Apart from the tops and front edges the inner wings seemed to be in good condition so replacement tops panels were ordered.
The front suspension mounts and chassis rails also looked serviceable but sadly this could not be said for the bulkhead. The top of the bulkhead on the passenger side had rusted through and the drivers side had some poor repair work carried out at some stage this will require and new or second-hand panel.
Once all the old panels where removed a jig was made to relocate all the new panels and hold everything square.
Front bumper mounting lugs and front edges patterns were produce using my CAD system. The patterns were transferred to mild steel cut out, formed and welded into position.
more to follow...


 .
. !
!
Comment