Announcement

Collapse
No announcement yet.

December 1974 Mk1 Escort 1300L (2 door)

Collapse
X
 
  • Filter
  • Time
  • Show
Clear All
new posts

  • #16
    Frustratingly things have been taking longer than I'd hope with the sill assembly. The joys of being back to work after the Christmas break and the ridiculously cold weather have kept me out of the garage somewhat.

    Fortunately managed to gain some time in the garage and try to pull things around.

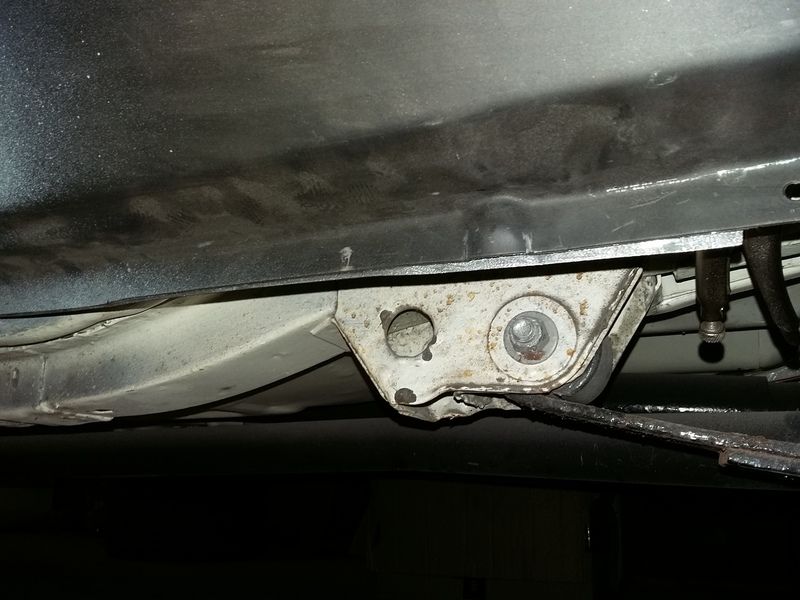
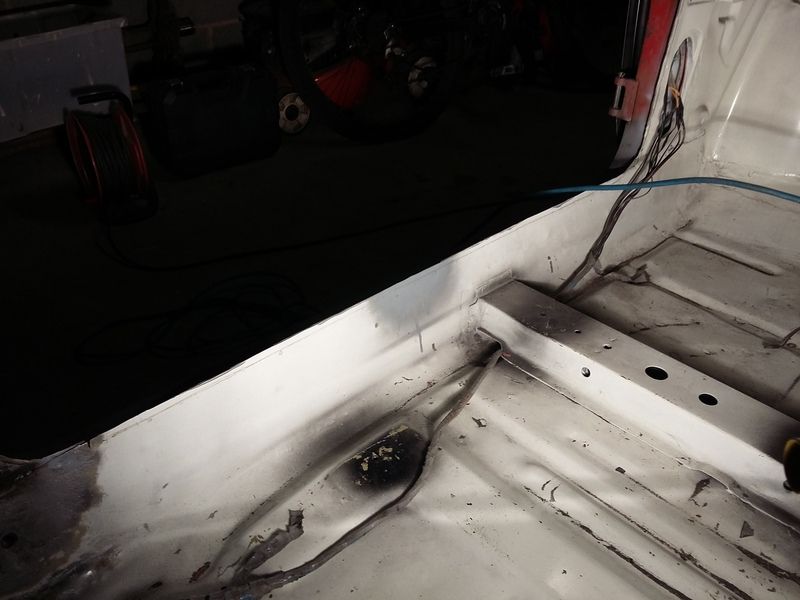
    First off I started with the inner sill. Many years ago I fitted an Ex-pressed half floor pan. To be fair it was a great fit but none of the original holes were present in the floor for the bungs and the inner sill. So those holes were ticked off first.


    [IMG]http://i15.photobucket.com/albums/a373/lincolndanny/MK1%20Escort/20170107_120841_zpsb7***m22.jpg[/IMG]

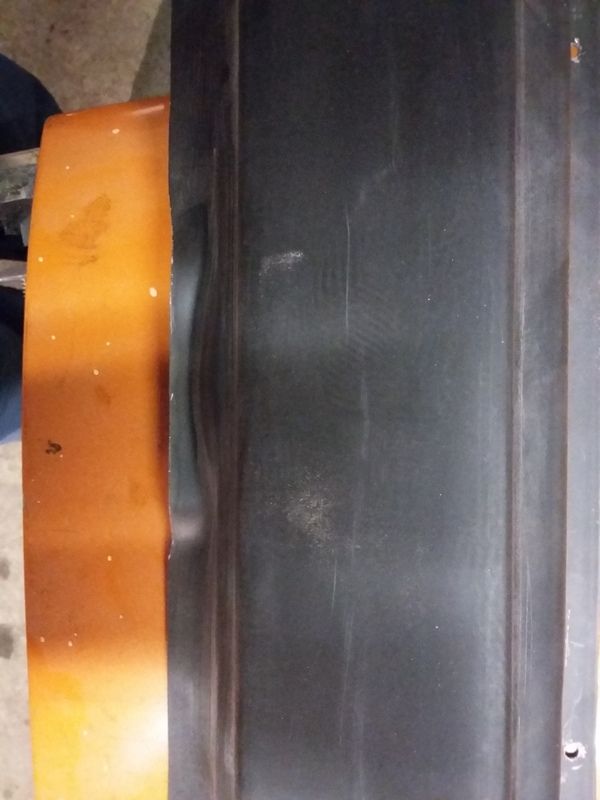
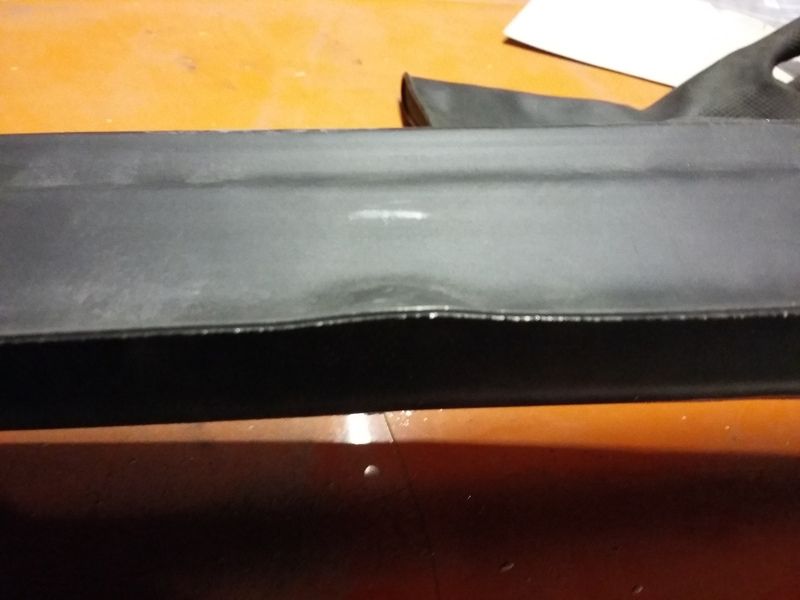
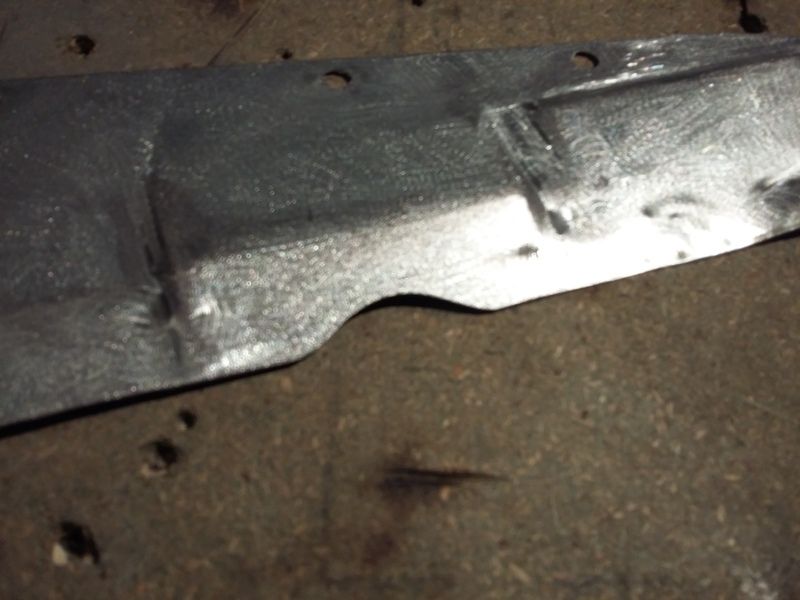
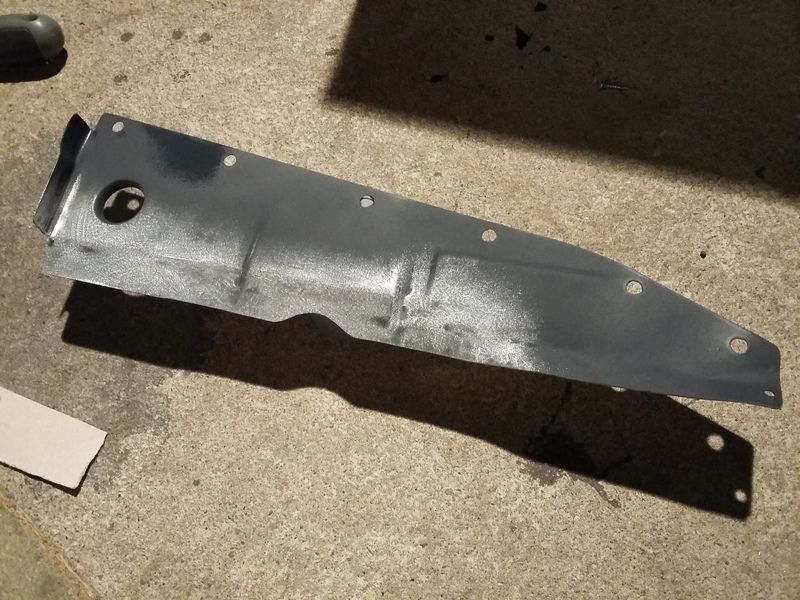
    With that done its now time for the outer sill. I suppose we shouldn't moan as some cars don't have anything at all to use in restorations, but these outer sills are getting worse as the years go on. They do at least now come with the ford logo indent in the sill step and enough material on the bottom edge. Plenty to sort out before fitting it though..

    The lower lip should measure around 3/4" which it does for most of the sill but they then go massively oversized at the front around the a post. I marked them up as can be seen and trimmed them down to the correct size.
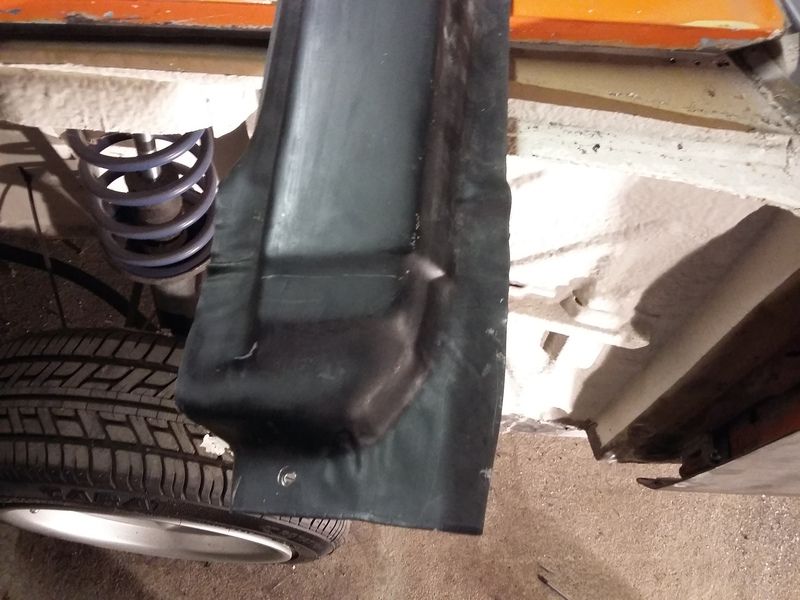
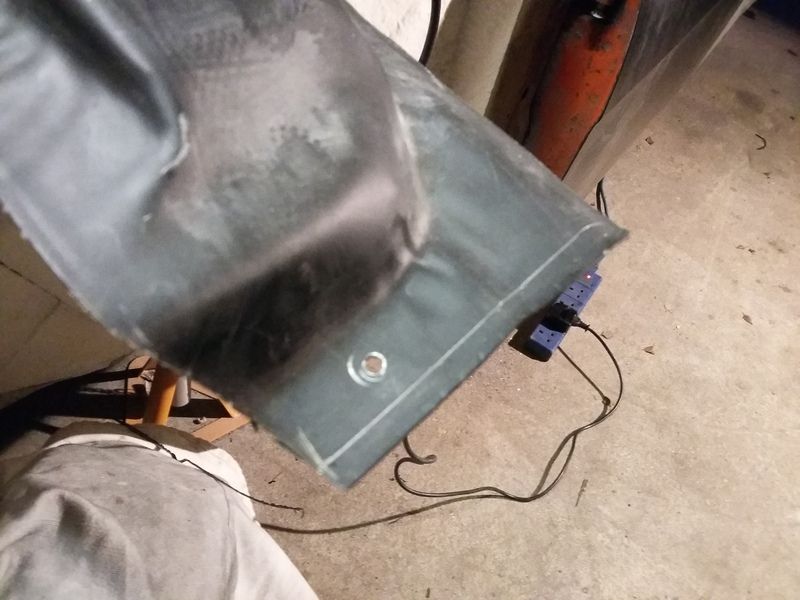


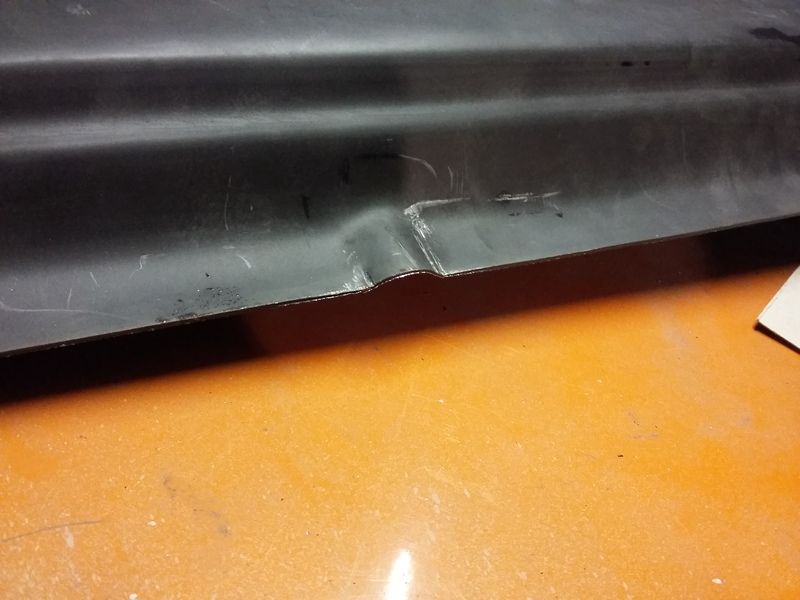
    The lower lip around the jacking point also has excess material which needs removing. As it should be shown on the original Offside.

    [IMG]http://i15.photobucket.com/albums/a373/lincolndanny/MK1%20Escort/20170115_165220_zpspow***fz.jpg[/IMG]

    Then as can be seen on the replacement sill, requires trimming level.
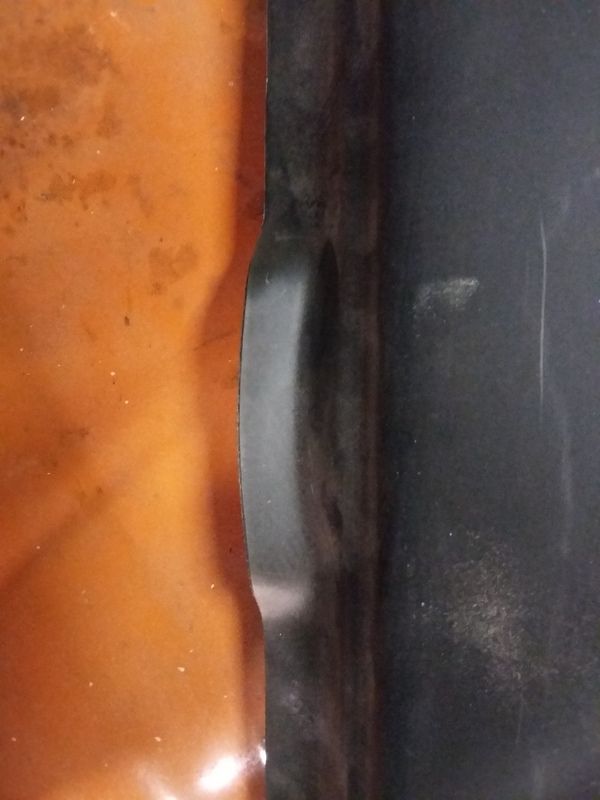


    Final little detail for now.

    Original sill drainage hole..
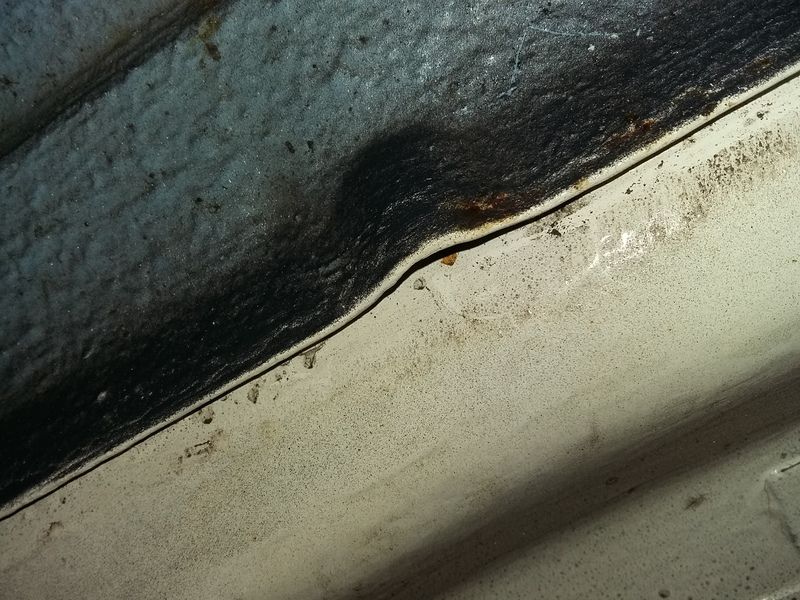


    Replacement part drainage holes. Don't think they'll drain much
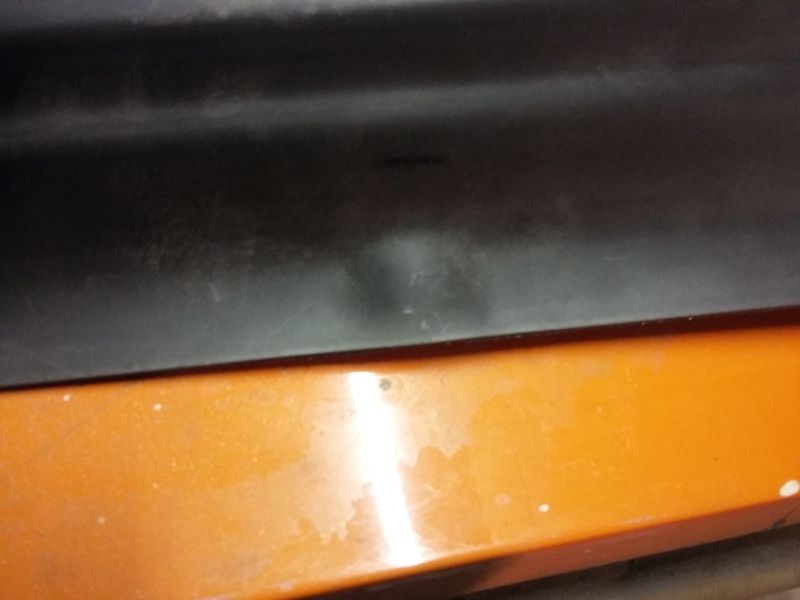


    Easily sorted though
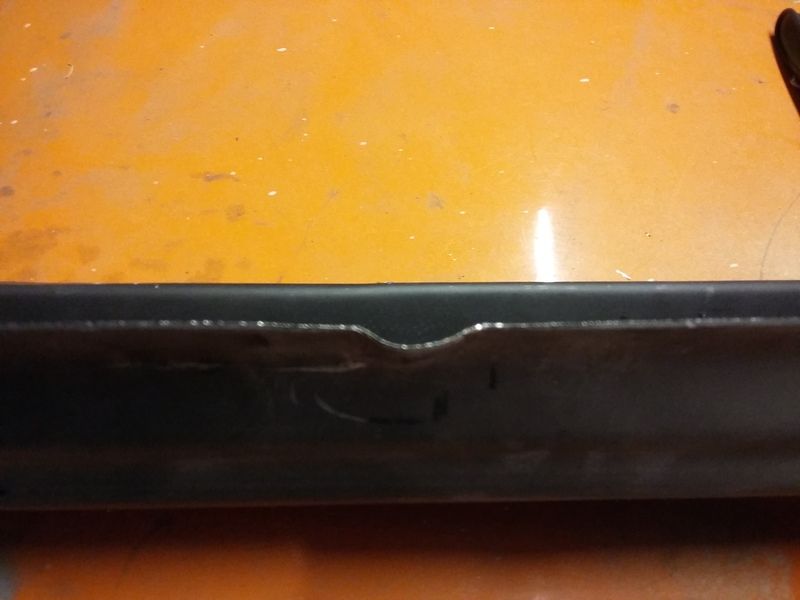


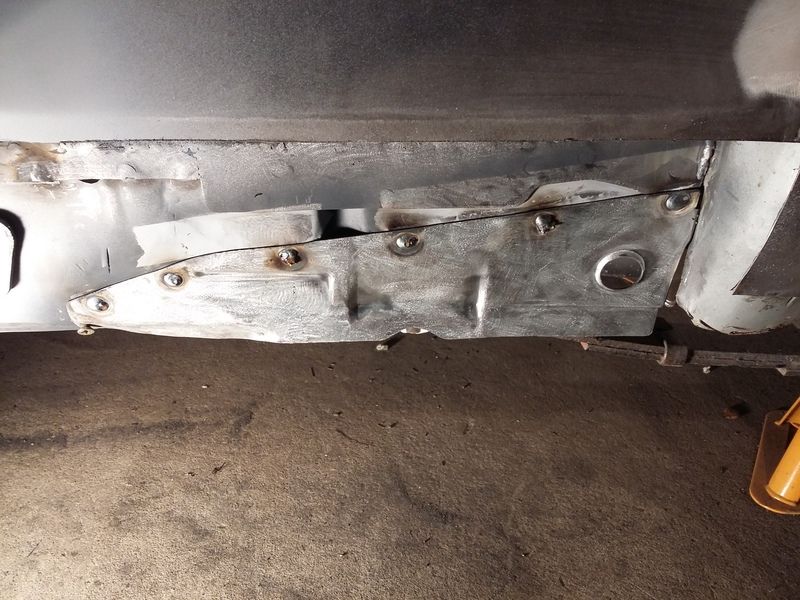
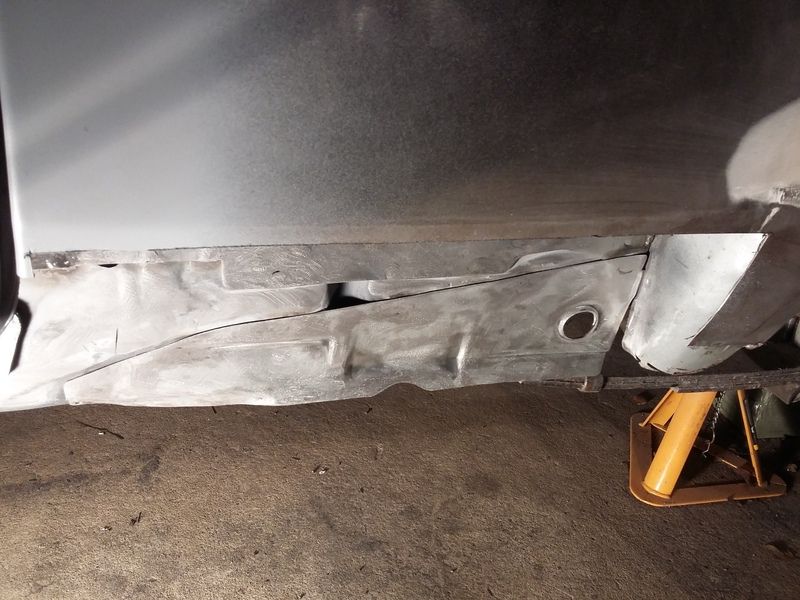
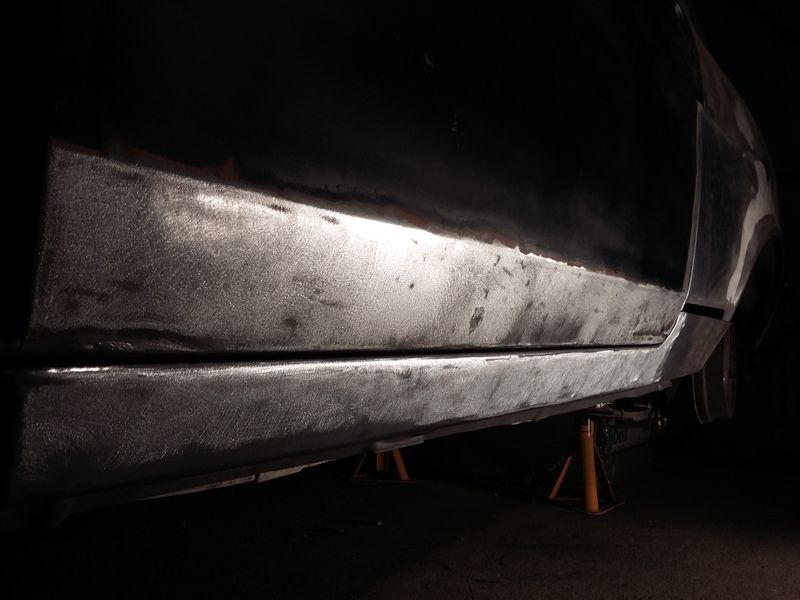
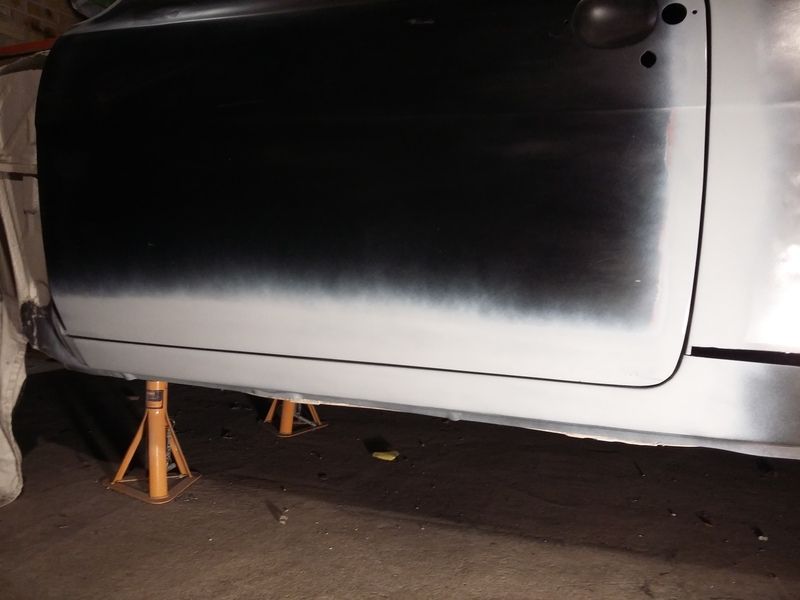
    So with that lot done I've started to get everything lined up. Nearly there but there is still some panel beating to be done in certain areas.(wrinkles where it meets the bottom of the A Post are next to be sorted out..) I've cleaned the edges up and painted them a light colour to try and make gap checking a bit easier as well. It's getting there thankfully. Hopefully next update should see some welding!

    Comment


    • #17
      Some lovely work Danny, good to see it coming on 👍
      Cheers Glyn

      Comment


      • #18
        Originally posted by Mogsmex View Post
        Some lovely work Danny, good to see it coming on 👍
        Yep, it's coming on very nicely!

        Comment


        • #19
          A whole week and this week's total time spent on the Mk1 Escort? An hour. Pathetic! Safe to say work and Diy has taken over this week. I've bagged 5 days off work at the begining of February, so fingers crossed to get this sill finally finished off!.

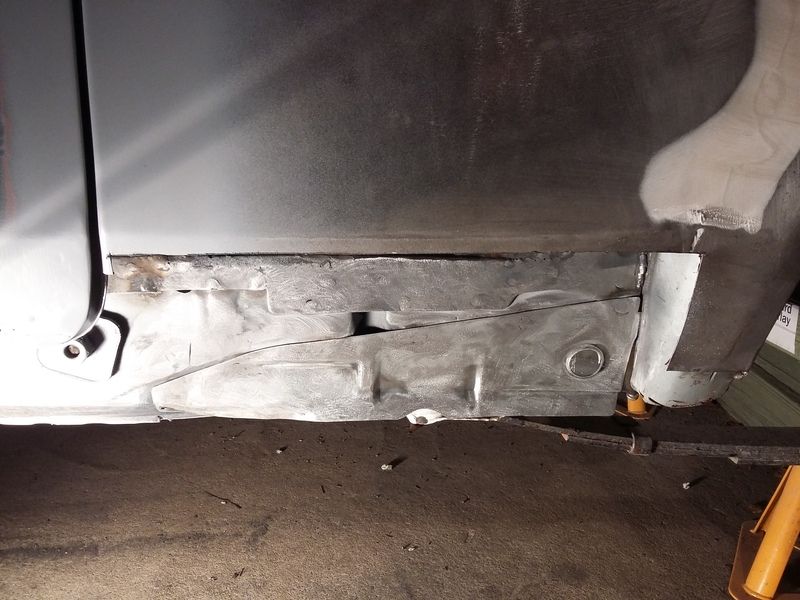
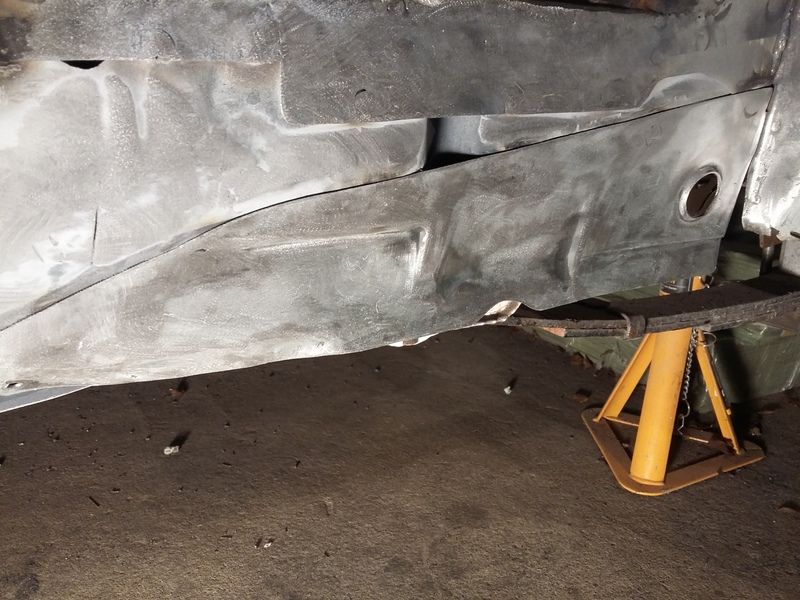
          Anyway, the hours effort this week was actually quite productive. Managed the get the sill closing panel welded in. Plenty of trimming to the lower edge where it met the outer sill. I prefer to trim joining lips back so that the outer lip is 1mm proud of the inner lip. This gives 2 benefits. 1 it looks better in my eyes and more how the cars would of been welded together originally and 2) because there is 1mm difference it allows a thin smear of seam sealer to protect the join that wouldn't be possible if the two layers ended at the same point.

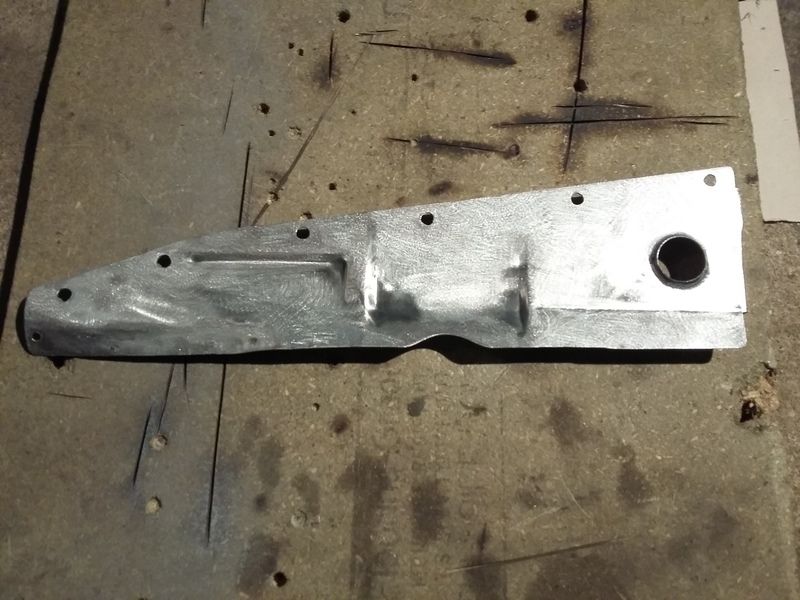
          Also another original detail was missing from the reproduction panel, the 'scallop' on the lower edge where the jack would locate. I've added this detail.

          Next progress should see the jacking point going onto the inner sill and then finally, outer sill time! V888 has been sent to the Dvla as well so on it's return i'll try to start tracing it's 6 previous registered owners.


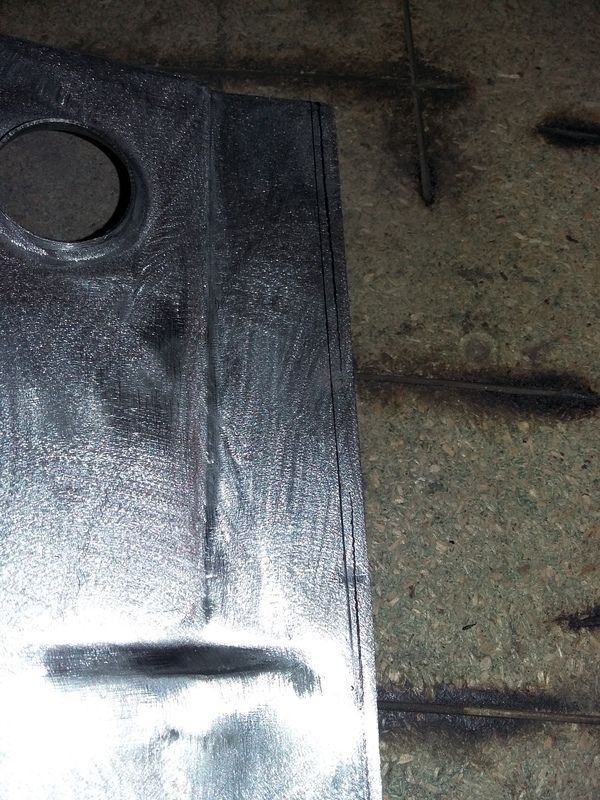
          Rear sill join before trimming. I want the inner closing panel to be 1mm higher behind the outer sill.


          1st line is where I marked the flush join. 2nd line is my cut line.


          Holes drilled ready for welding, panel bare metalled and the 'scallop' added to the lower edge as per original. These replacement panels don't have this small detail but it is where the jack goes.


          Protection added between overlapping panels.


          Didn't take too long to plug weld it all in.


          All finished. Slowly but surely getting there now!

          Comment


          • #20
            Looking good Dan
            Ex-Chairman of 'The Clique'

            Comment


            • #21
              Cheers son

              Comment


              • #22
                Looking forward to seeing the progress.

                Comment


                • #23
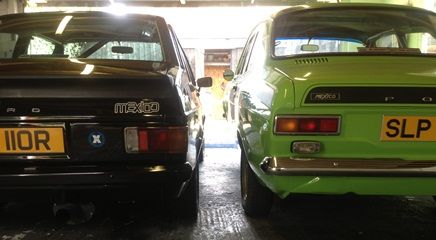
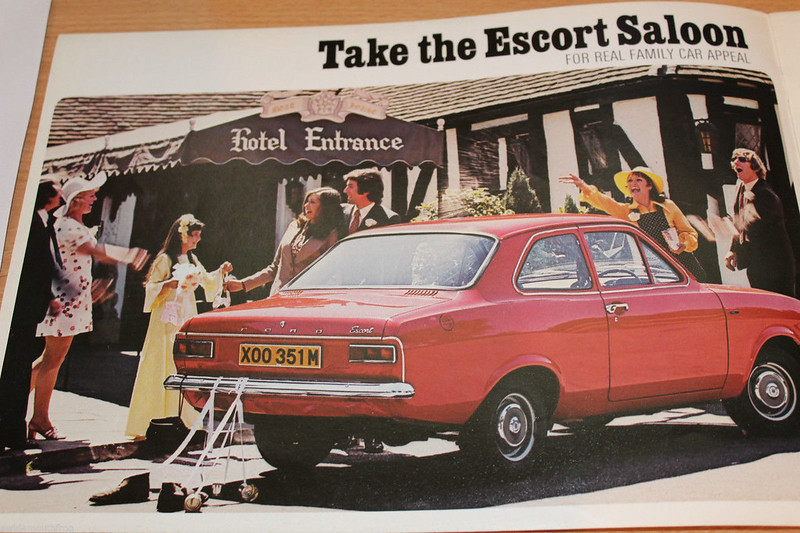
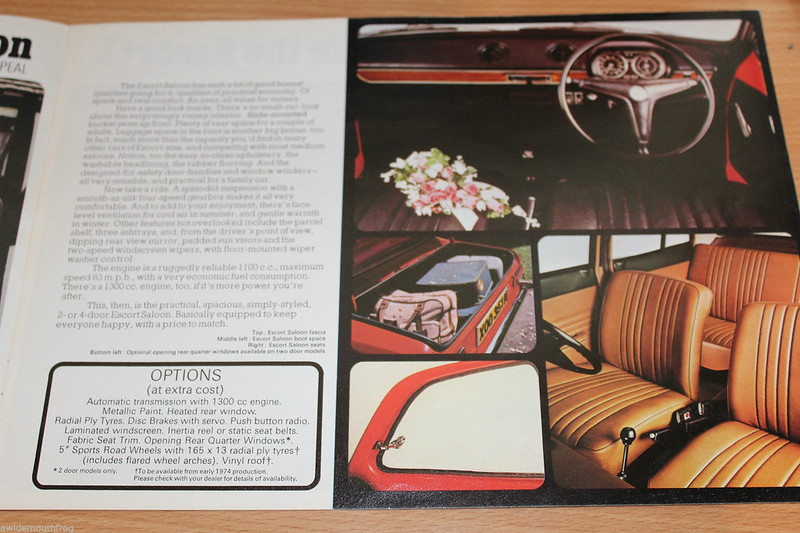
                  Hope to finally have another update on this in the next week or so but until then, here's a scan of a 1974 brochure showing how this old girl would of originally looked and also confirmation that in the last year of production, if you ordered the wider Steels, they came fitted with Mexico wings!

                  2 by Daniel Whitworth, on Flickr

                  3 by Daniel Whitworth, on Flickr

                  As a sidenote, I want to re-instate the photos on this thread by using Flikr but I cant edit my posts. Is this possible?

                  Comment


                  • #24
                    Well it's been a while hasn't it.

                    I became a Dad for the first time earlier in the year, so as you can imagine, time has been somewhat lacking on the mk1 front! However, things seem to be settling down nicely now and so I have started to get back on with the welding.

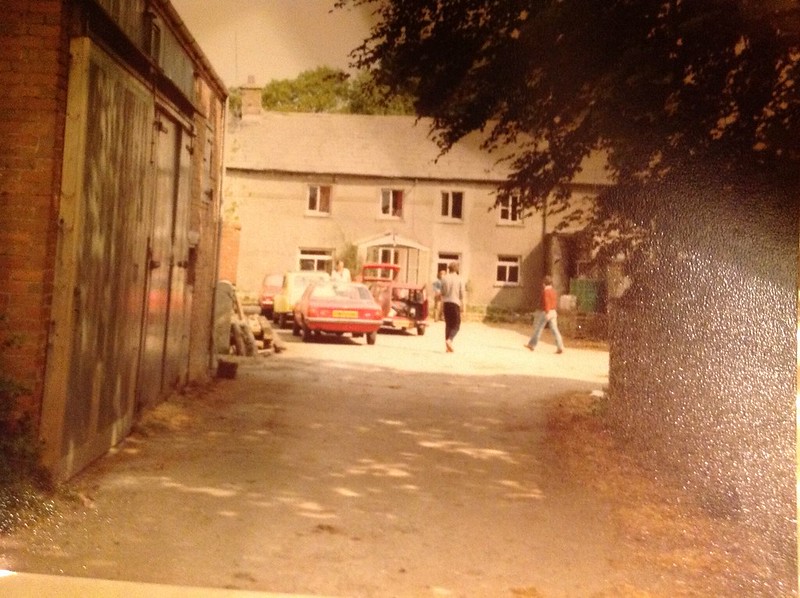
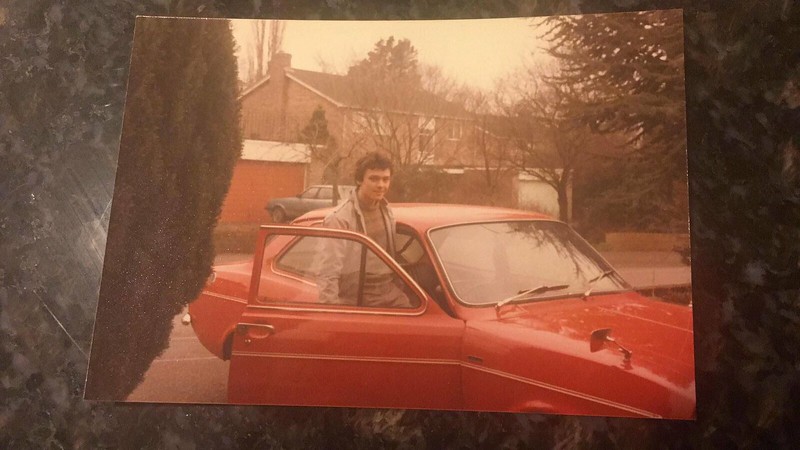
                    Before I get in to that though, a little history on the car! I sent off a V888 form for the car so that I could get copies of the previously issued logbooks. This gave me plenty of names and address' to start my search, Facebook proving very helpful in tracking down a few owners!

                    I received a few photos and good info from a few of the previous owners, frustratingly though no "whole car" shots. A few of them are still trying for me.

                    (its at the front of this shot frustratingly)

                    image by Daniel Whitworth, on Flickr

                    received_10212192429708570 by Daniel Whitworth, on Flickr

                    Anyway,

                    I left the last update with the outer sill being adjusted for fit but no matter how much I tried I just couldn't get it to a level I was happy with. The door step on these old pattern sills just isn't deep enough, I imagine due to them originally being "cover sills" back in the day. So I've bitten the bullet in the last week and ordered another from Ex-Pressed. Pricey but I'm hopeful for a lot better quality.

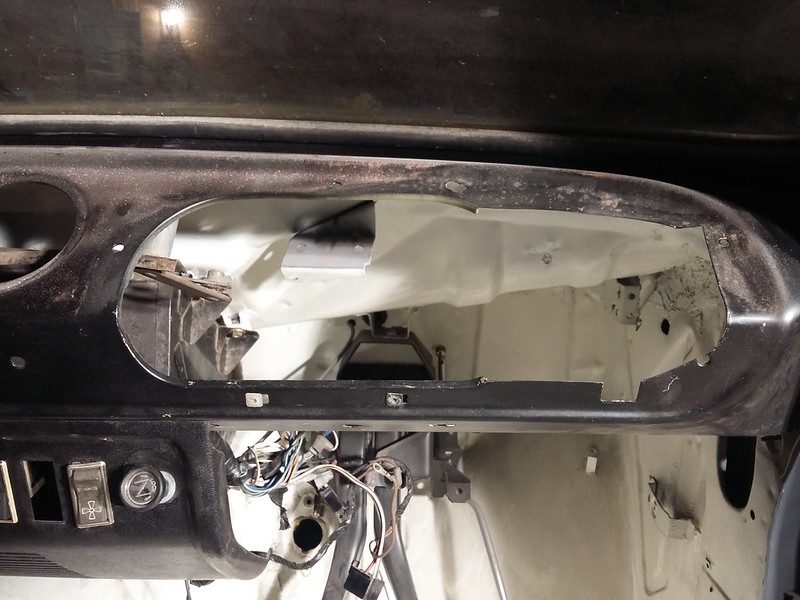
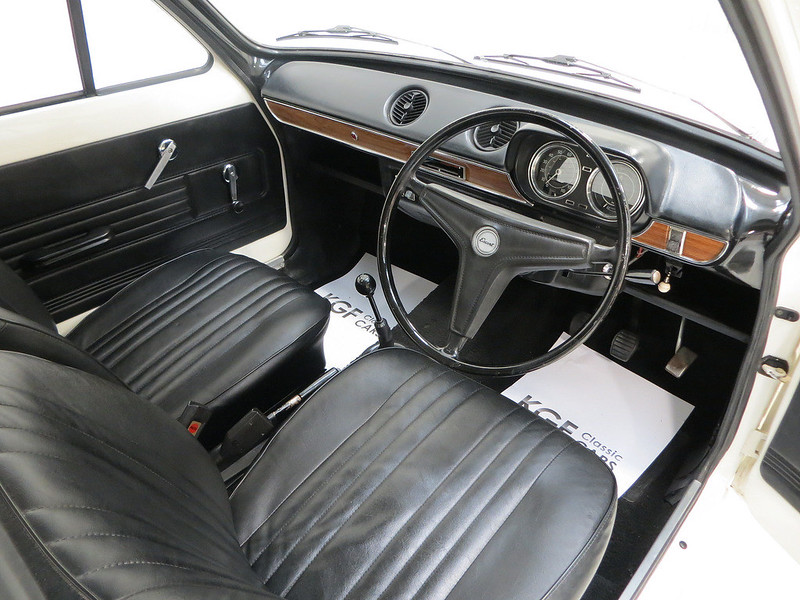
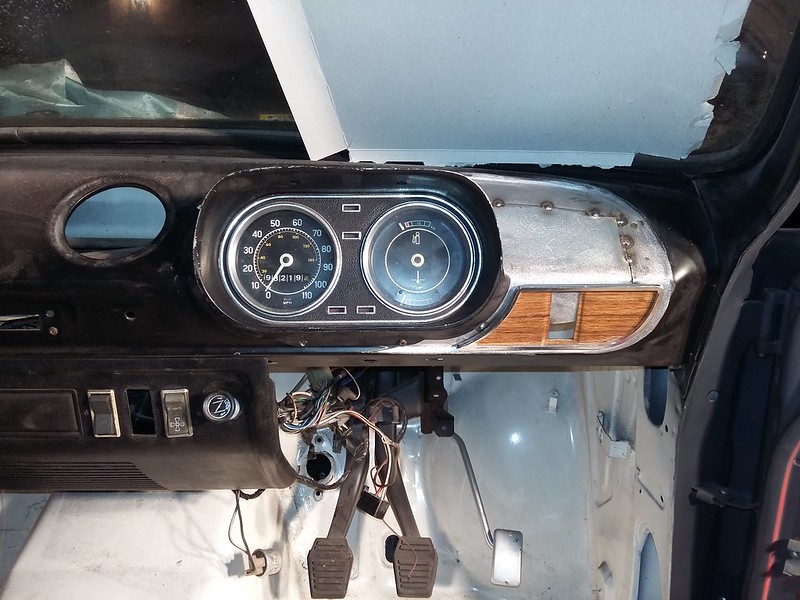
                    There's a 2-3 week wait currently on the outer sill so I've jumped in to sorting out the next area while I wait, which is the dashboard. Like a lot of MK1 Escorts, my 1300L originally came with the two clock dash and "formica" dash strips but somewhere in it's previous life it's had the dashboard chopped to convert it into a 6 dial.

                    20171103_191831 by Daniel Whitworth, on Flickr

                    Now as you know, I'm putting this car back to what it was born as and that means putting the dashboard back to this...

                    22514254814_ccc06b514c_b by Daniel Whitworth, on Flickr

                    Which means I need to put the metalwork back to something like this..

                    2011071422423243267P7020145-1 by Daniel Whitworth, on Flickr

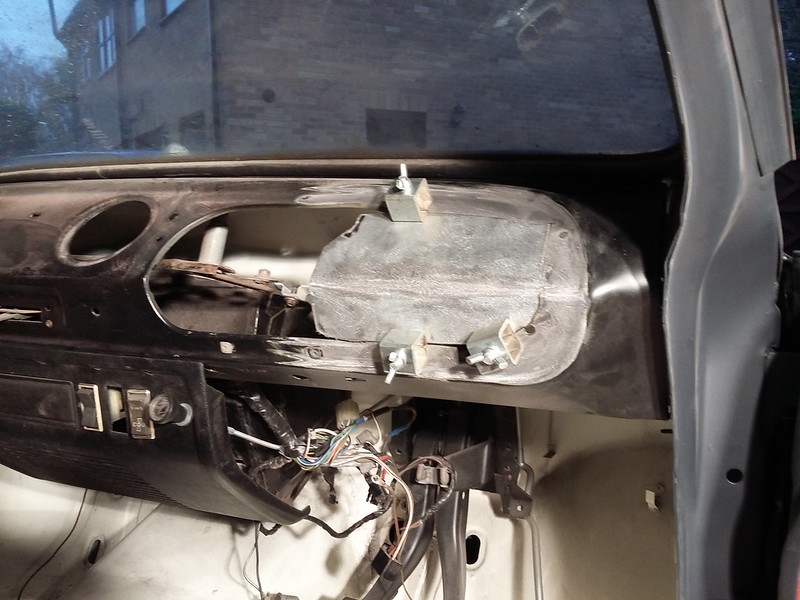
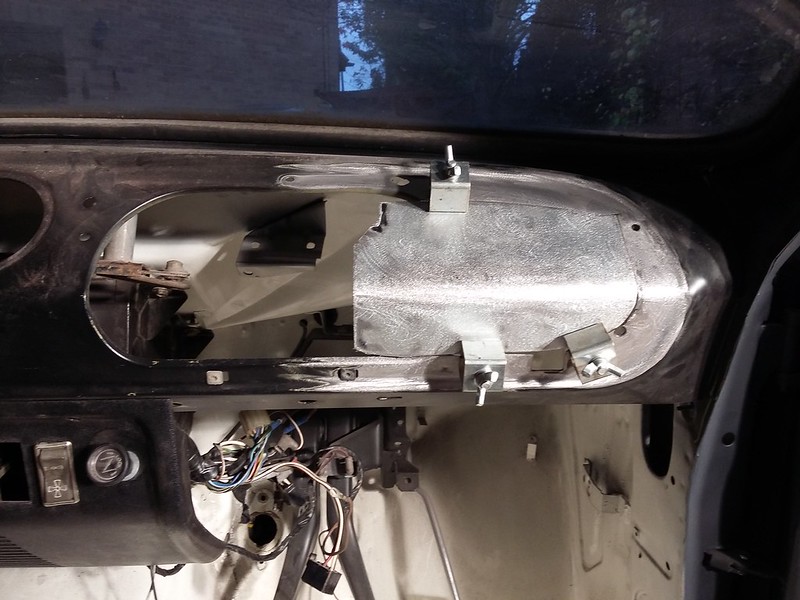
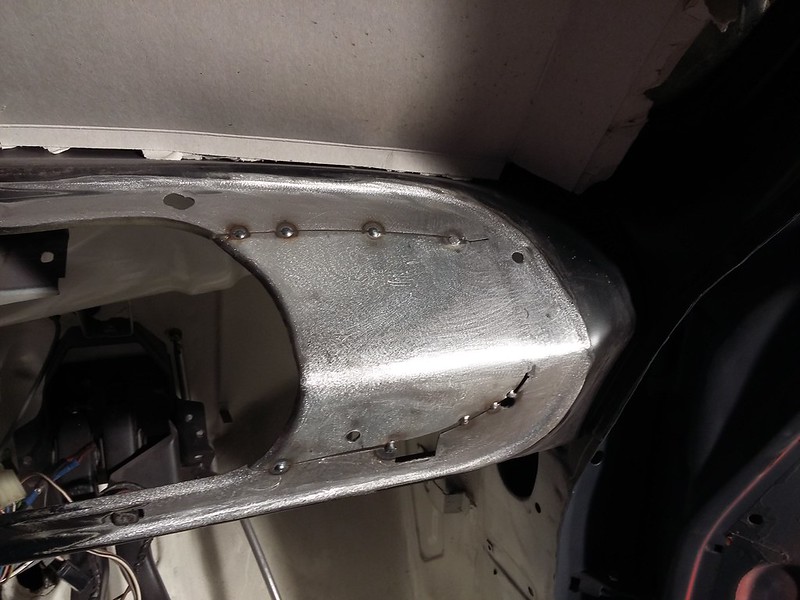
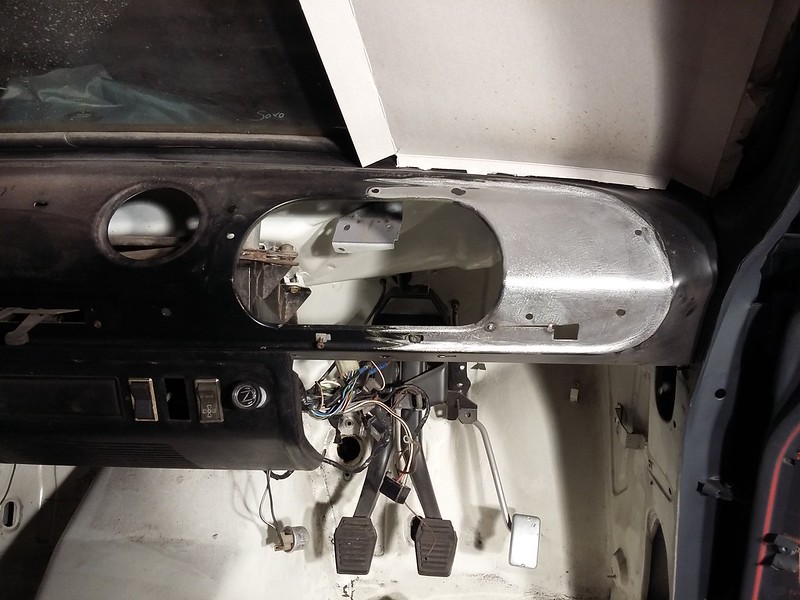
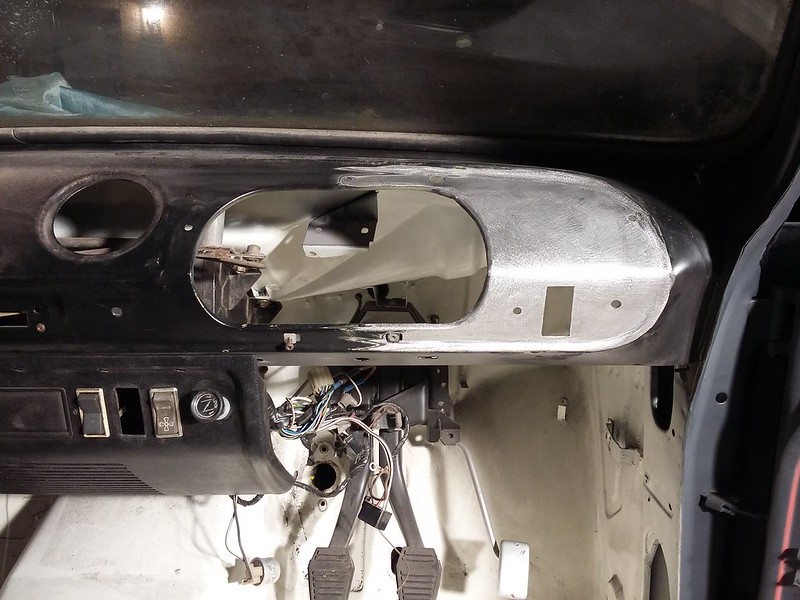
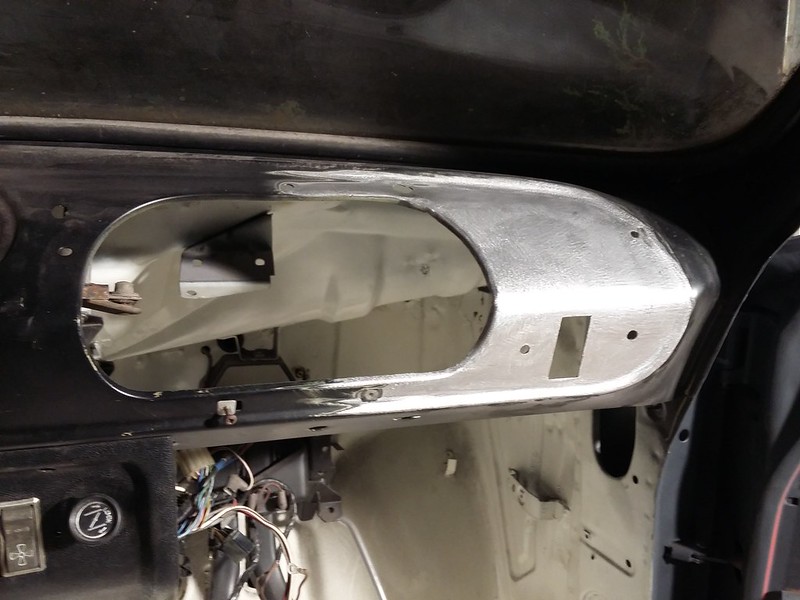
                    Which means welding a piece back in! As usual, cardboard template, plenty of time welding the new repair panel in then grinding back the welds. I have managed to track down the missing formica panels which helped me with where to drill holes etc!

                    20171107_151108 by Daniel Whitworth, on Flickr

                    20171107_151059 by Daniel Whitworth, on Flickr

                    20171109_161910 by Daniel Whitworth, on Flickr

                    20171109_161952 by Daniel Whitworth, on Flickr

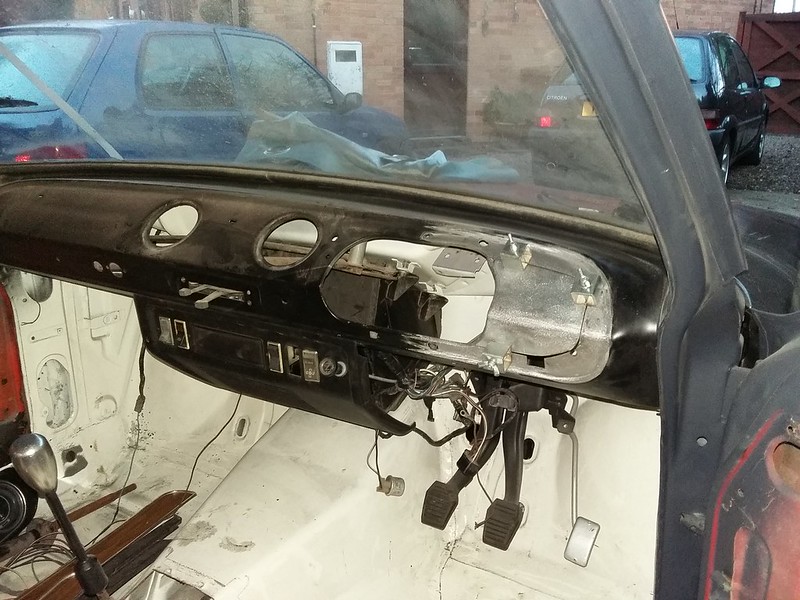
                    Once the panel was then roughly fabricated I began to tack weld it in to place. I used a template of one of the formica panels to judge where its missing mounting hole should of been.

                    20171109_211527 by Daniel Whitworth, on Flickr

                    20171109_213417 by Daniel Whitworth, on Flickr

                    20171109_211459 by Daniel Whitworth, on Flickr

                    20171109_211135 by Daniel Whitworth, on Flickr

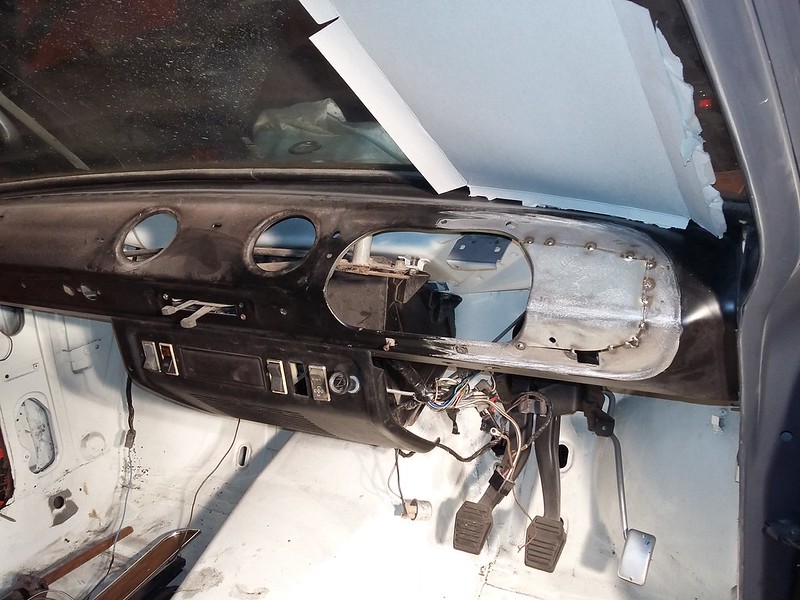
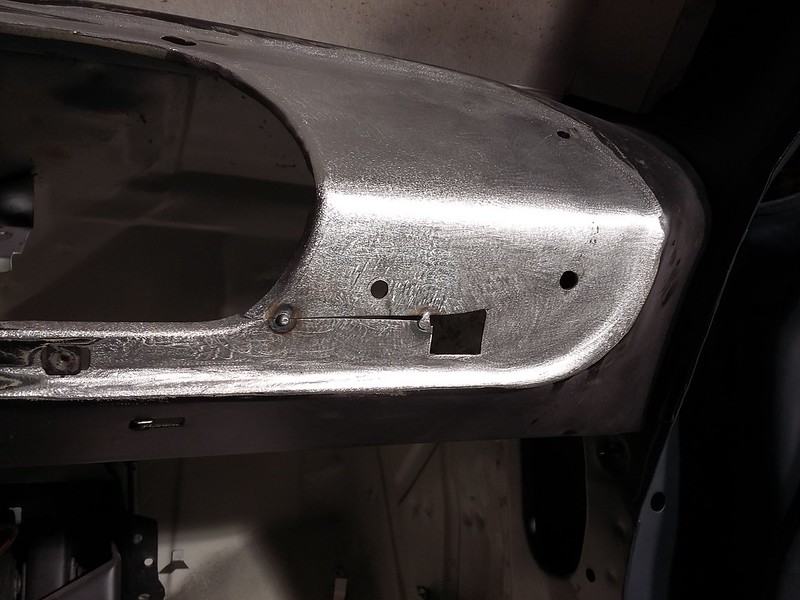
                    With it confirmed that the plate was tacked in correctly it was then just the long process of welding it in to place and grinding the welds back.

                    20171110_175900 by Daniel Whitworth, on Flickr

                    20171112_155341 by Daniel Whitworth, on Flickr

                    20171112_155423 by Daniel Whitworth, on Flickr

                    20171112_165200 by Daniel Whitworth, on Flickr

                    20171112_165207 by Daniel Whitworth, on Flickr

                    Then the final section

                    20171112_173356 by Daniel Whitworth, on Flickr

                    20171112_173411 by Daniel Whitworth, on Flickr


                    Last little detail for today was to cut out the light switch hole with the Dremmel.

                    20171112_180934 by Daniel Whitworth, on Flickr

                    20171112_180937 by Daniel Whitworth, on Flickr

                    I just need to weld three redundant holes up now that have been drilled for the 6 clock dash top and track down a good 2 clock dash top. (anyone got one at all?)

                    More soon I'm sure!

                    Comment

                    Working...
                    X