 Tweet
Tweet
Very nice John looks awesome good colour choice too, what engine are u going to be running ?
-
-
Superb work... car look great sigpic
Back with a MK1Comment
-
Looks like its going to be a great project
�The great thing about the sierra is, it has all the mechanical simplicity of a knife and fork� Quentin WillsonComment
-
running a x flow pat, i did most of the machining myself (block, pistons) balanced my own crank and pistons (its what i do for a job) so that was easy, then got Jeff Harris to tweek and play as he saw fit and assembleOriginally posted by R5COS View Post
Comment
-
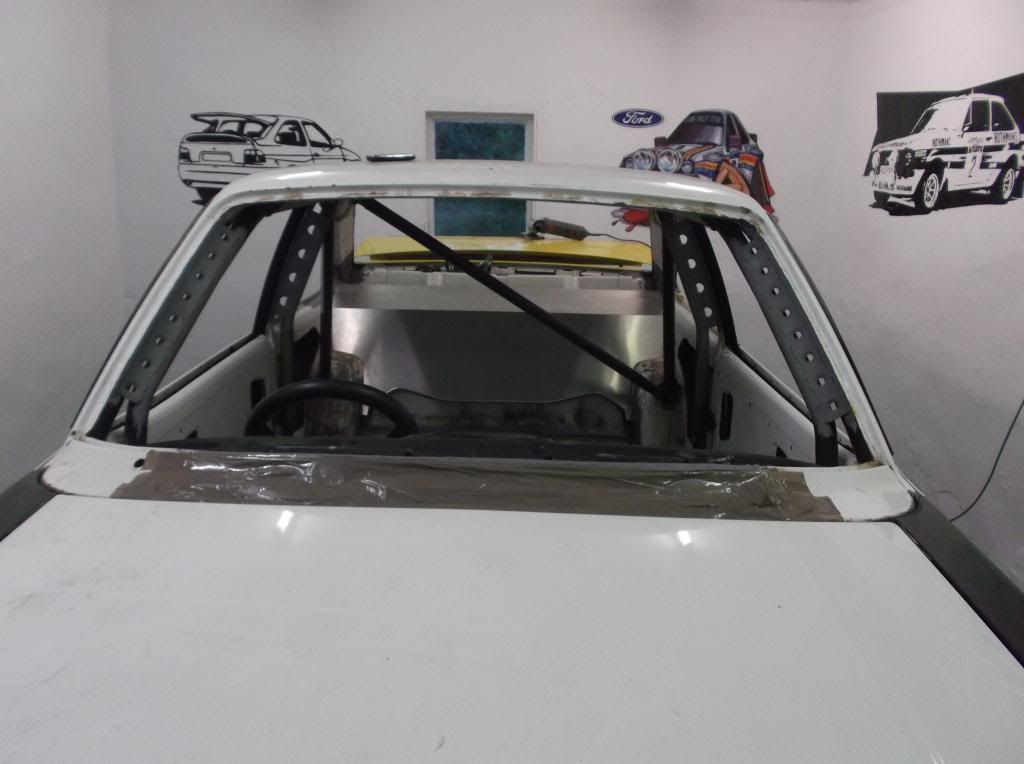
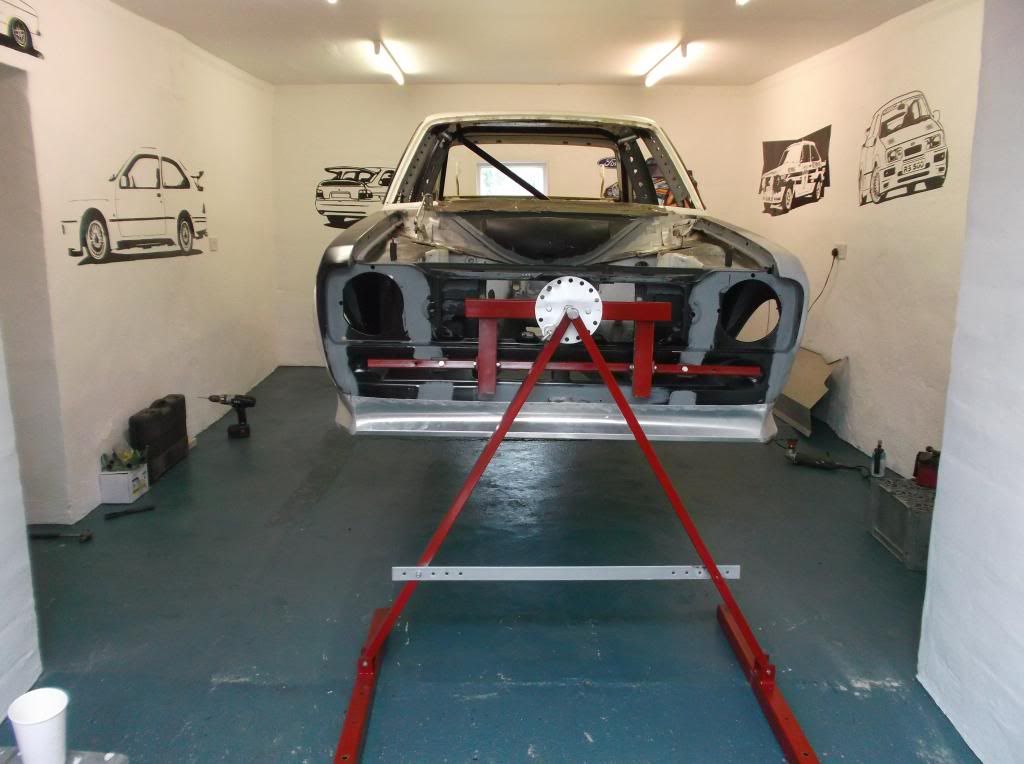
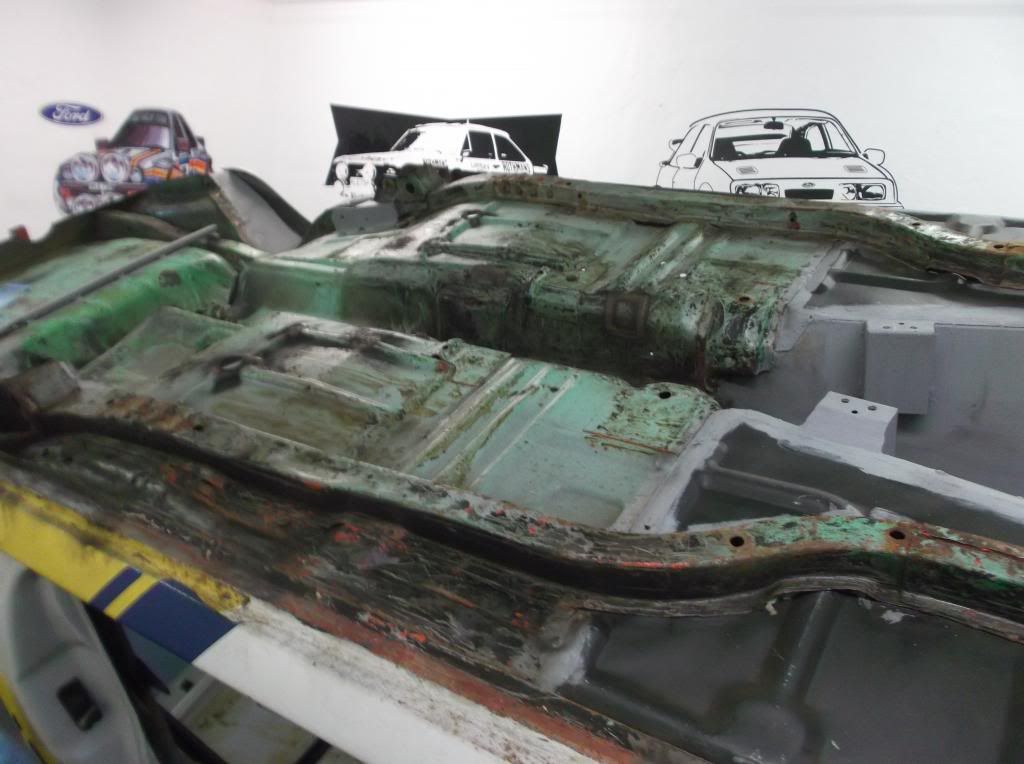
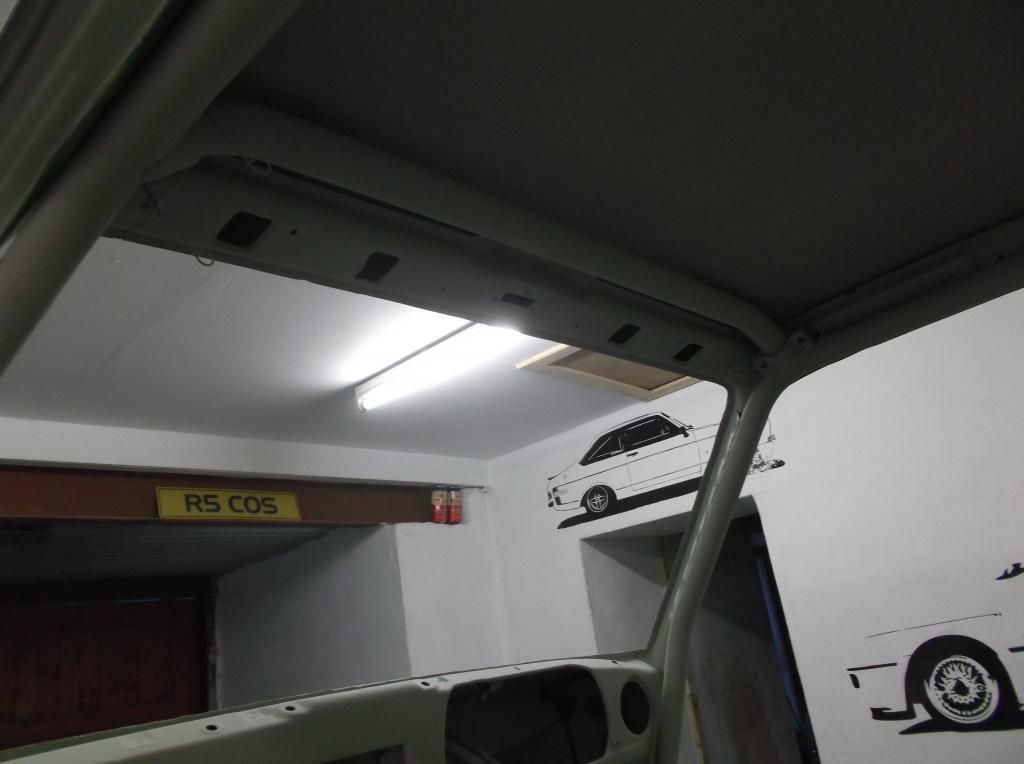
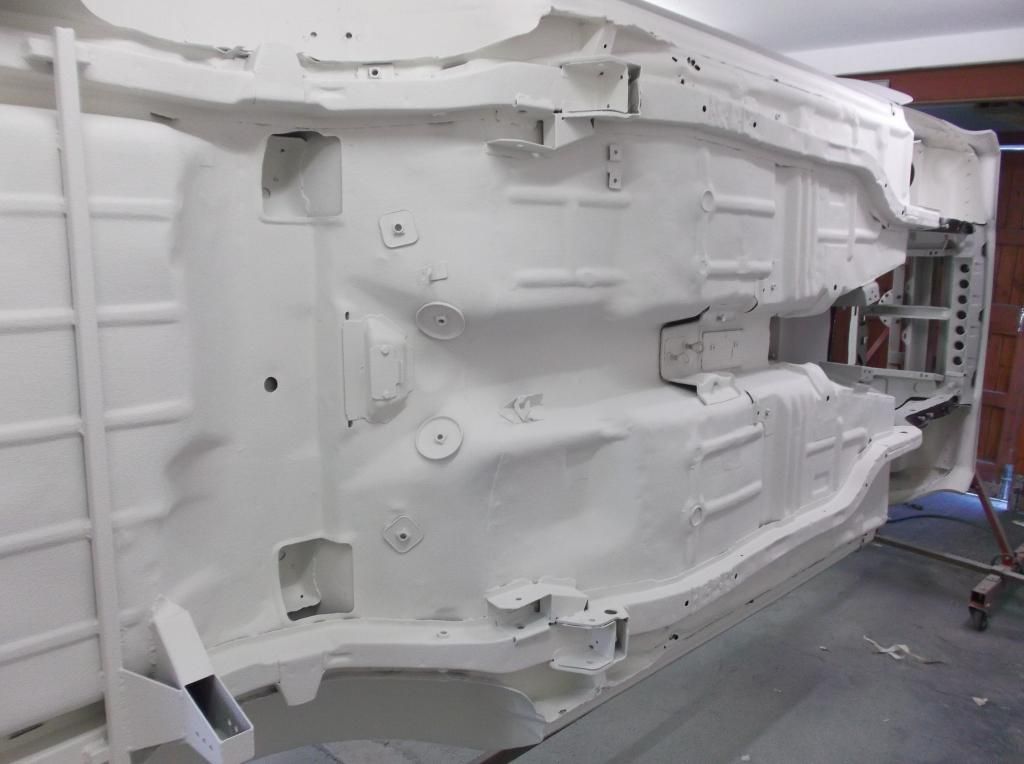
A quick update of where im at, i got started at it a couple of weeks ago after getting my spit back from Jimbo so had to crack on and get it up in the air...
Up on some pallets to get the running gear off
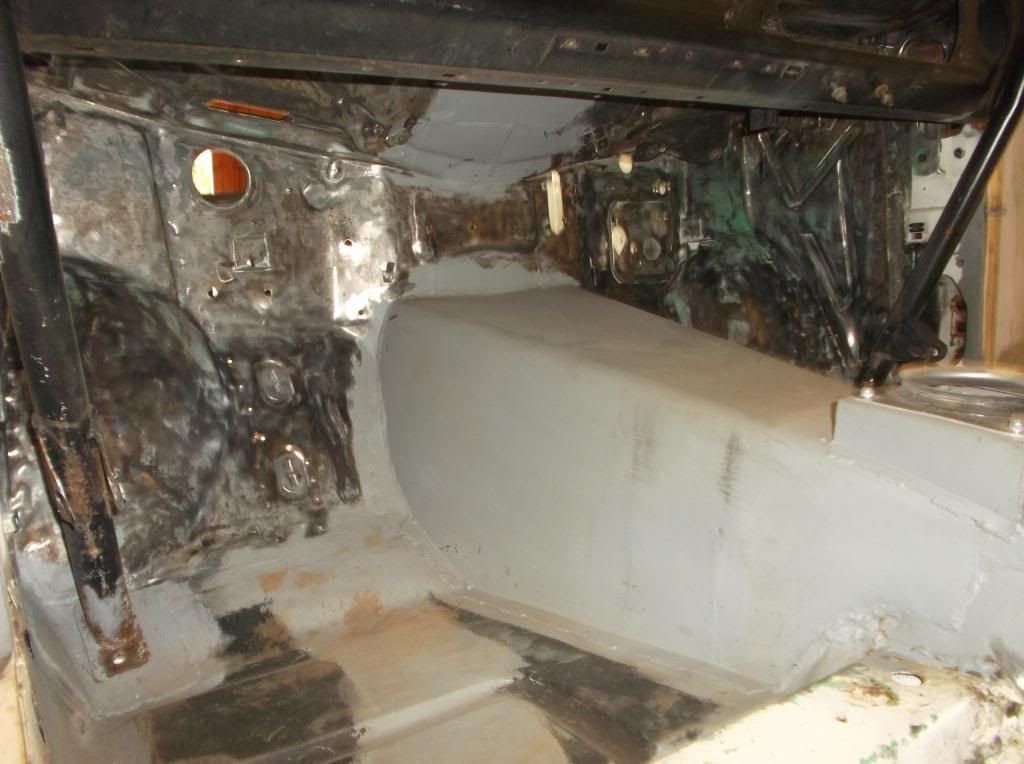
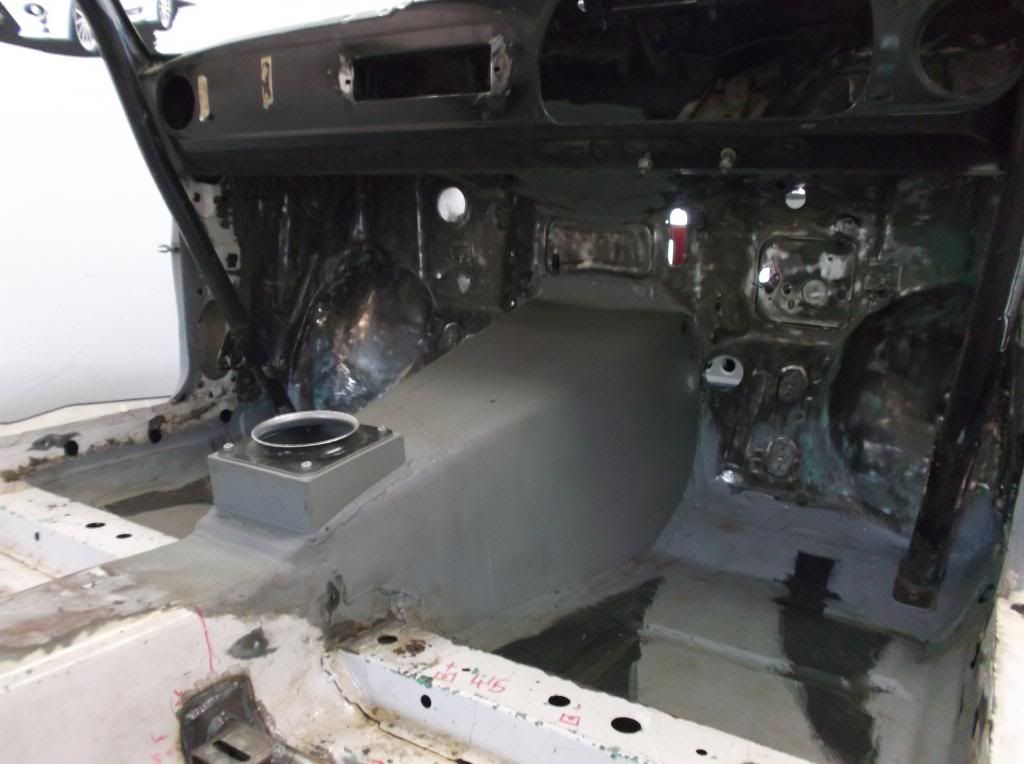
Test fitting the rear firewall
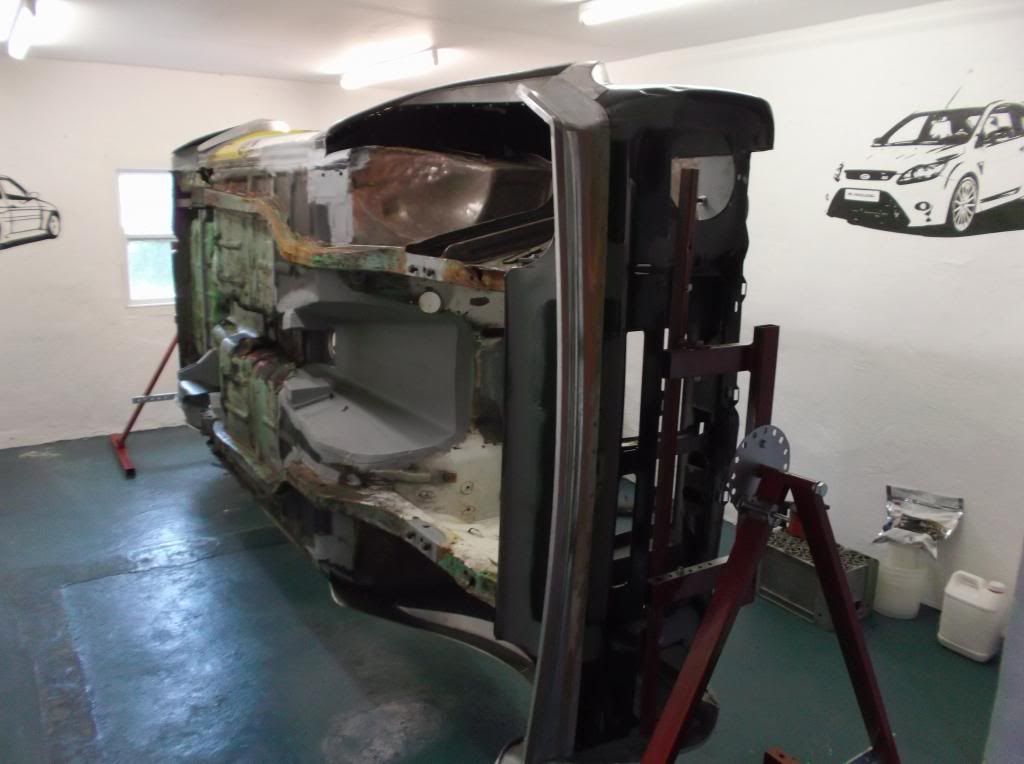
Up we go when it comes off it who knows")
Didnt take any pics before I started removing the underseal it can be a pig of a job but im so glad it was there or it could of been a whole different story underneath, i knew it was quite good under there and a day later all the underseal was no more
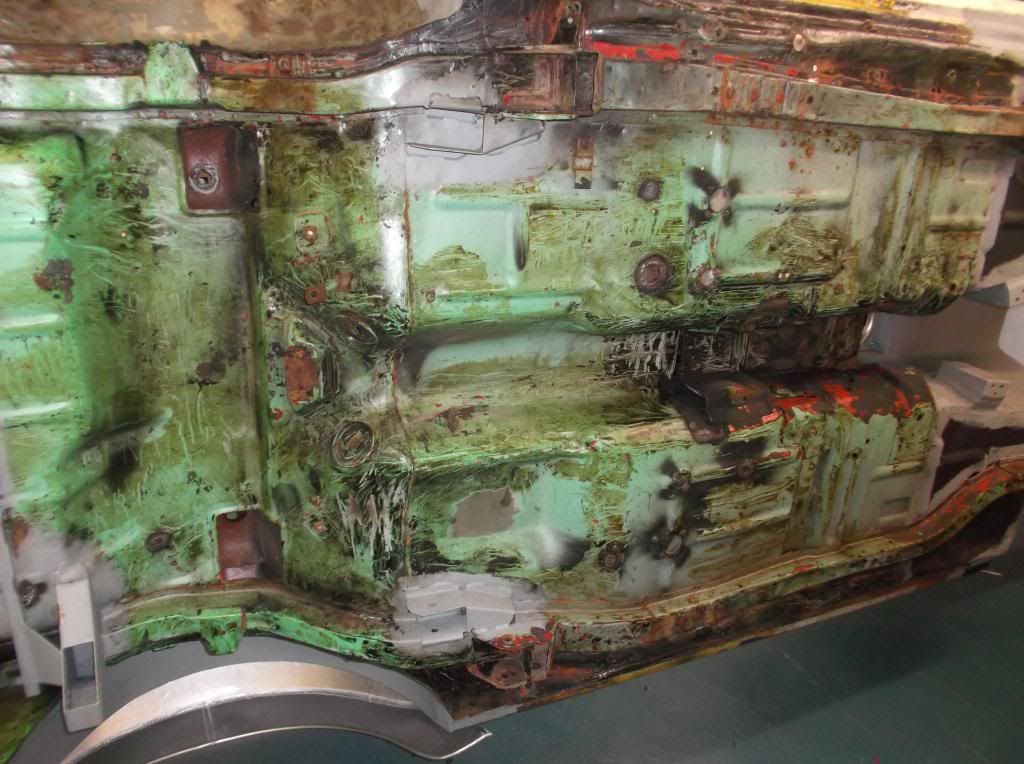
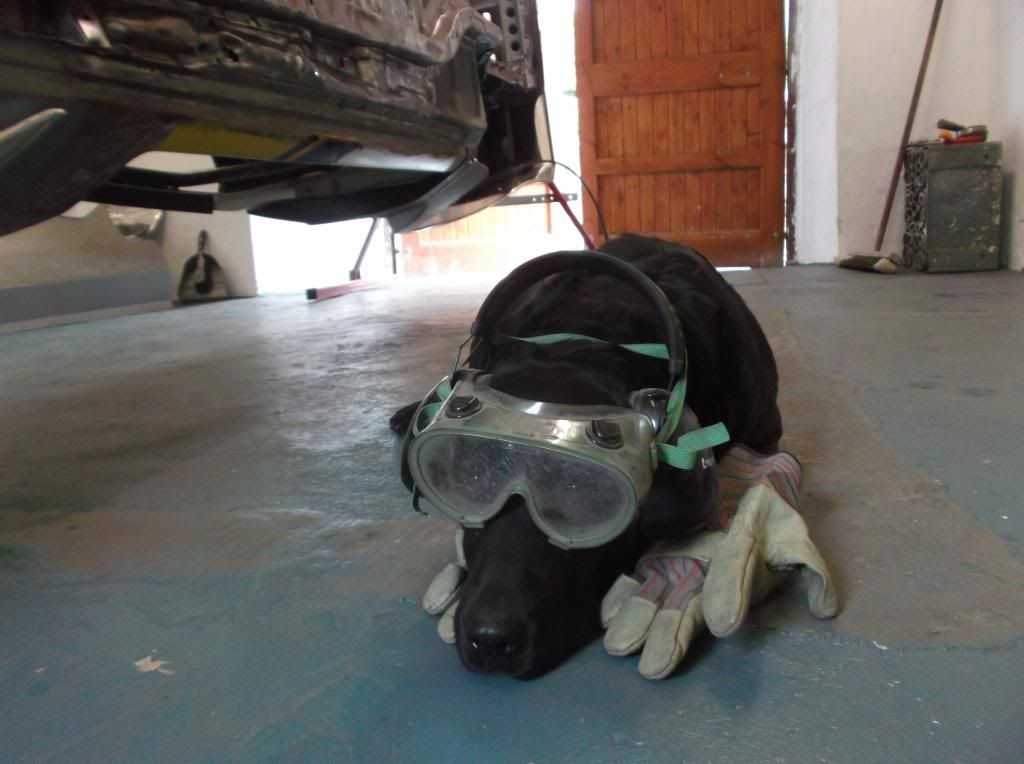
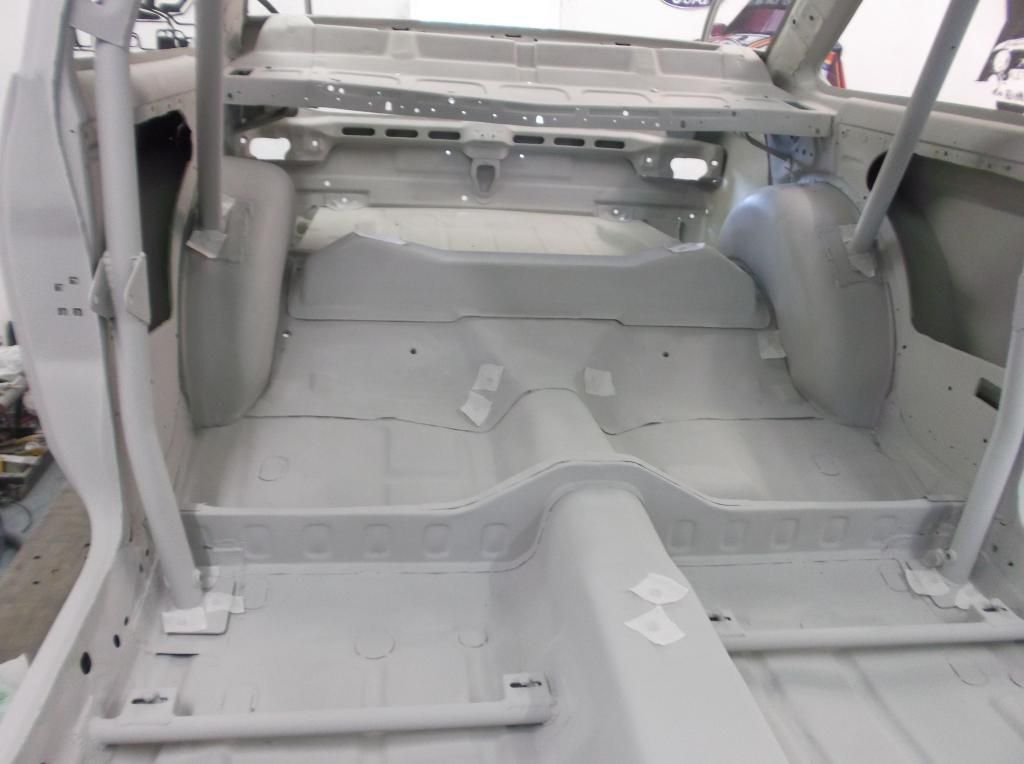
Next was to remove any surface and get back to clean steel, but dont forget the safety gear lol

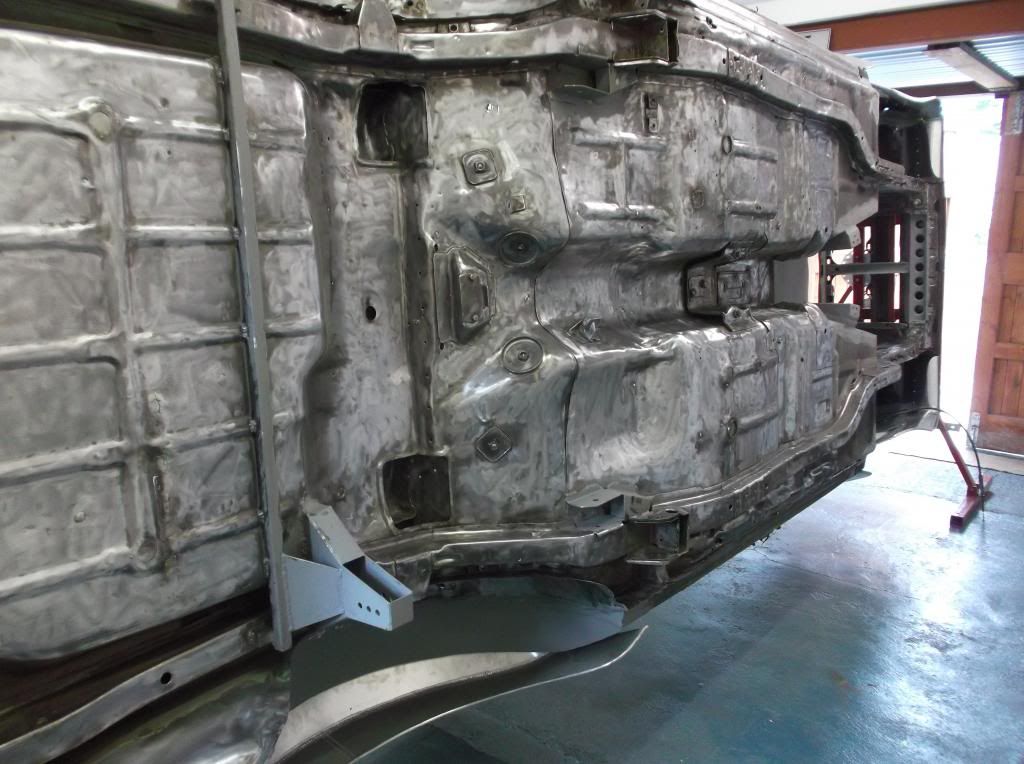
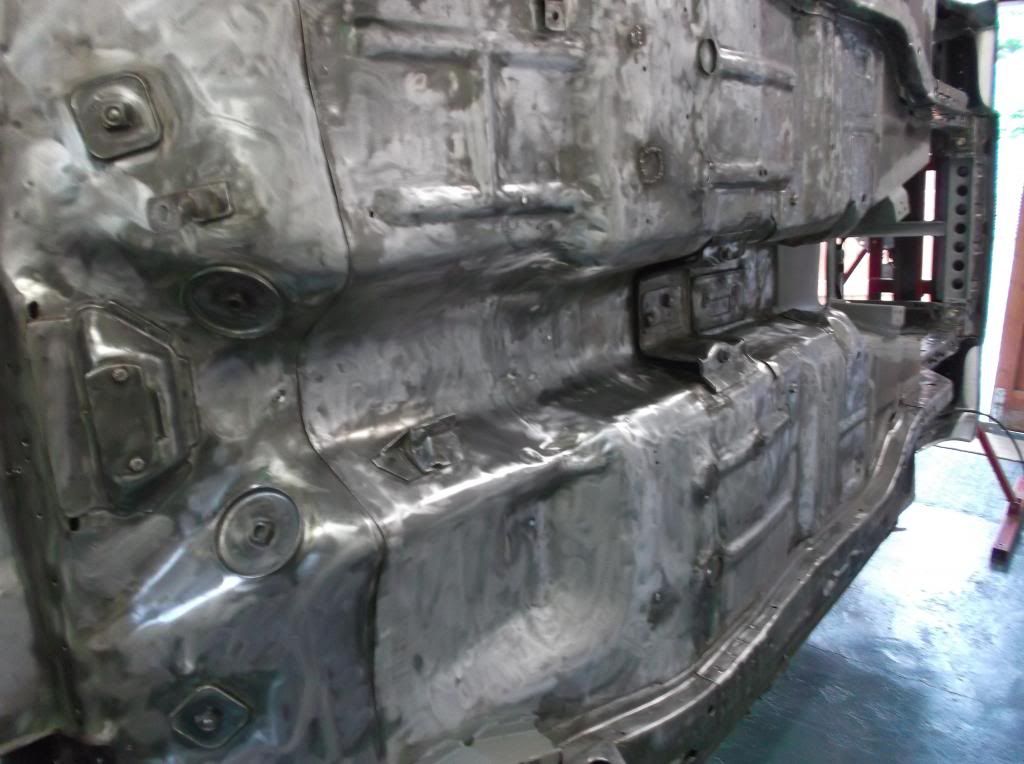
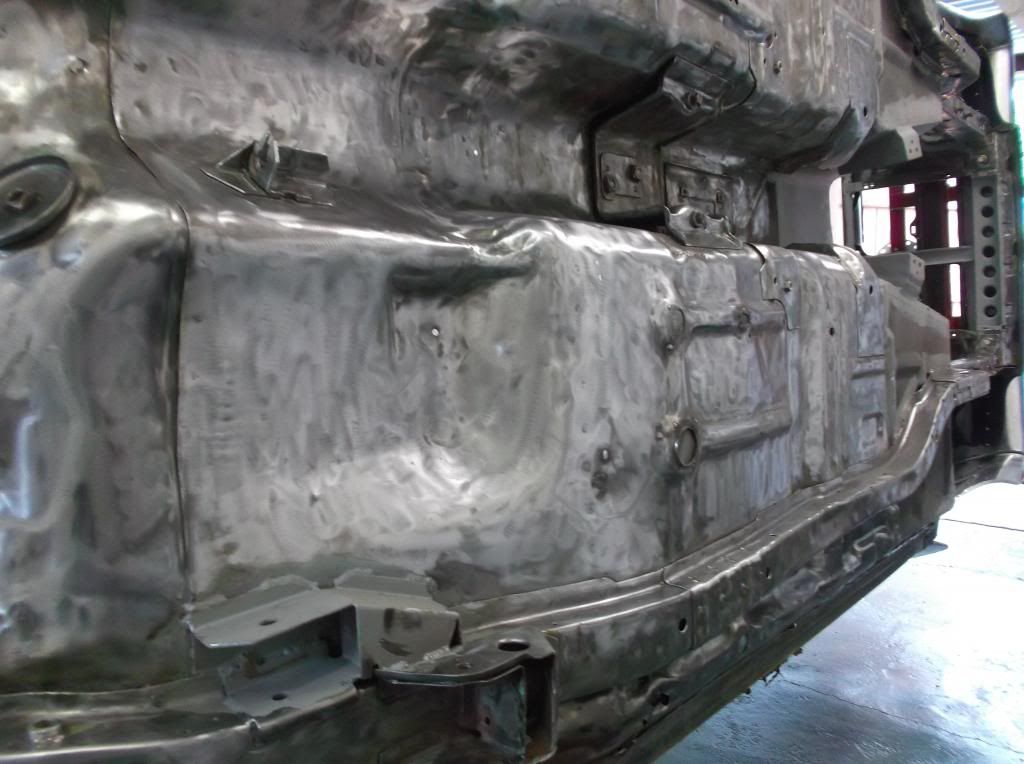
Also started under the dash and inside of the bulkhead so thats the tricky bits done all these areas will get a going over with some 120 grit before metal prep. Still have to weld up all the drill holes that are no longer needed on the bulkhead and floorpan so got the lend of a mig welder from a mate and will crack on getting that done next.
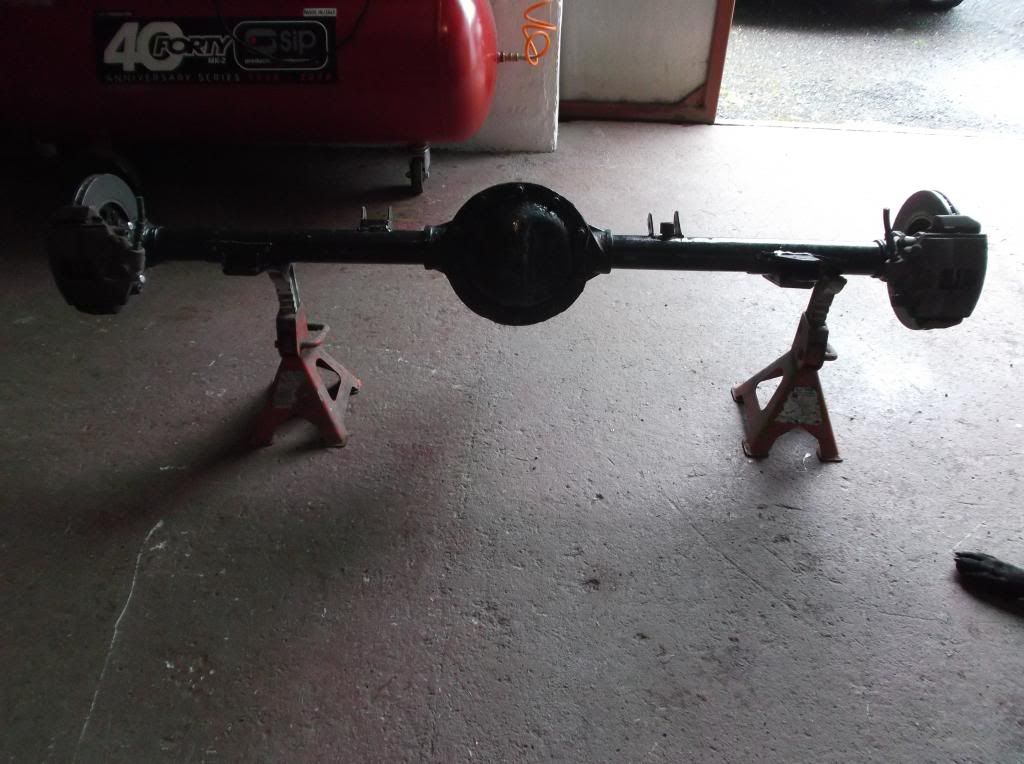
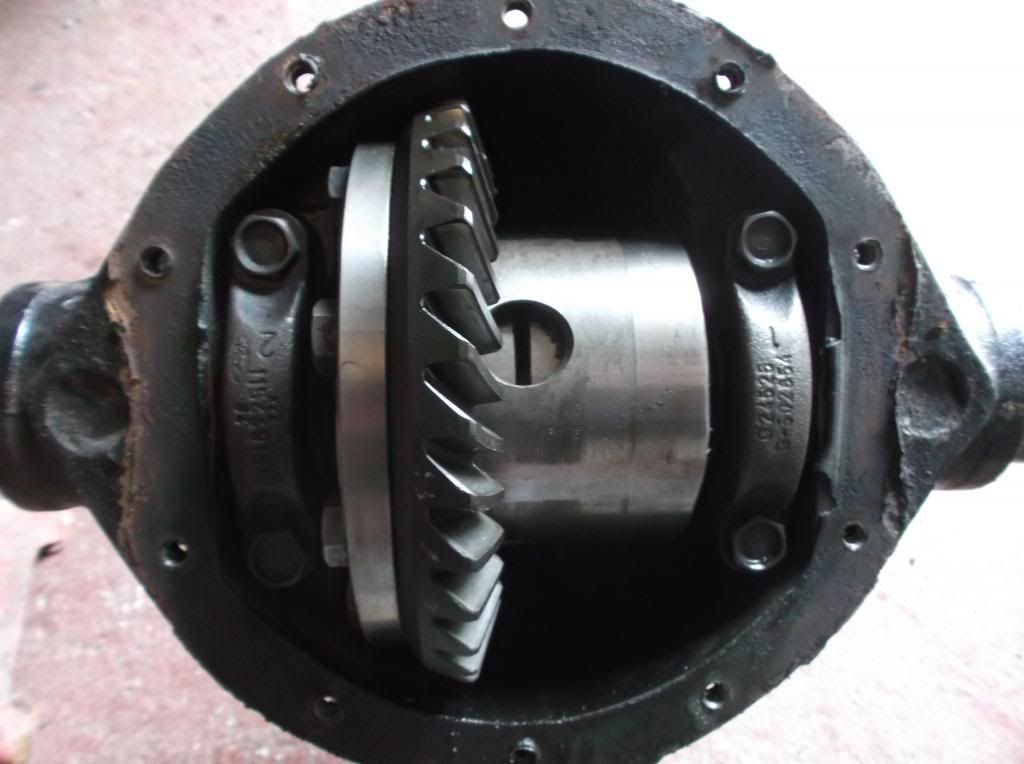
Also blew the budget on a new axle, i was going to make do with a 52" english but to future proof the rear end if i decide on an engine change. I didnt have to be asked twice when i was offered this, could of lived without it for awhile and spent the money elsewhere but it has everything i need on it and said its better to be looking at it than looking for it
52" Atlas, LSD, saddles moved to suit a mk2, tramp brackets and panhard bracket already fitted, xr3i discs/calipers and longer wheel studs already in so its all there and will fill out my arches nicely and give me the right stance and plenty of fun

Comment
-
Very nice, handy to have them skills and be able to get that much done yourselfOriginally posted by John Savage View Post im sure Jeff will wave his magic wand and give u a stonking x flow
Comment
-
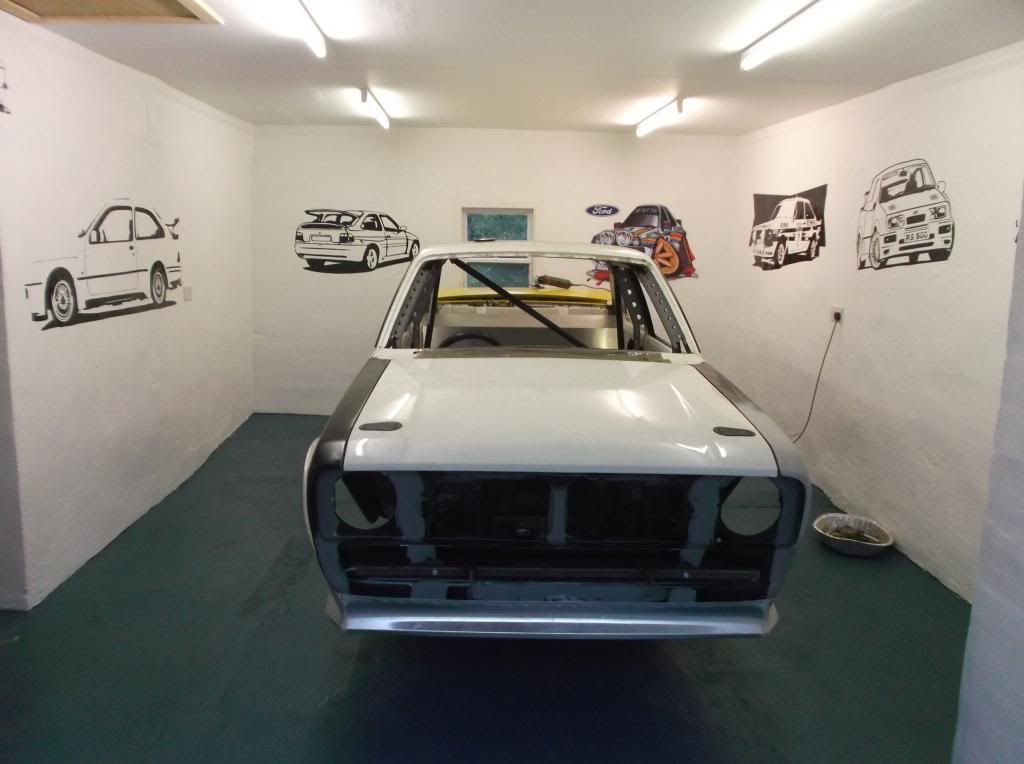
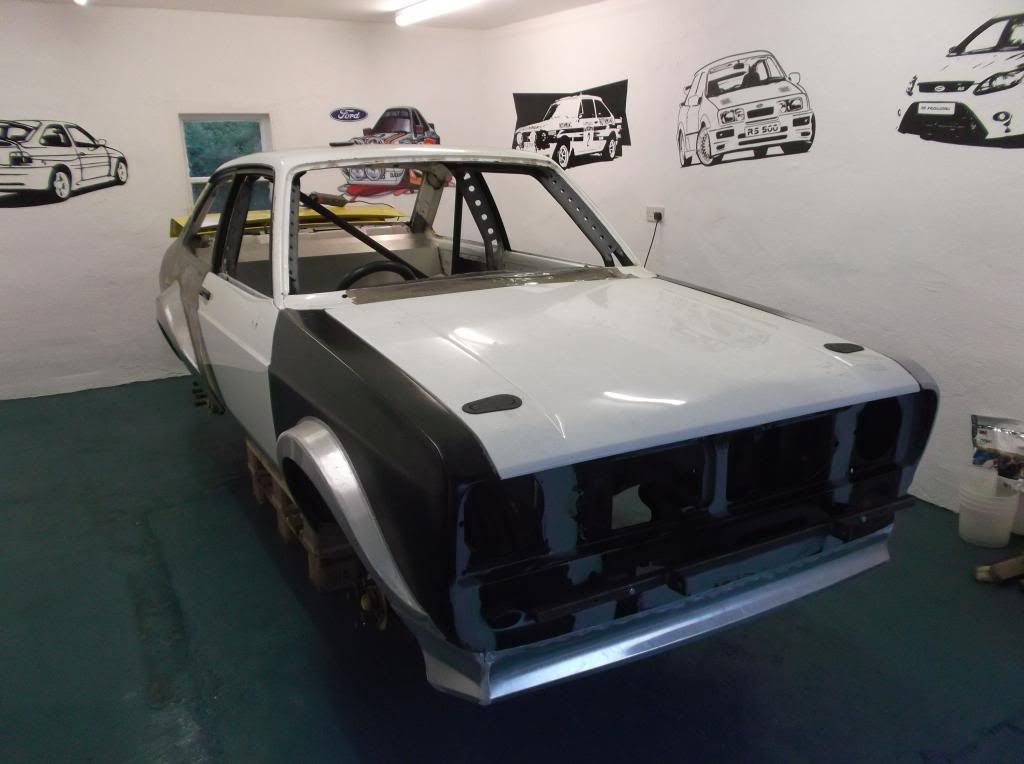
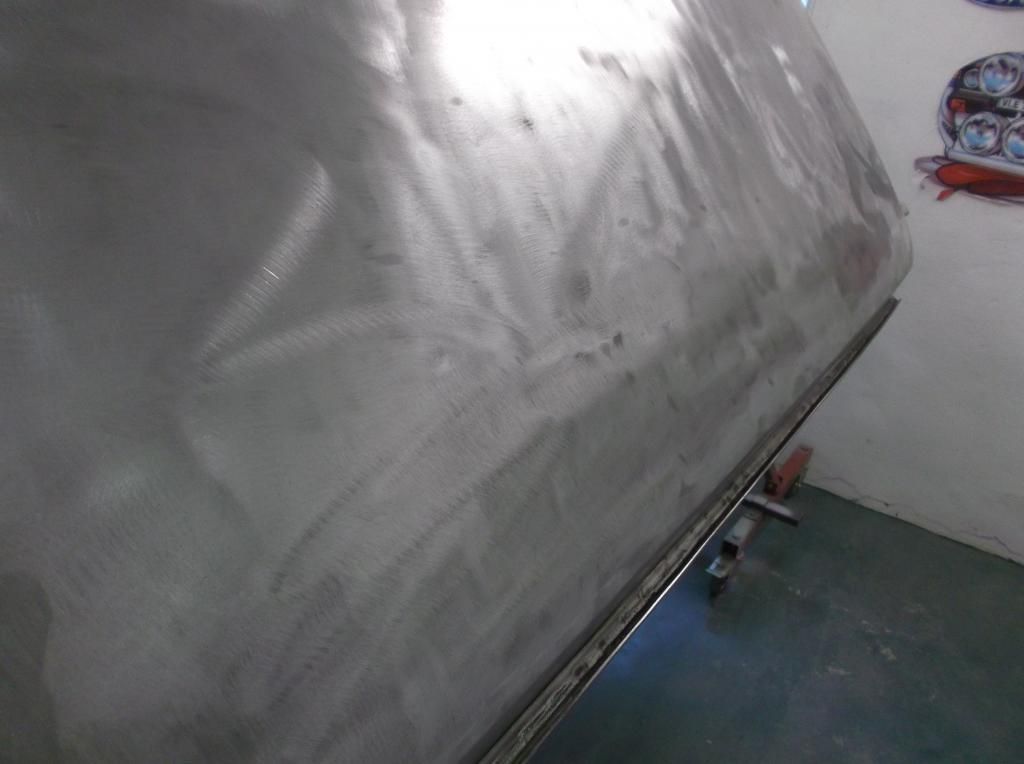
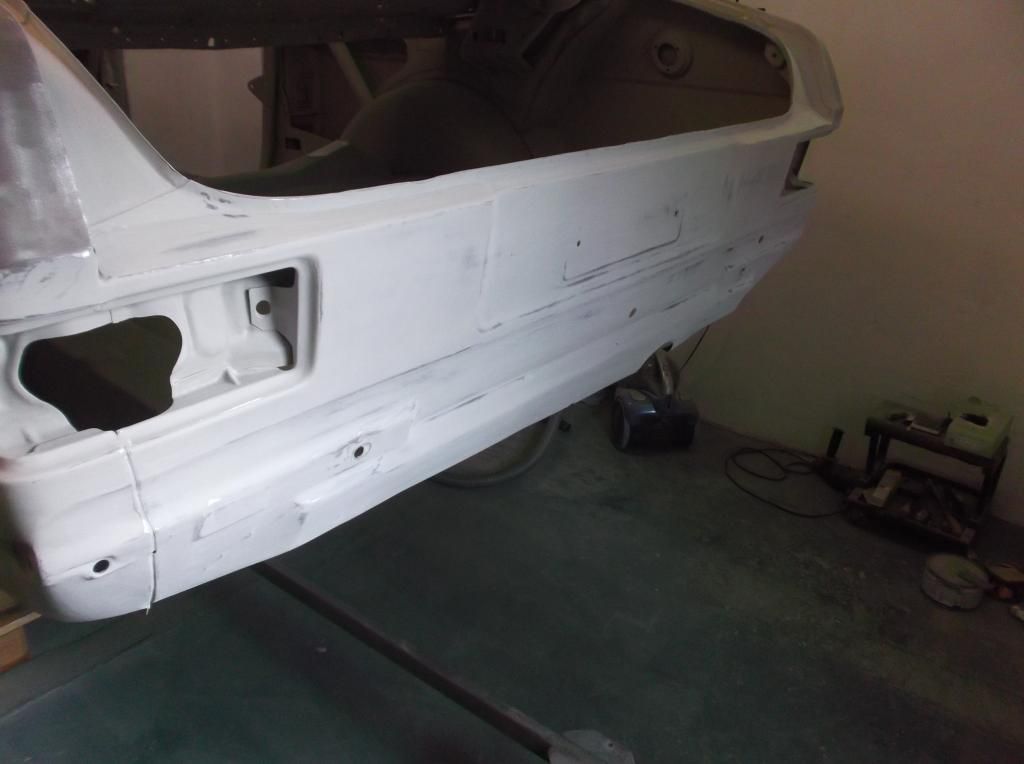
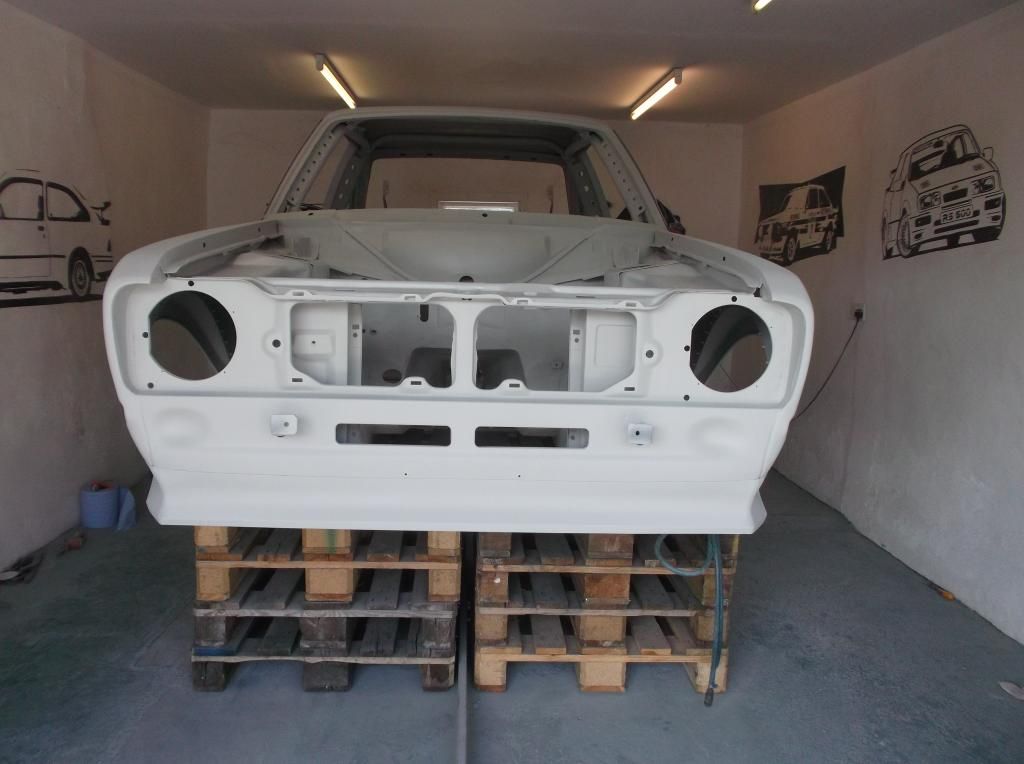
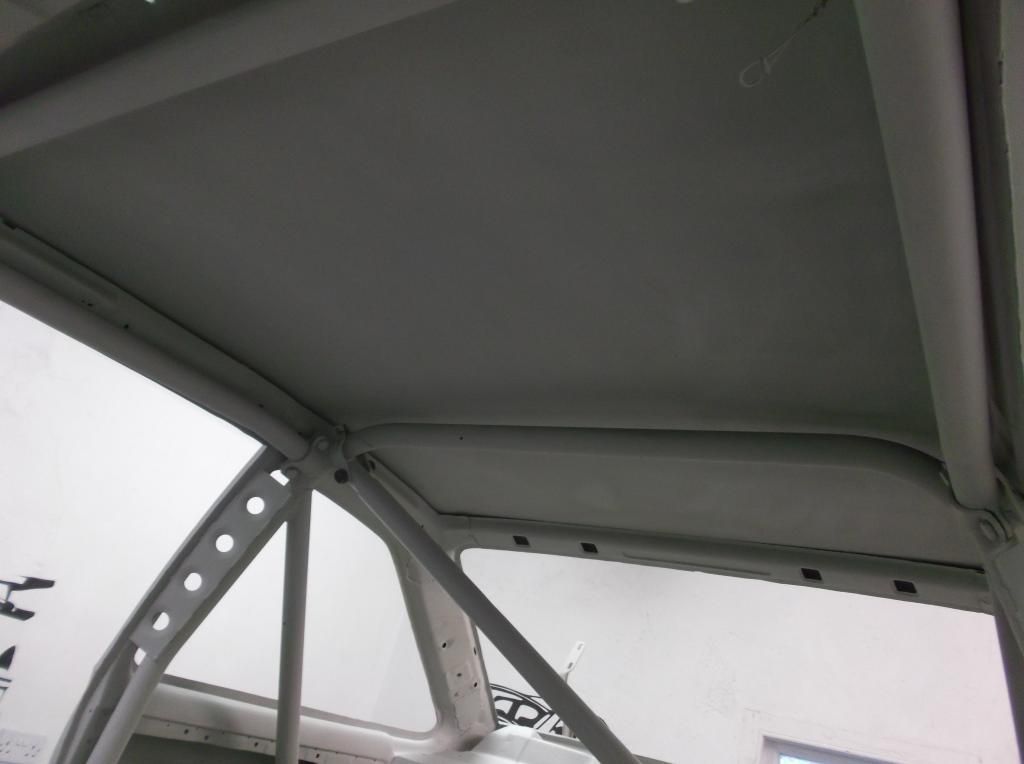
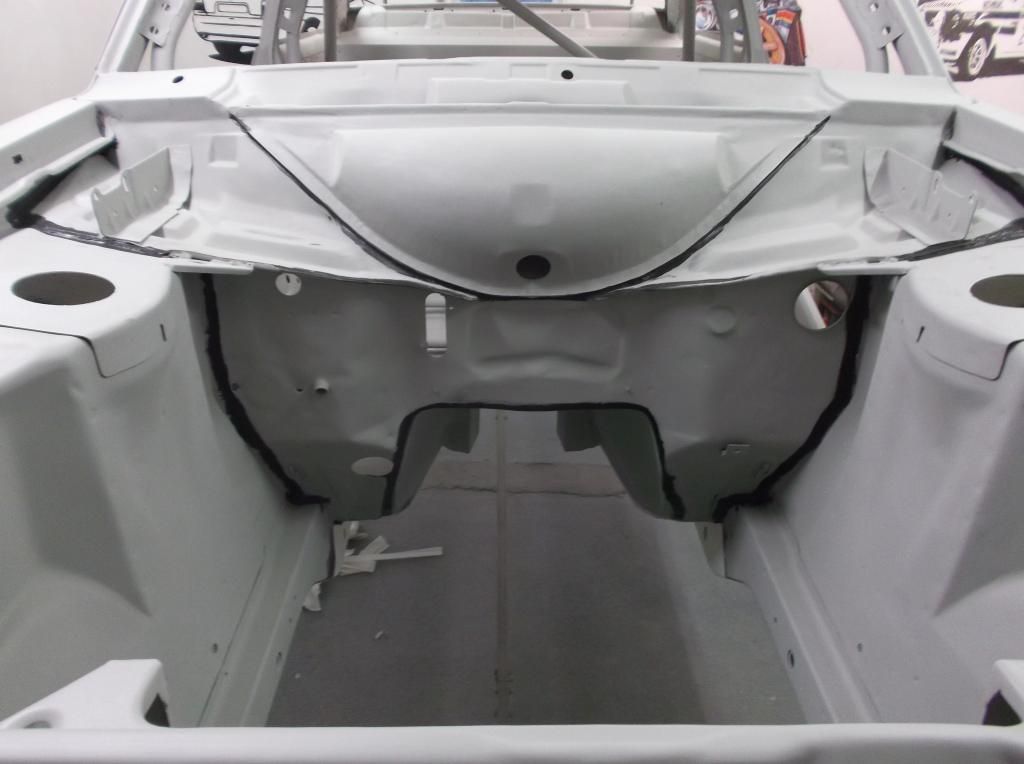
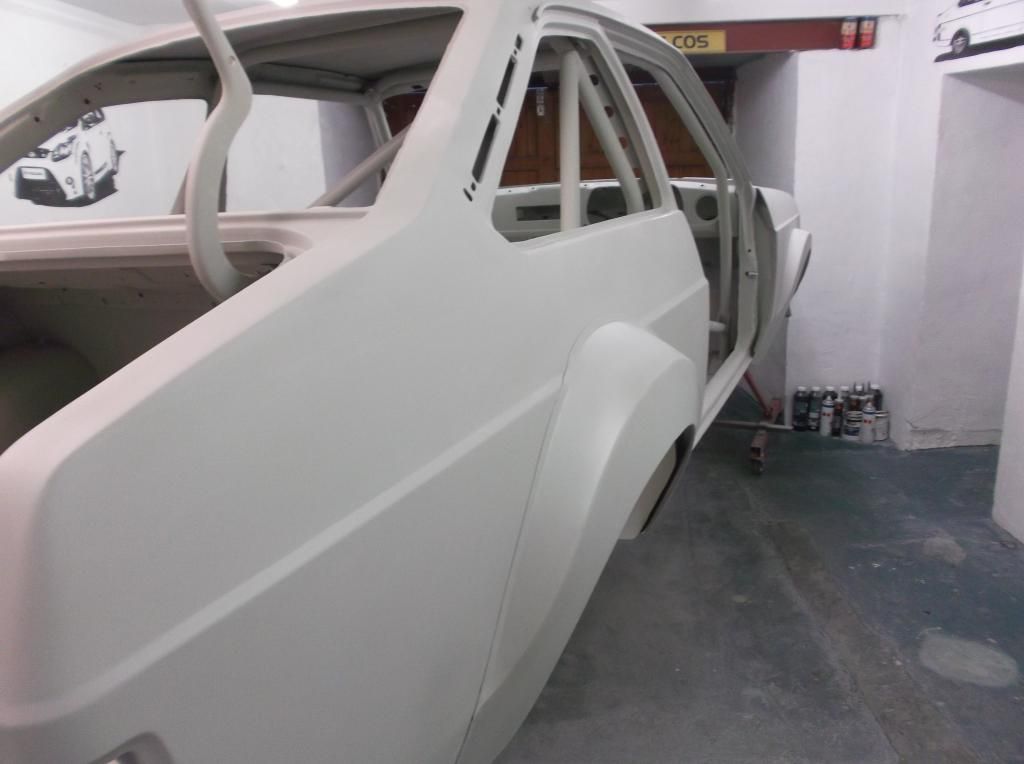
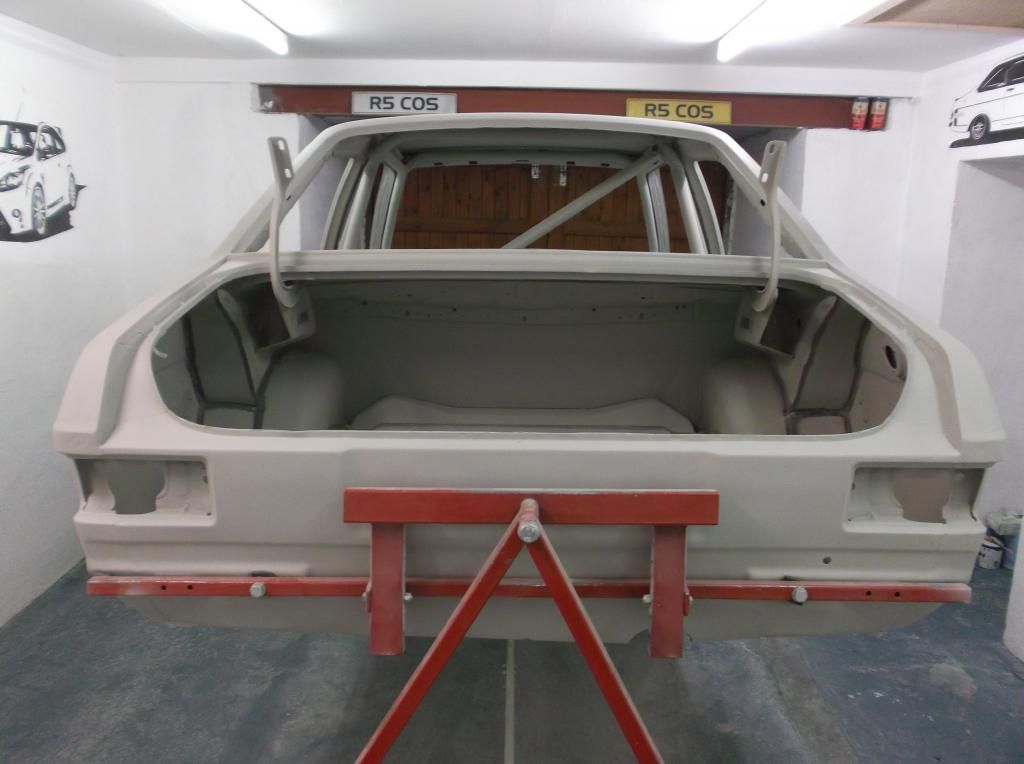
Time for some pics after having a forced extended break from doing anything of interest.
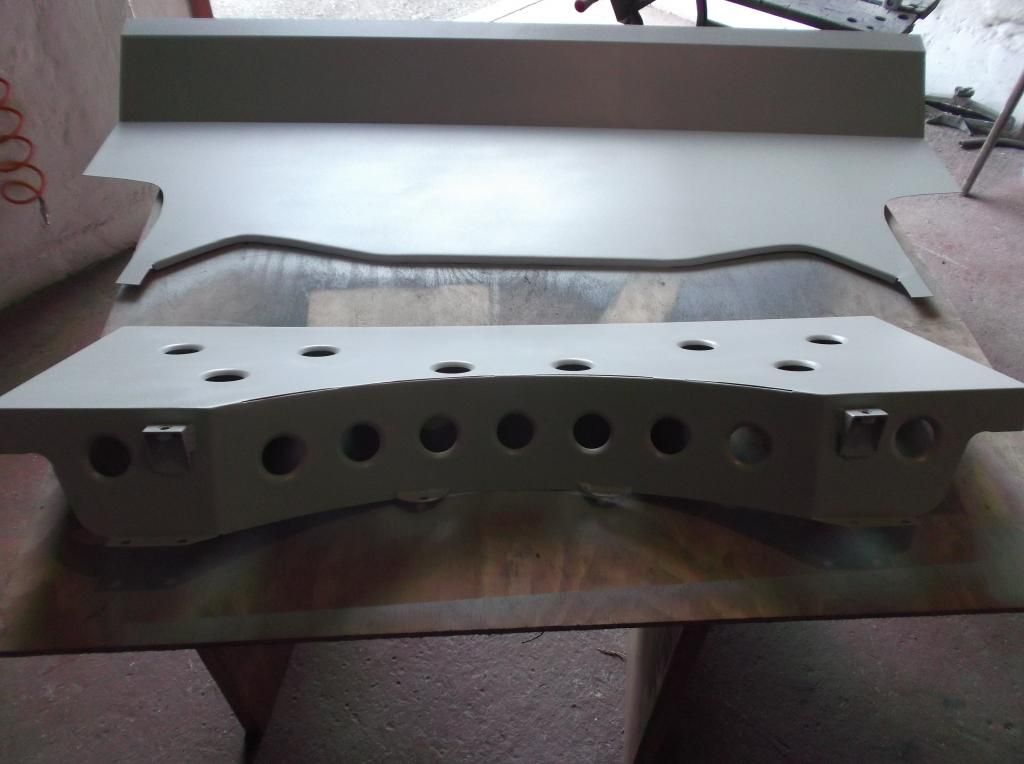
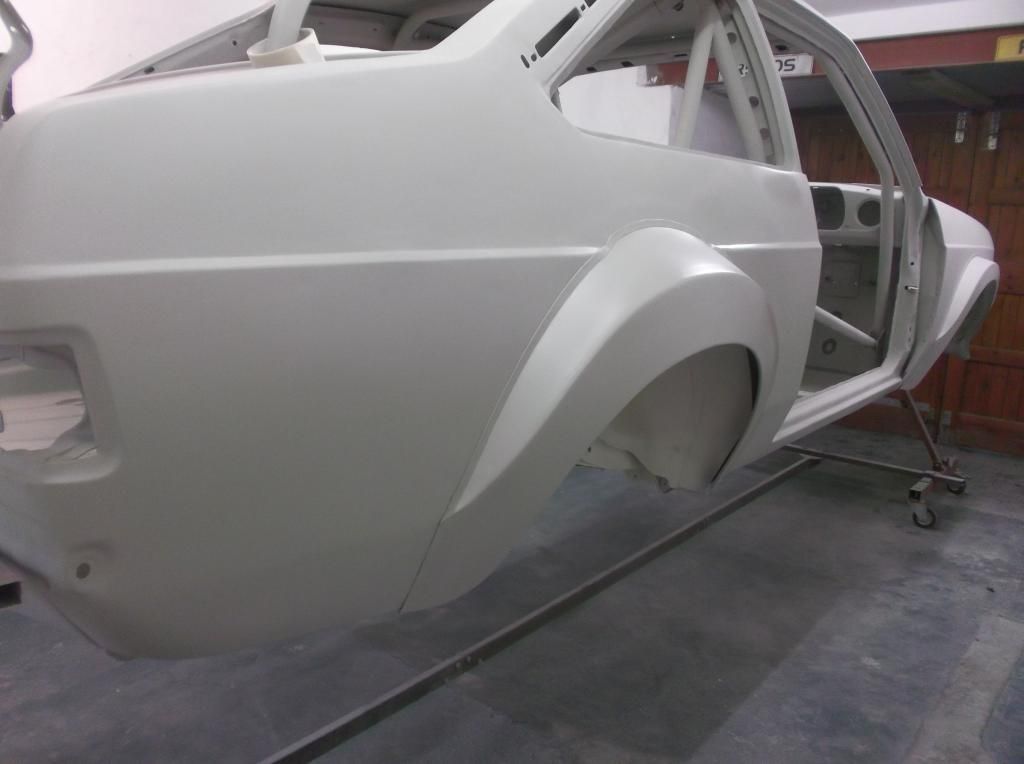
Getting ready for epoxy primer, this was done in stages as a full bare metal shell would be daunting to say the least so it was taken a panel or 2 at a time etc
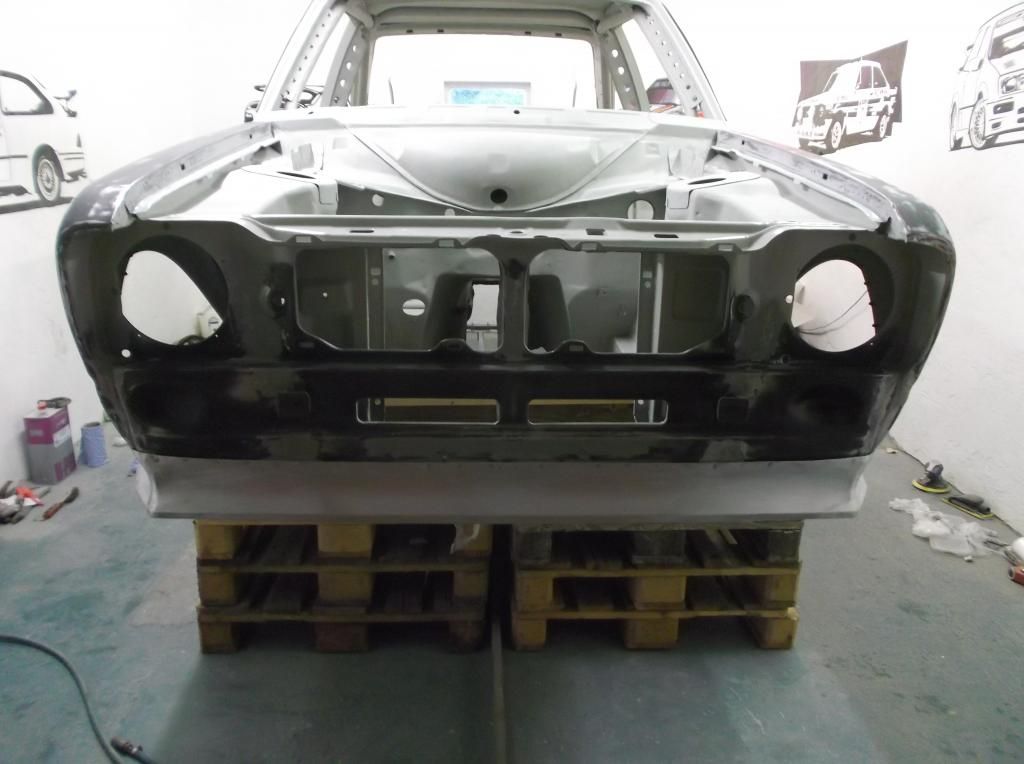
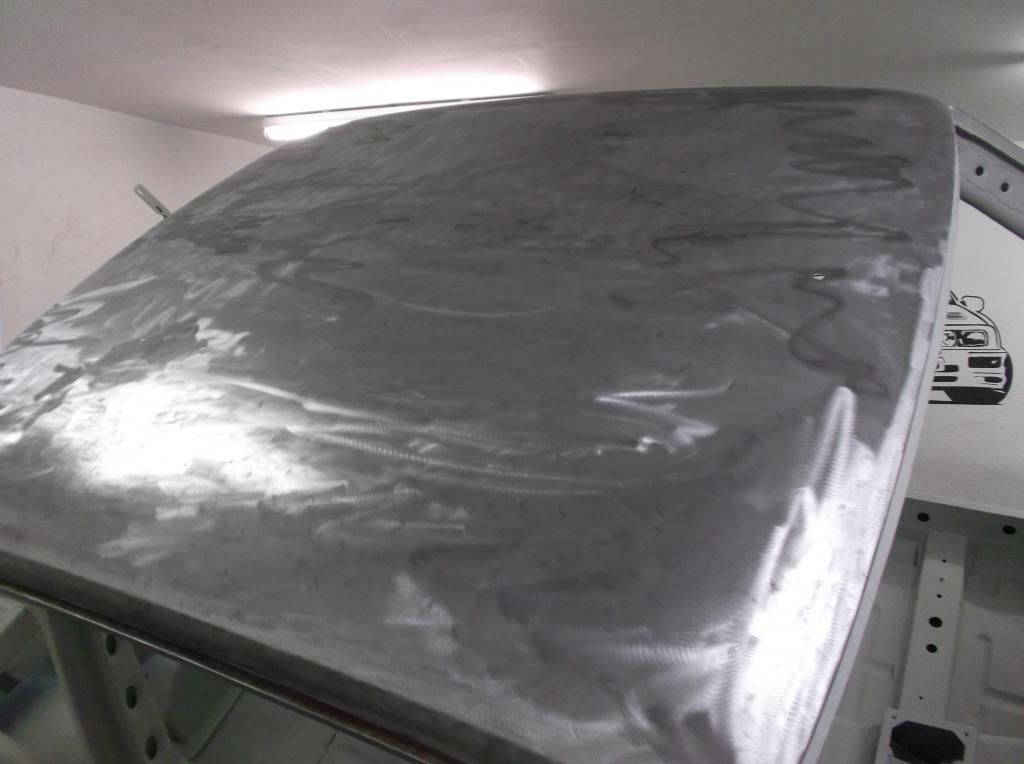
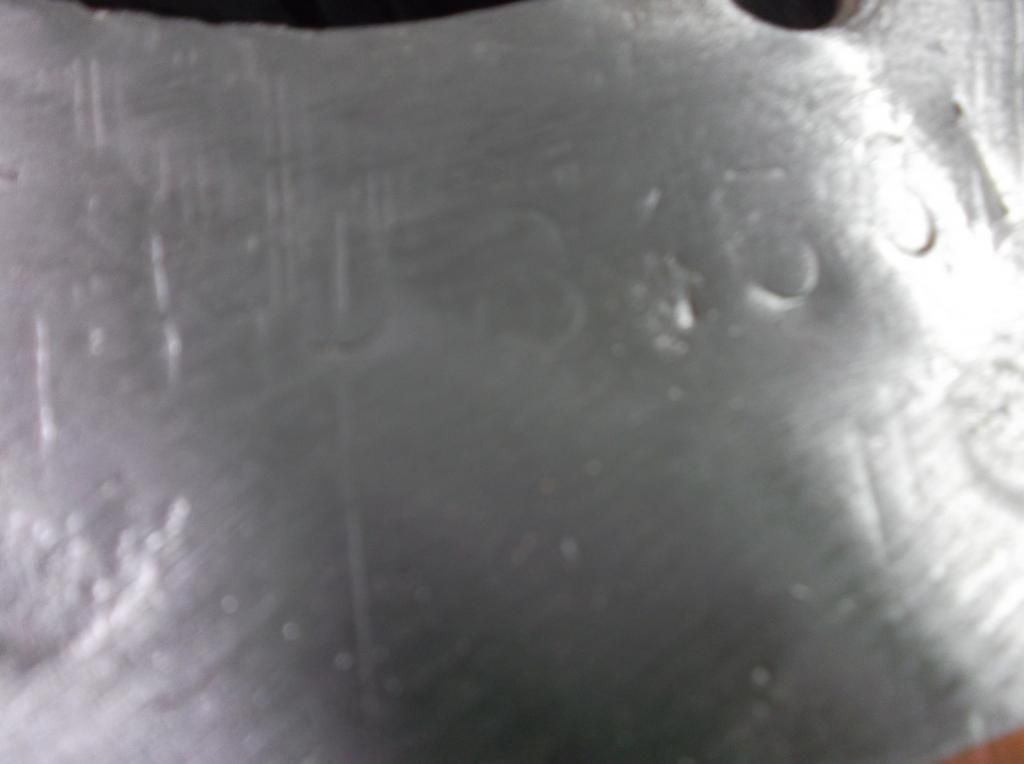
I welded RS top plate onto the inner wings which means covering up the chassis stamp but not much could be done about this
First time using epoxy primer and to be honest id never use etch again very out dated in terms of protection and adhesion and with epoxy been non porous u dont have to worry about any moisture been soaked in.
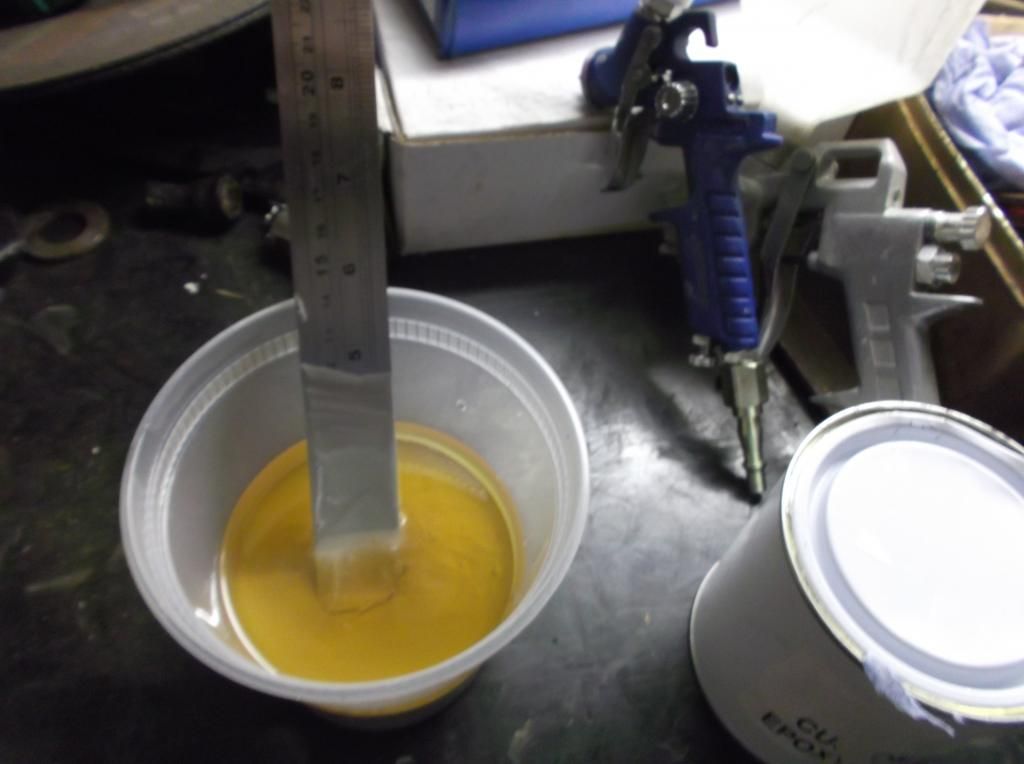
Its been 5 years since I held a spray gun so got the feel for it again with a few smaller parts first
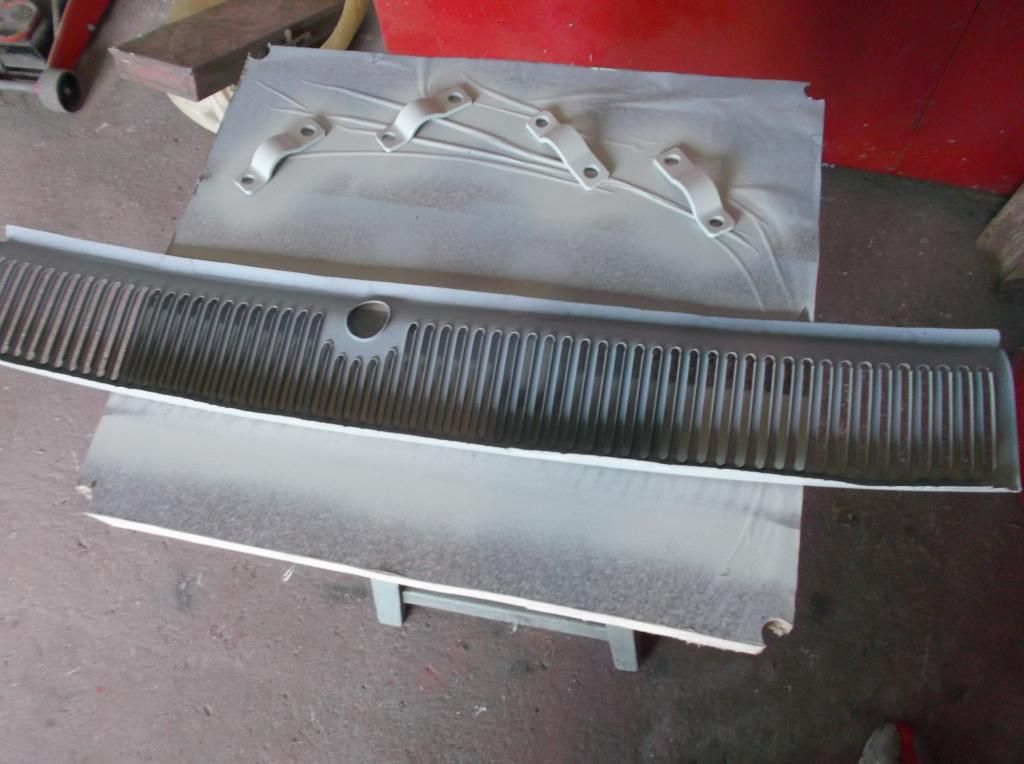
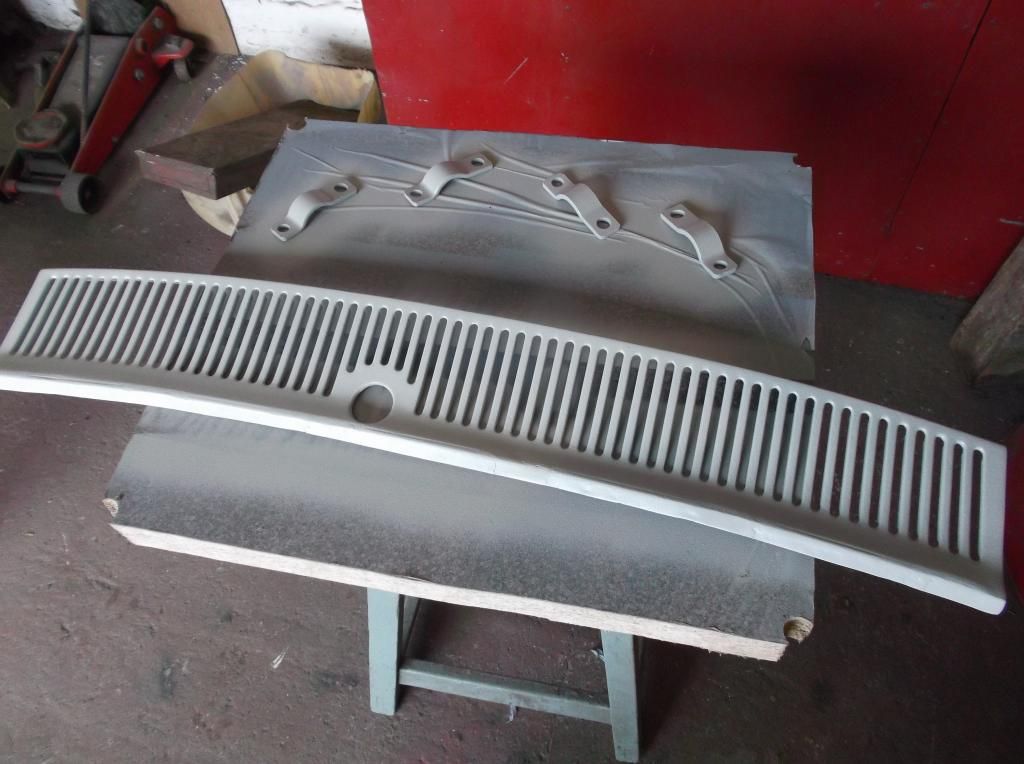
I had the shed to hot doing the back of the car which led to the paint drying into a dry spray so had to flat it all down and redo it learnt from that and everywhere else went on without a hitch
Comment
-
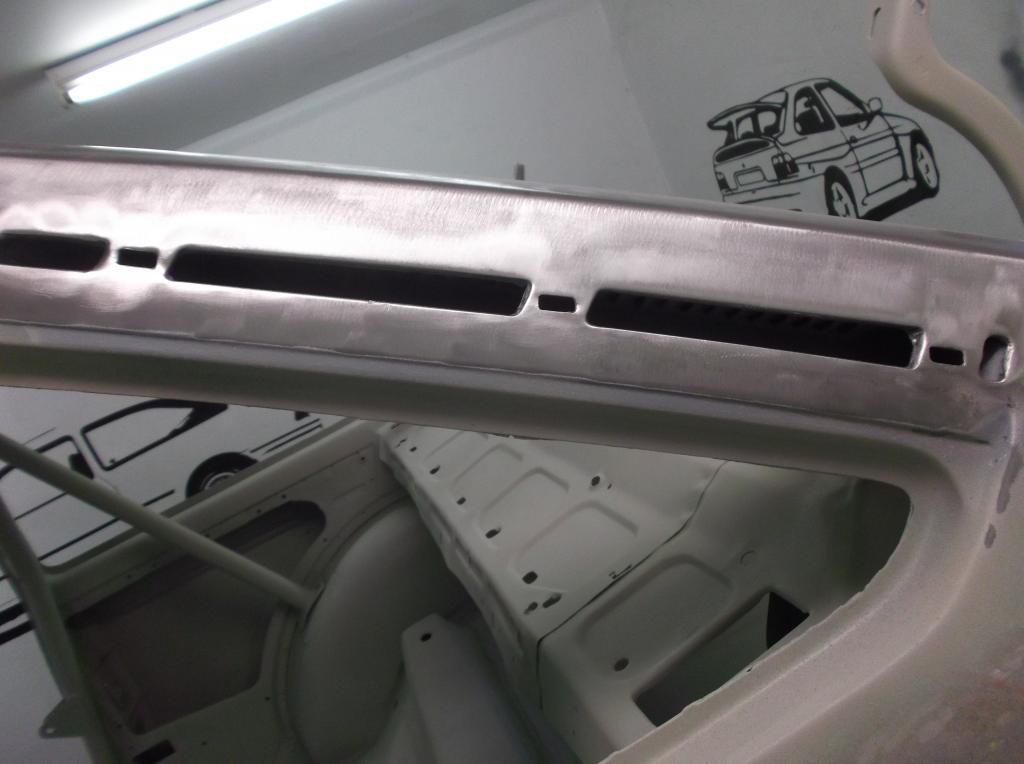
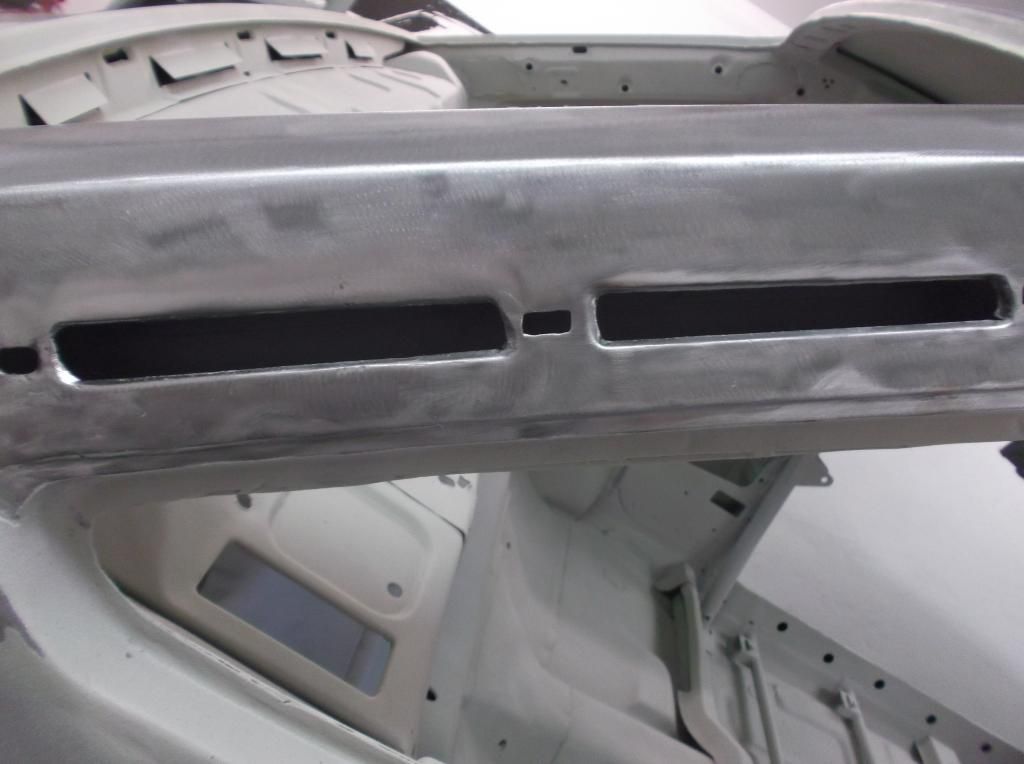
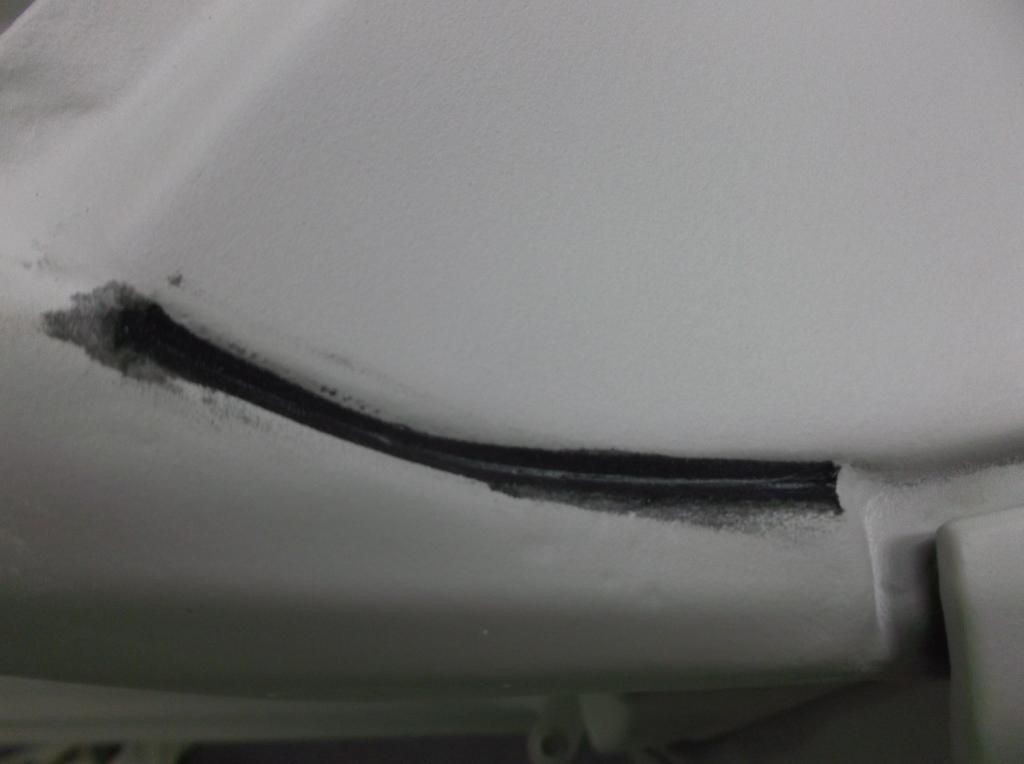
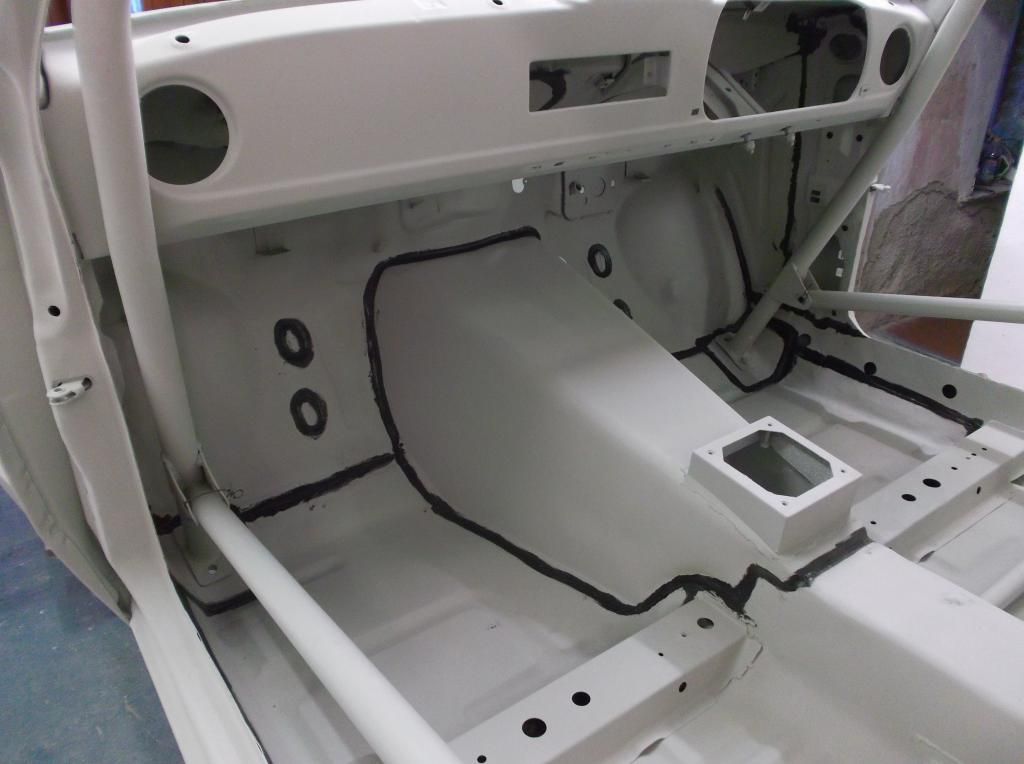
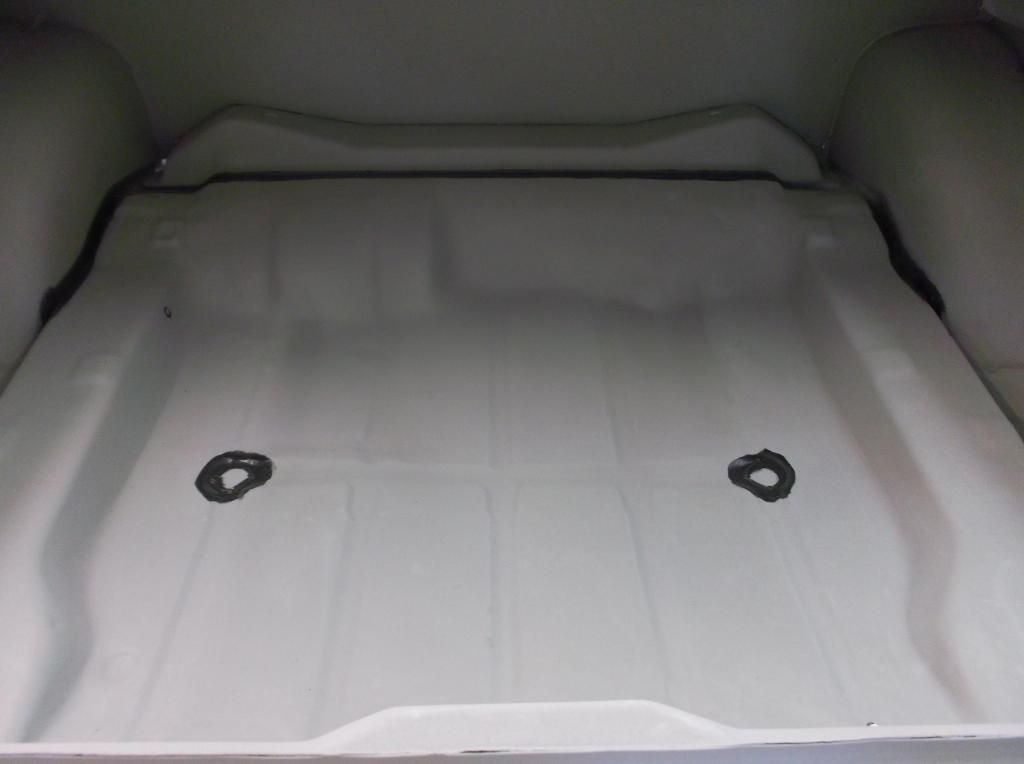
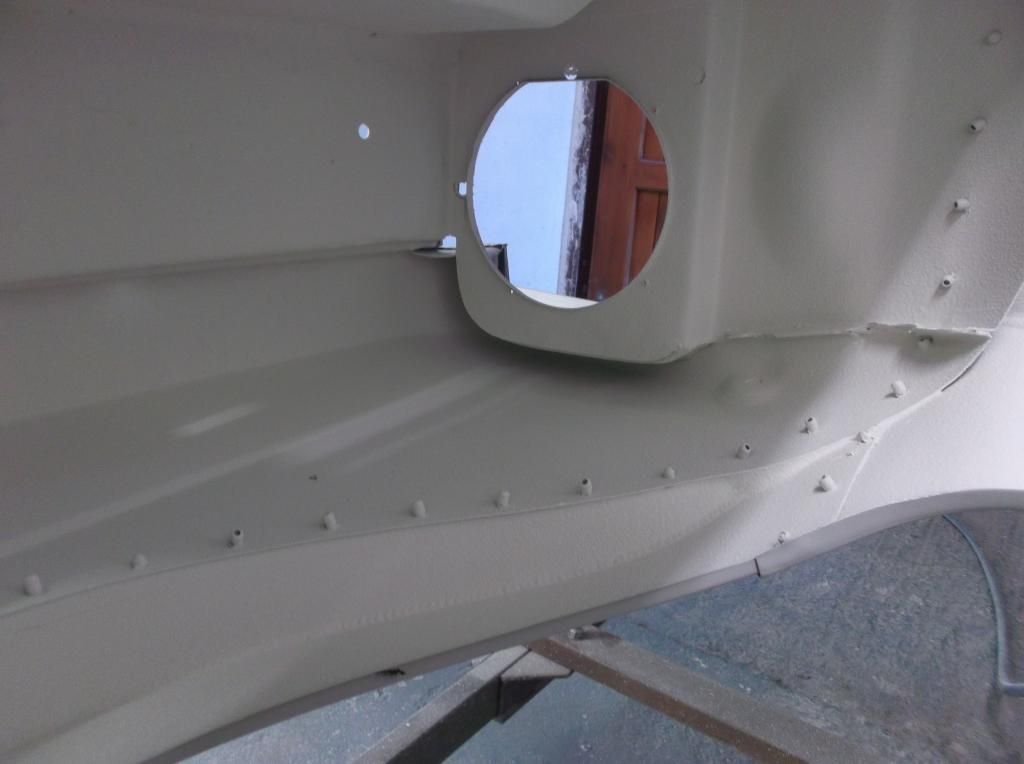
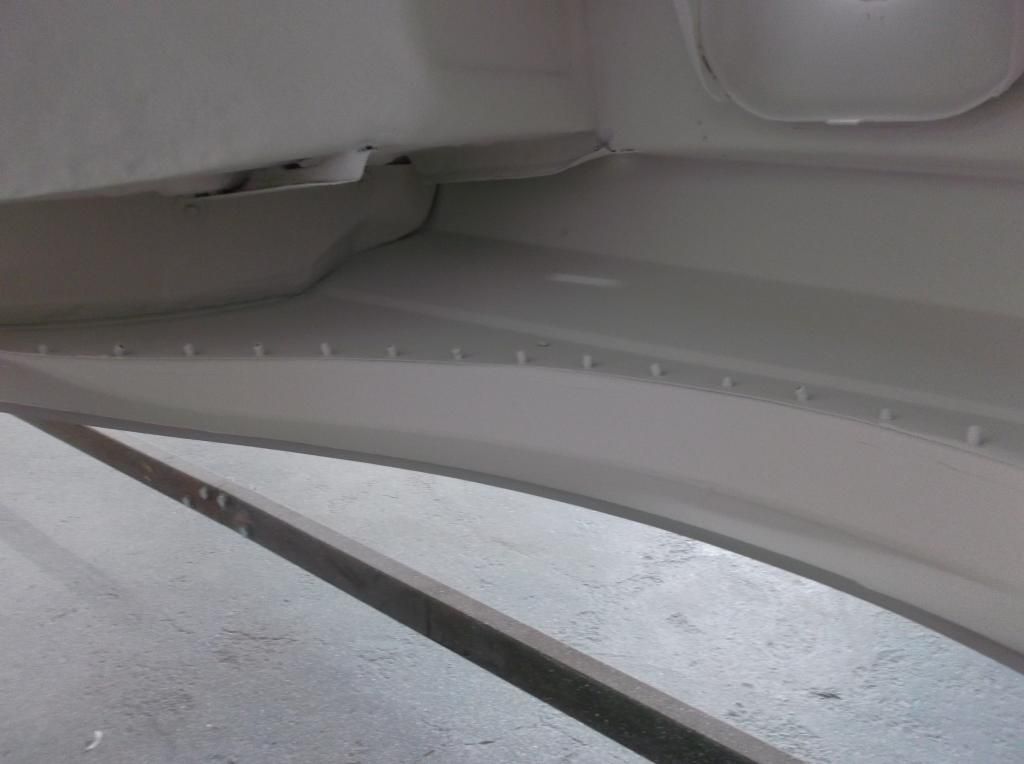
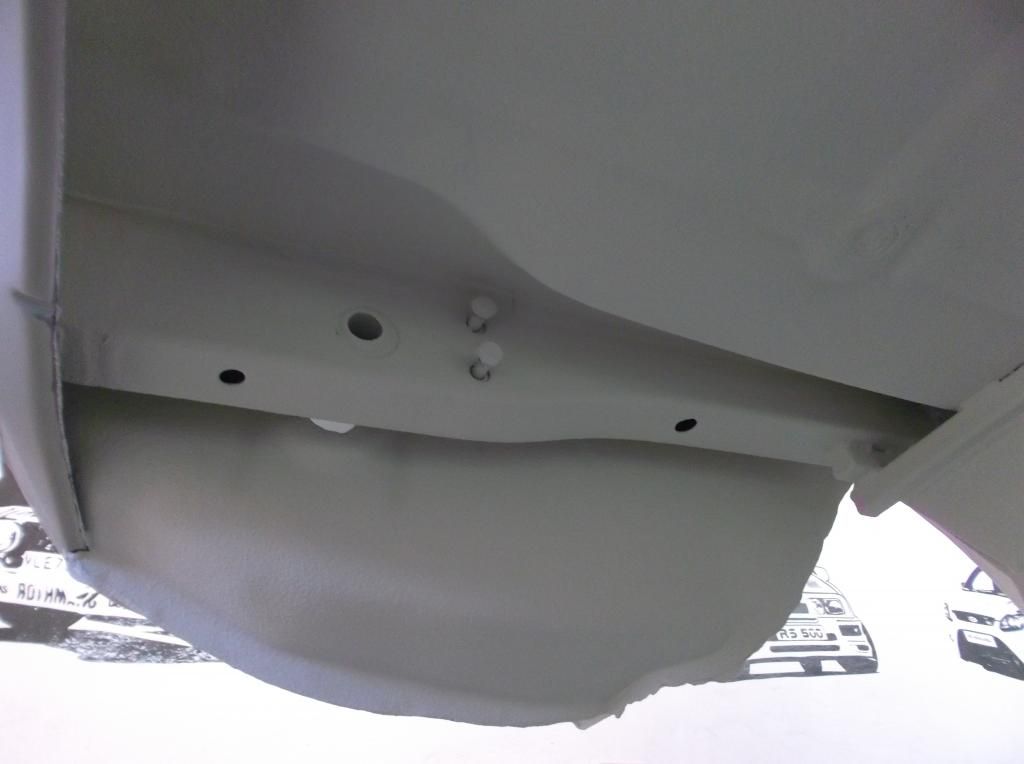
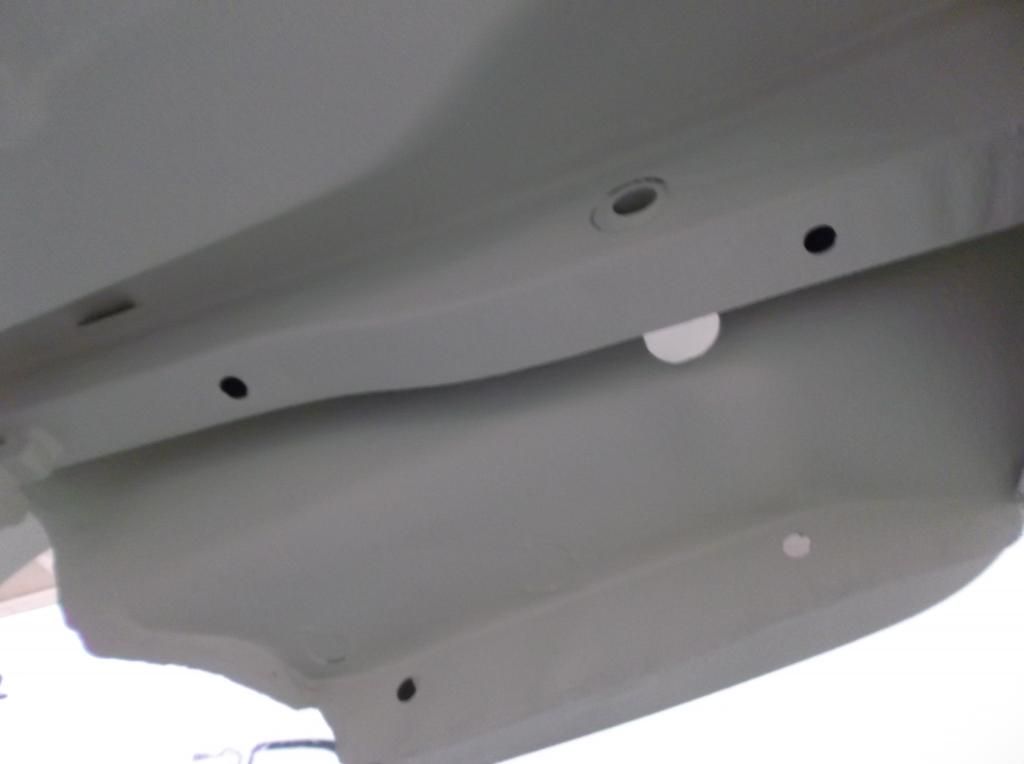
After all the priming seam sealing was done every bit of old sealer was dug out and fresh skiaflex inserted brush able sealer would of been quicker but tends to be quite messy and hard to get in everywhere in the nucks and crannies.
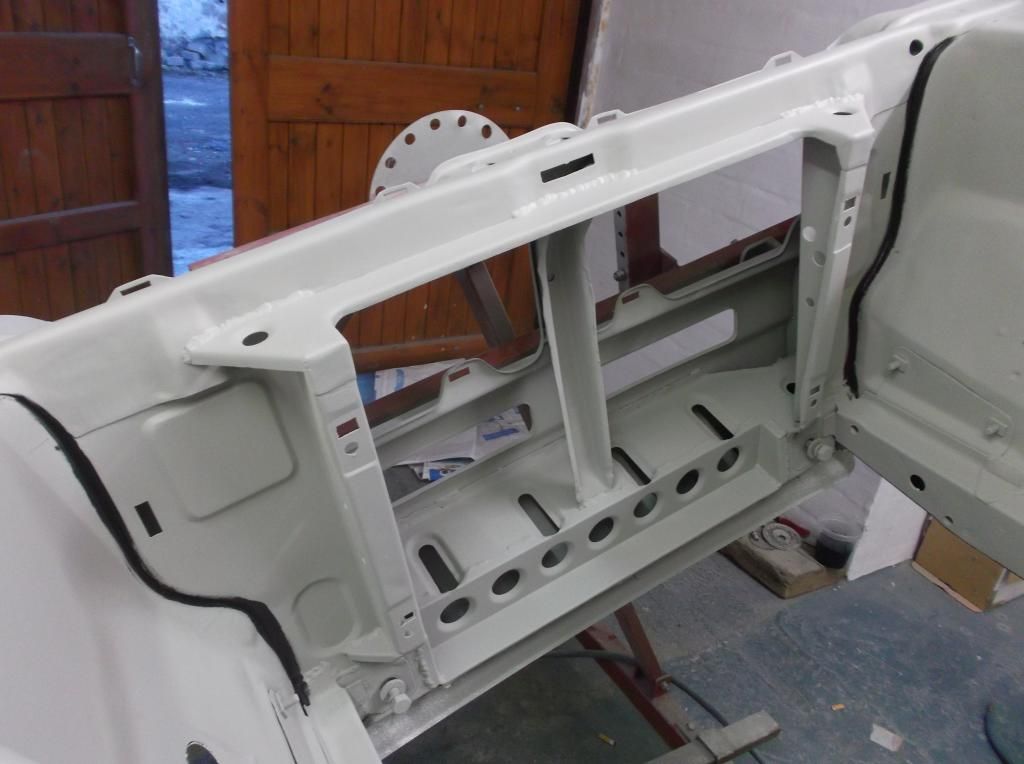


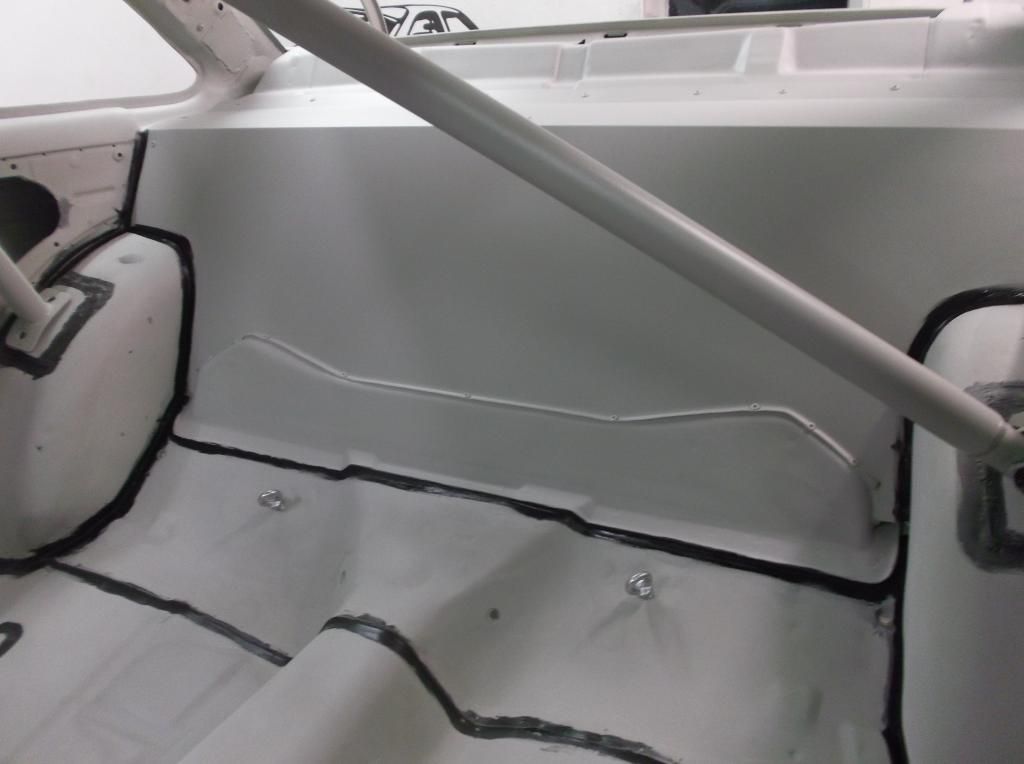
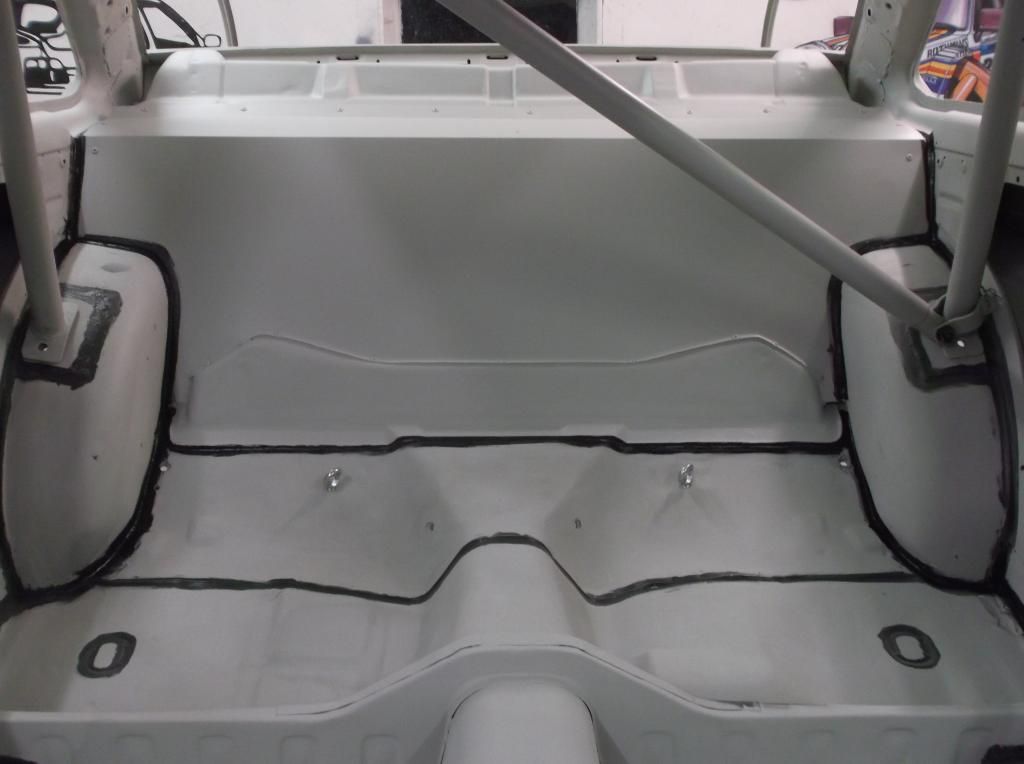
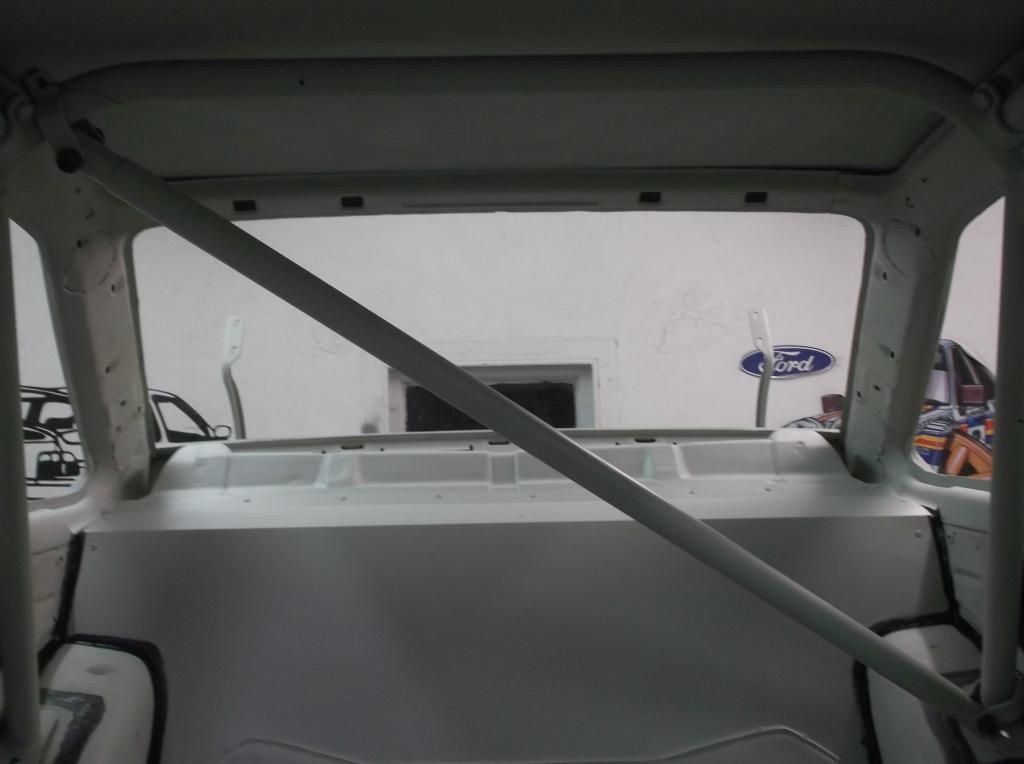
Top of the rear shelf all flushed off
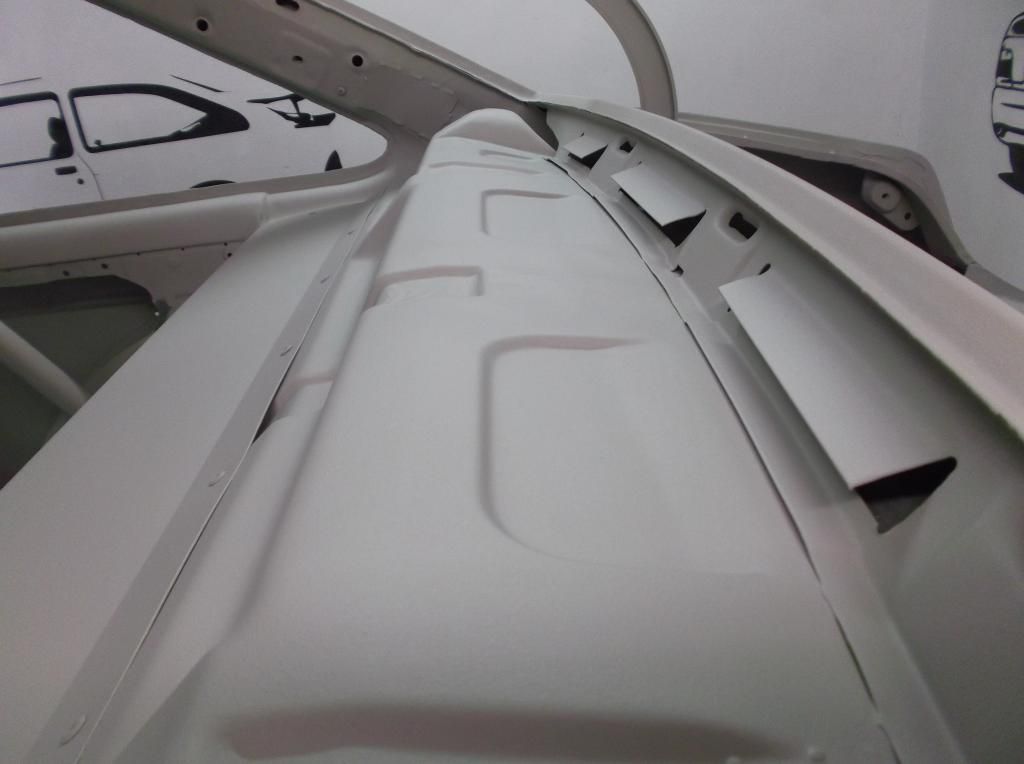
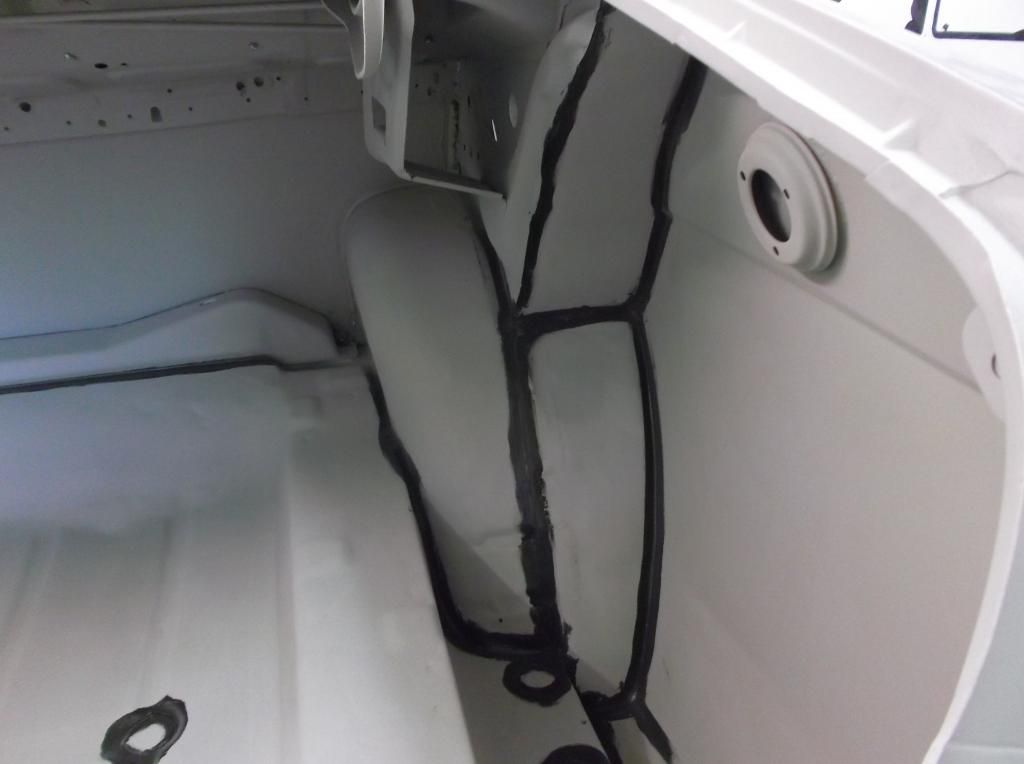
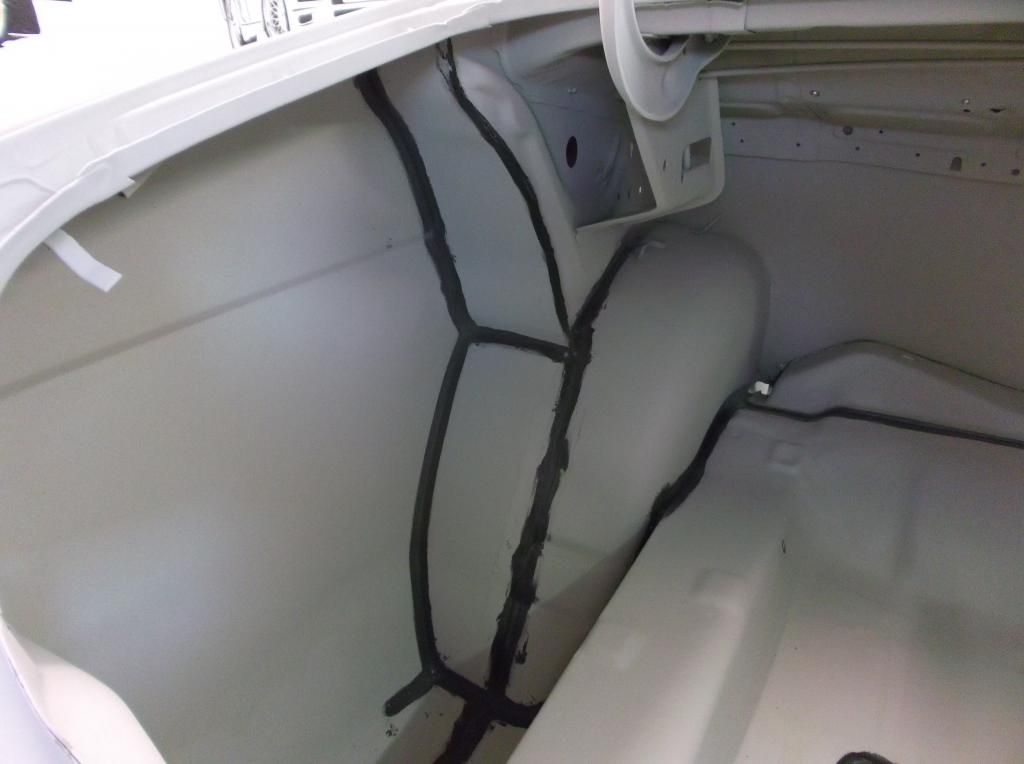
Bead of sealer around the inner edge of the arches
Comment
-
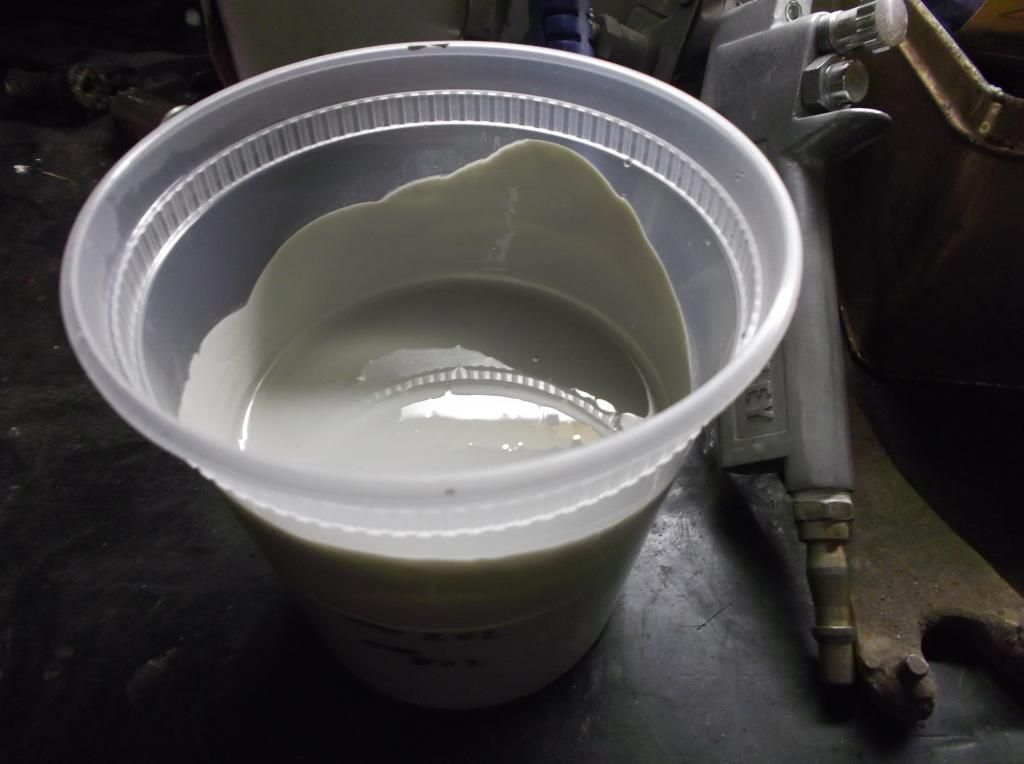
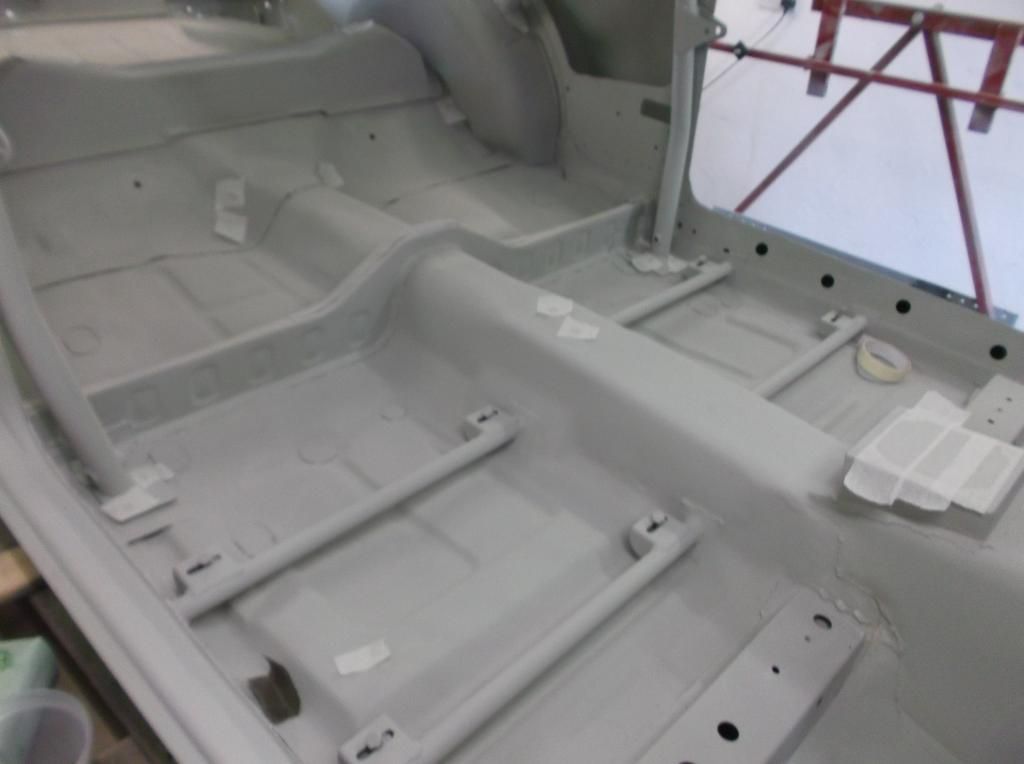
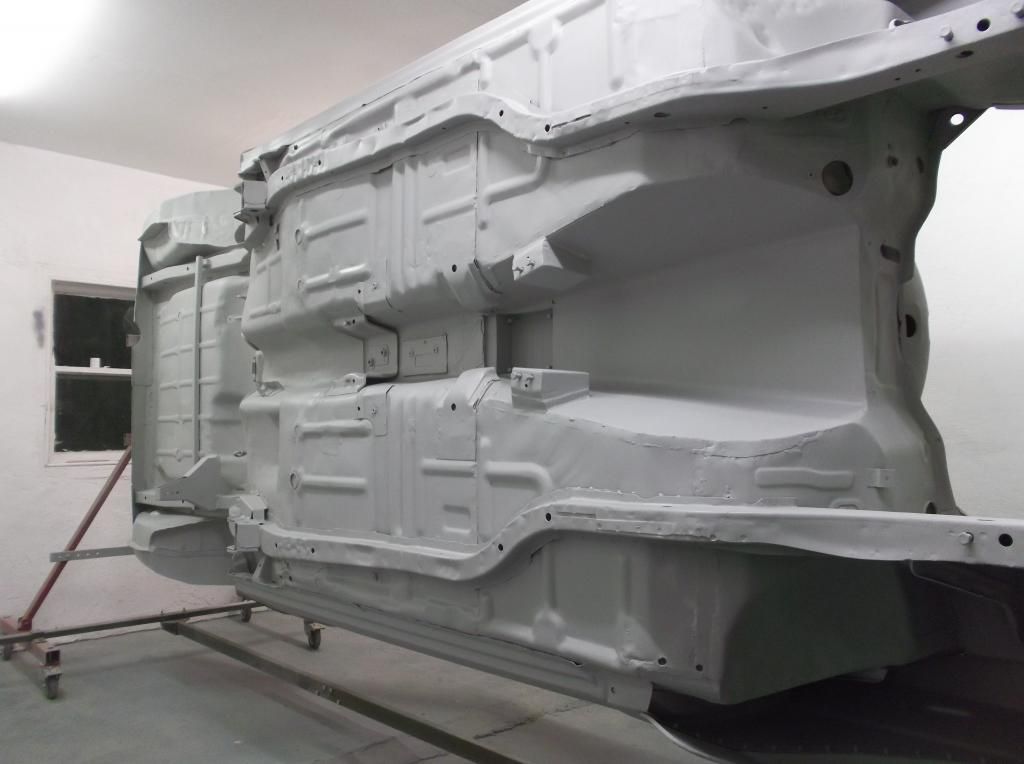
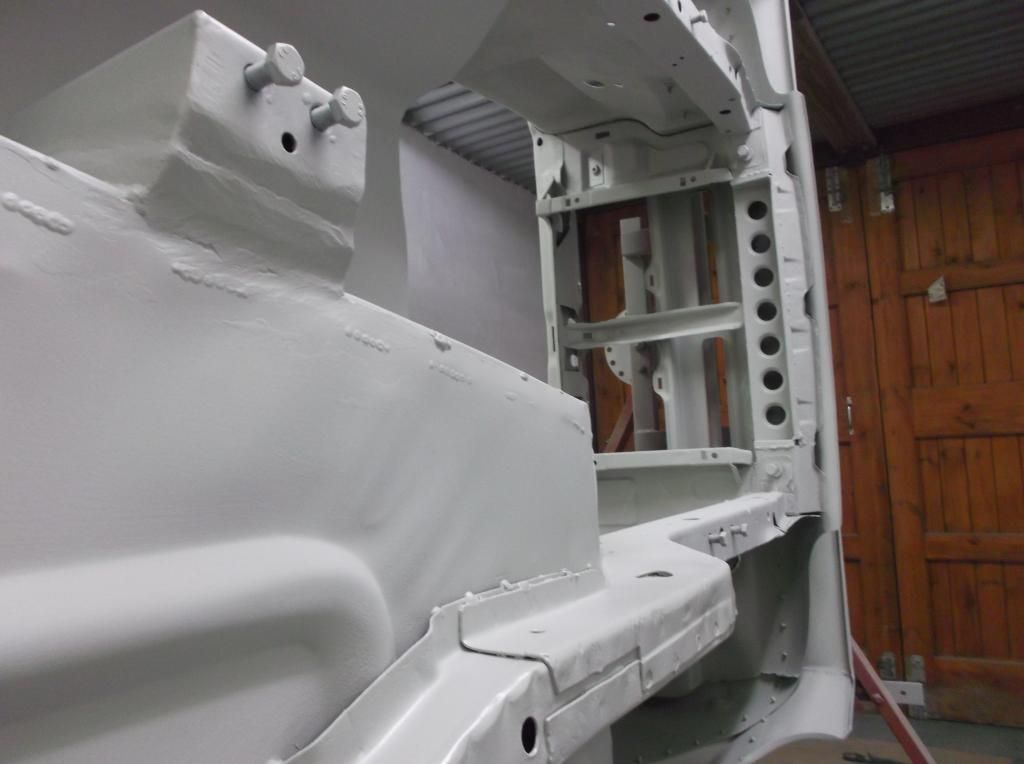
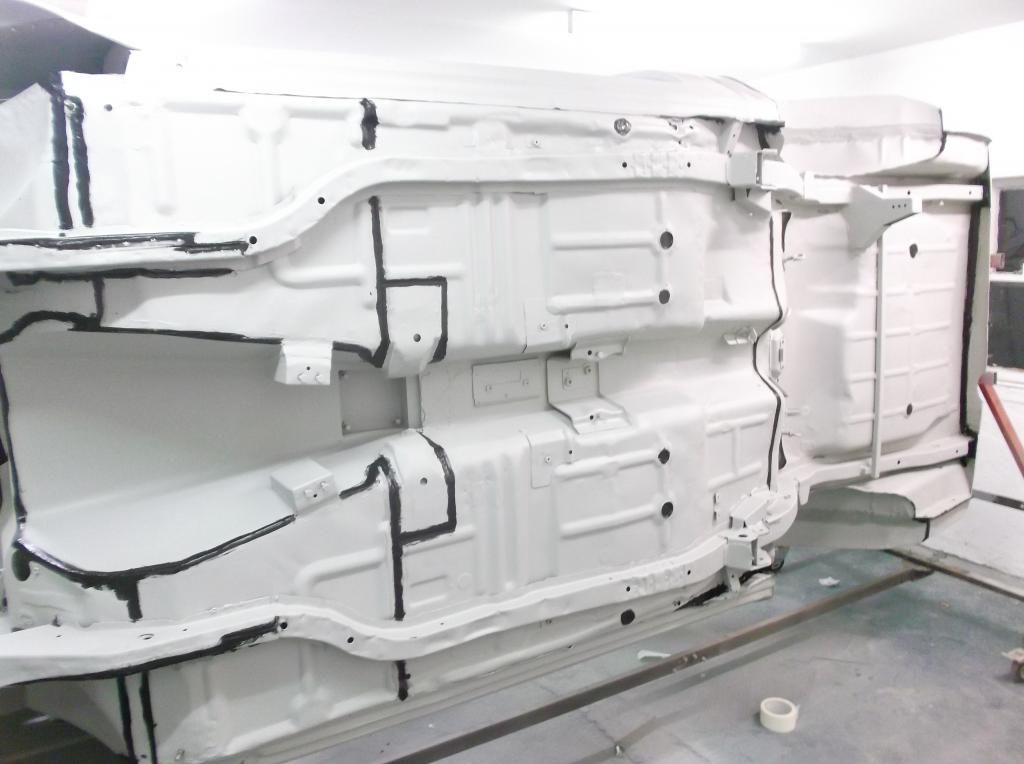
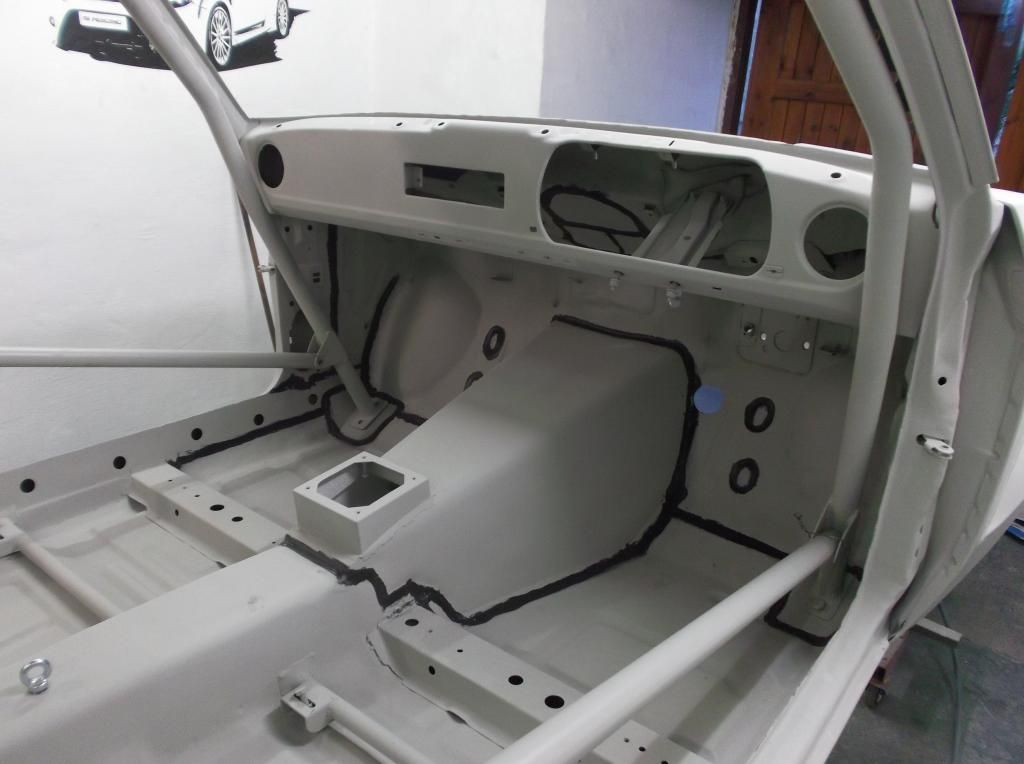
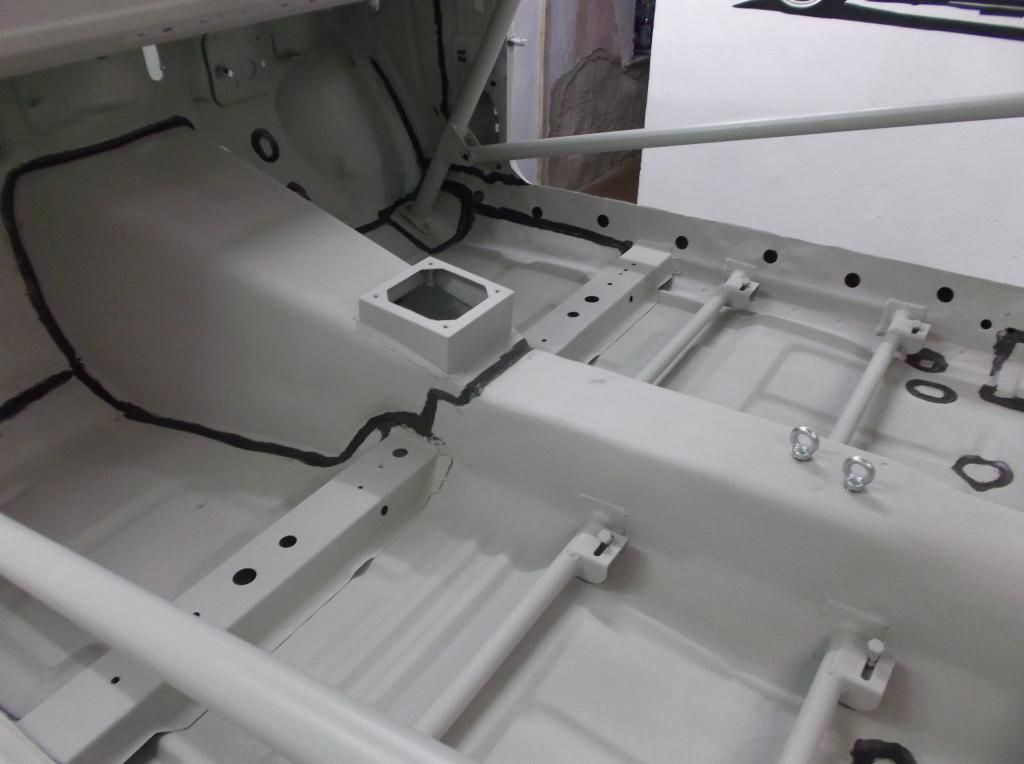
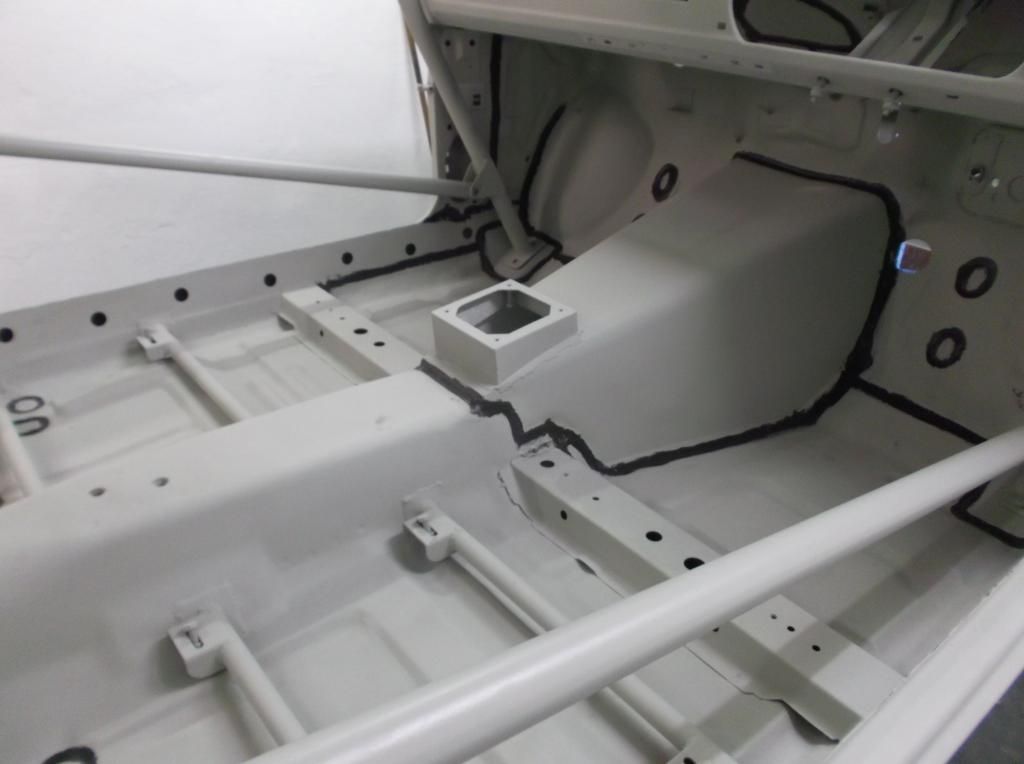
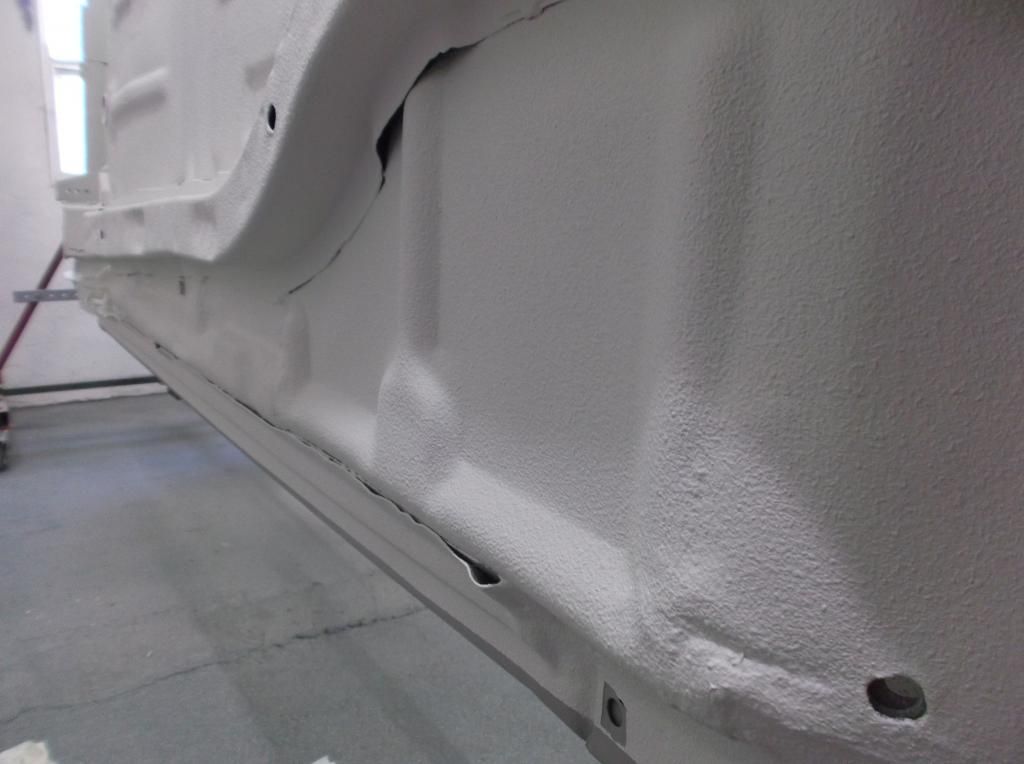
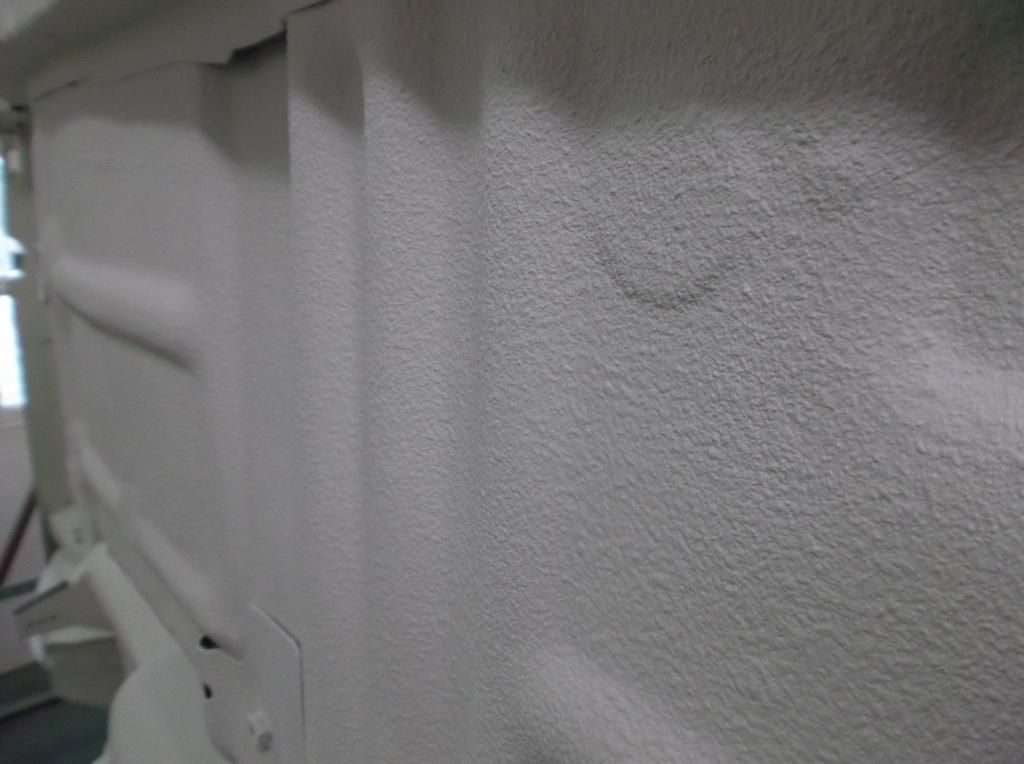
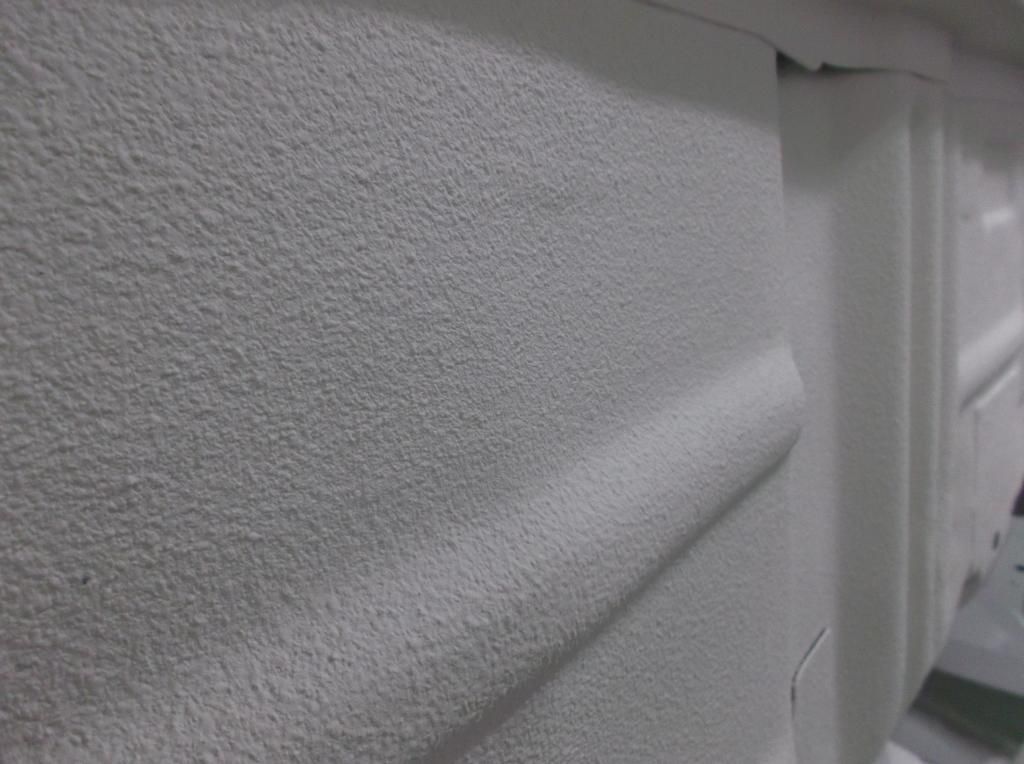
After seam sealing came underbody protection Ive used this 2 part epoxy sealant in the past and would always use it in the future gives a virtually bullet proof layer of protection, goes on by hand so is totally non porous in application and finish.
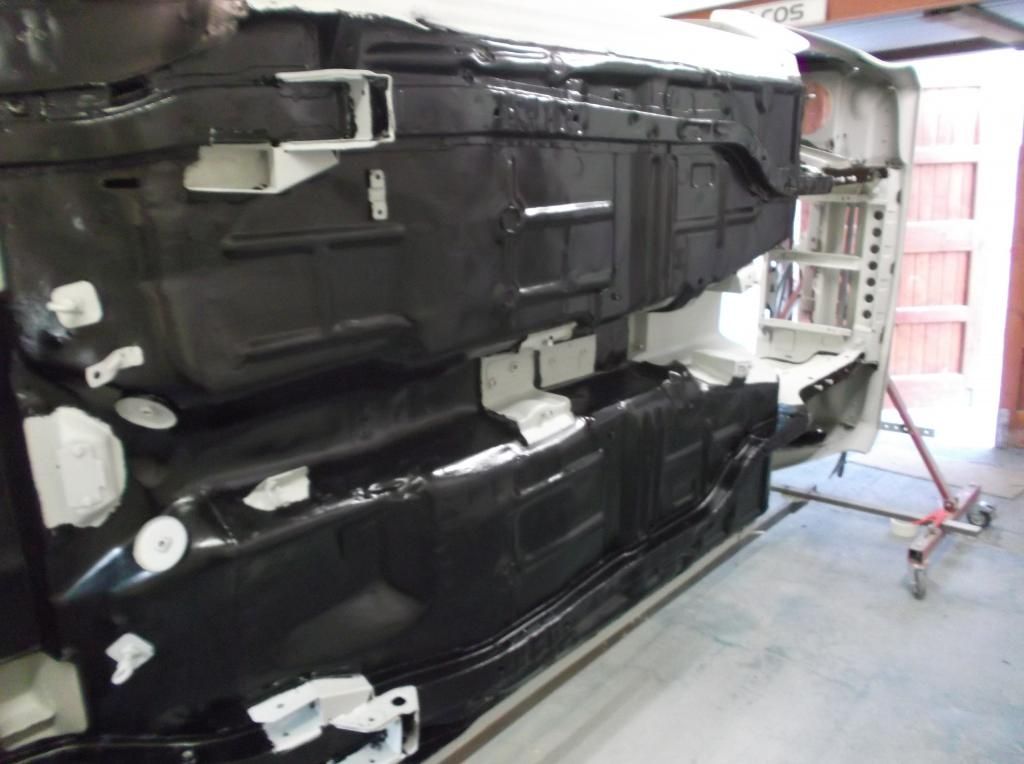

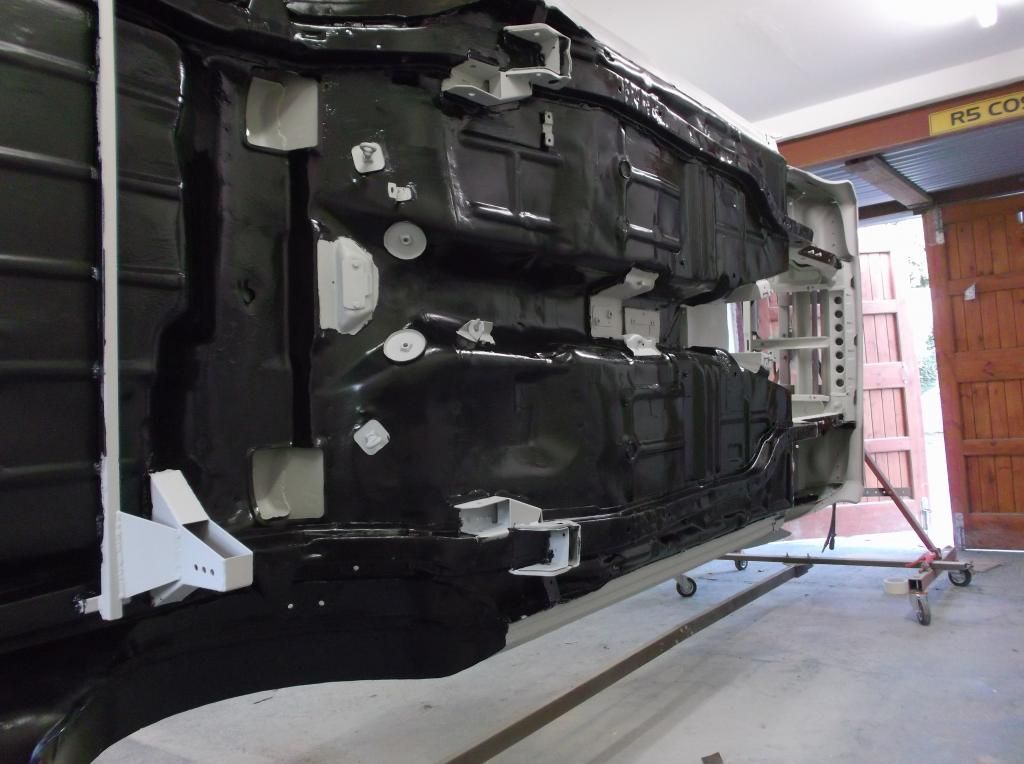
Having got the underbody gun a light coat of gravitex was sprayed over this for extra protection and a uniform finish.
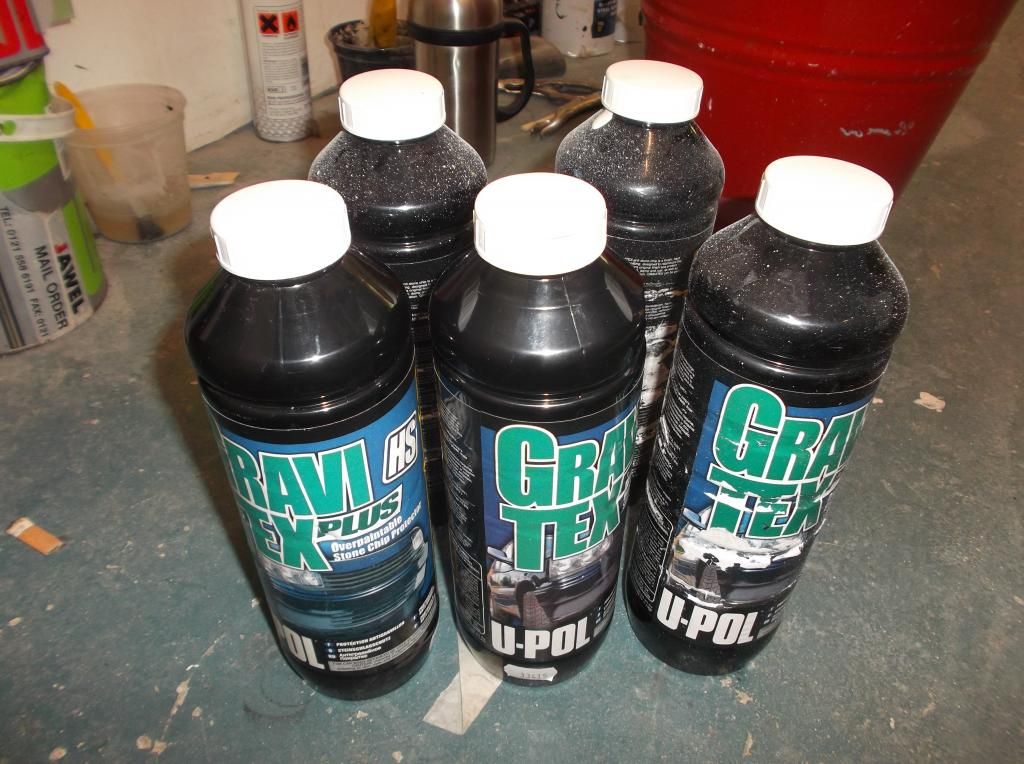
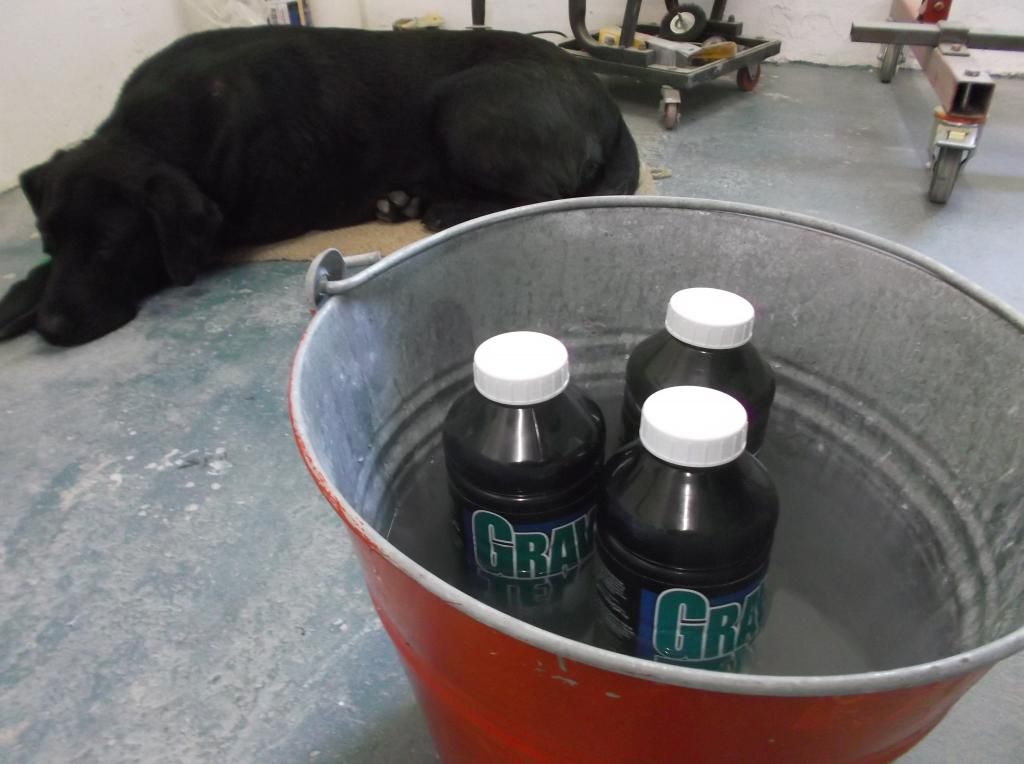
Warming up the stonechip in hotish water helps it flow out of the gun better and gives a smoother finish
Comment
-
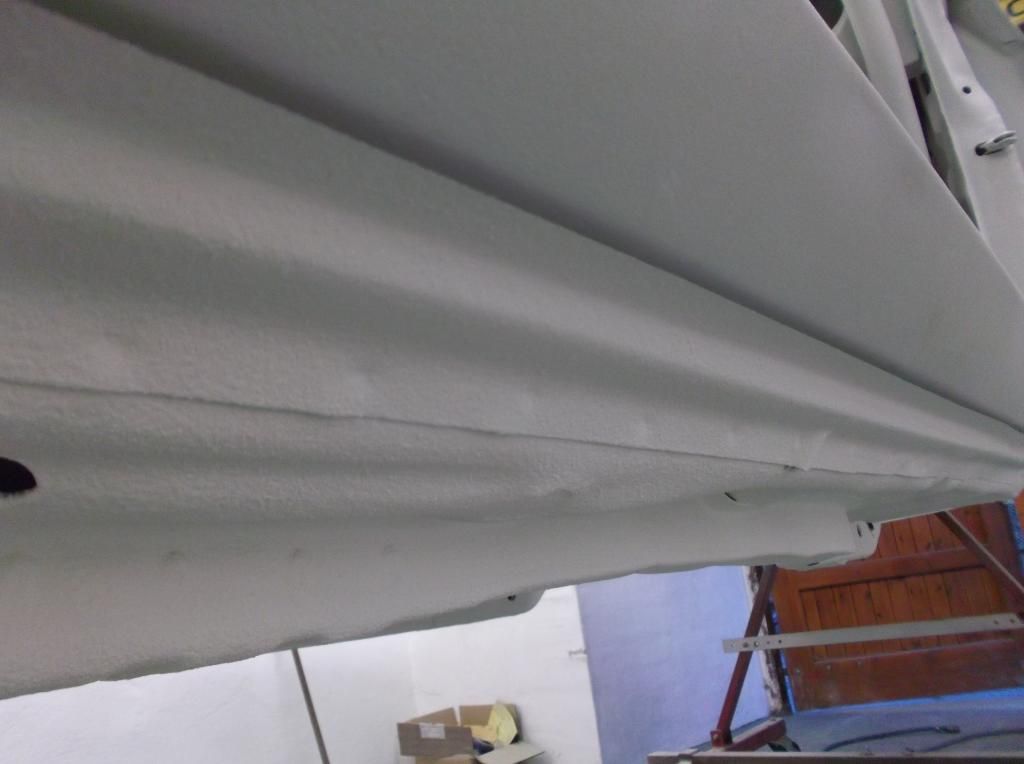
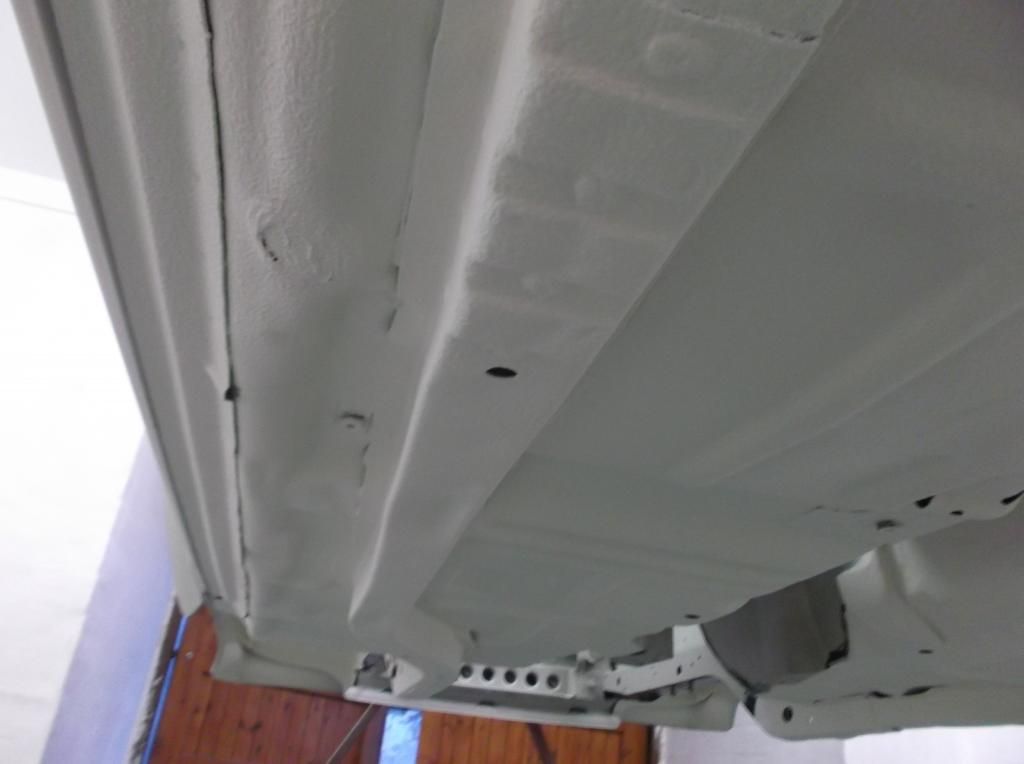
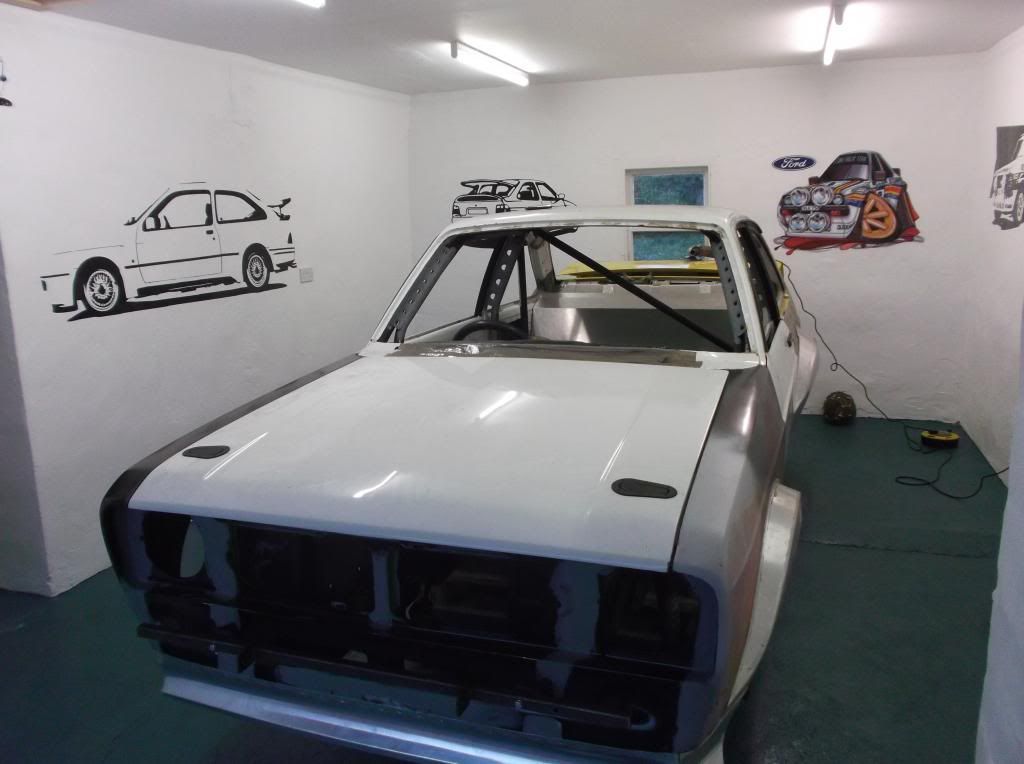
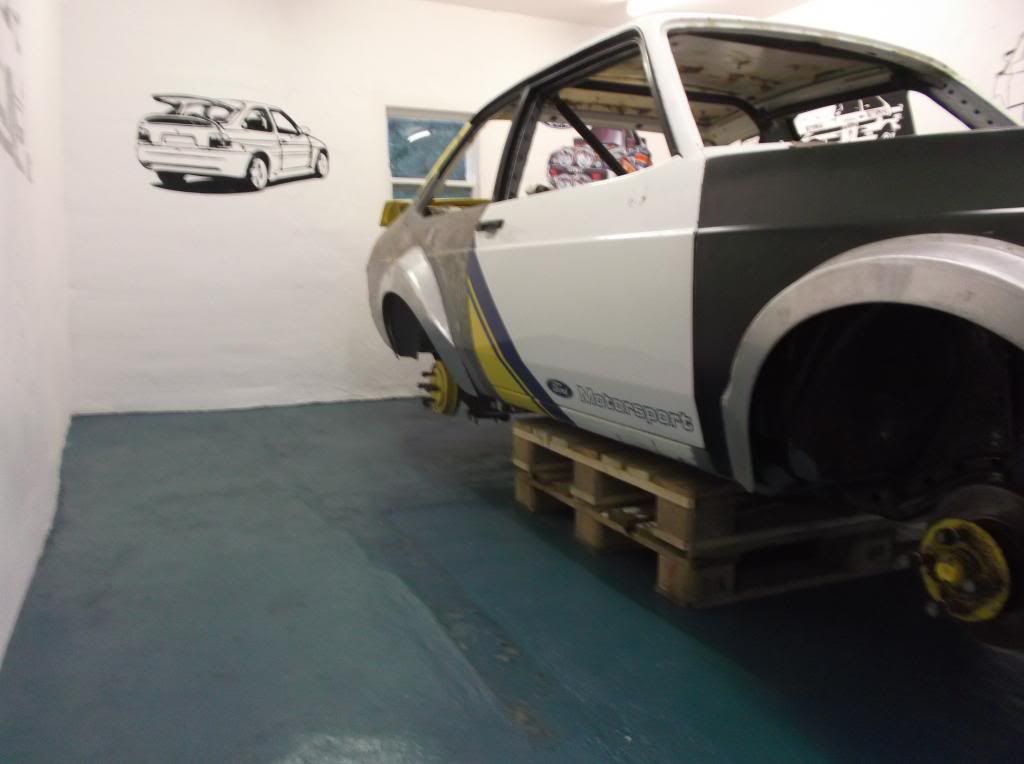
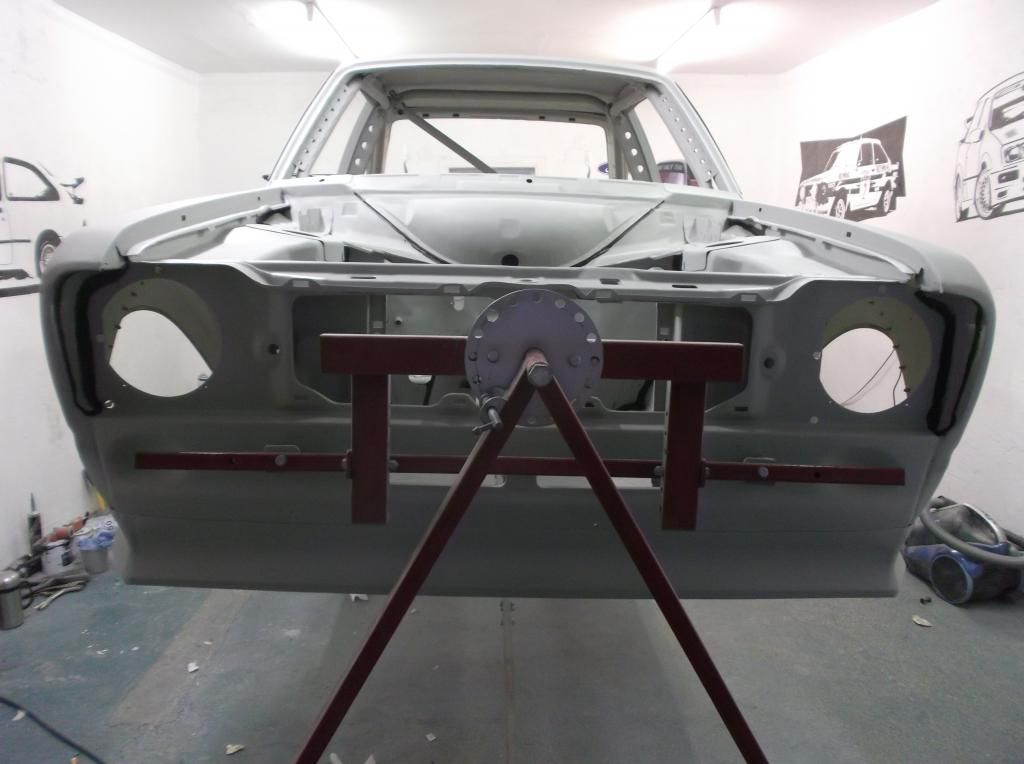
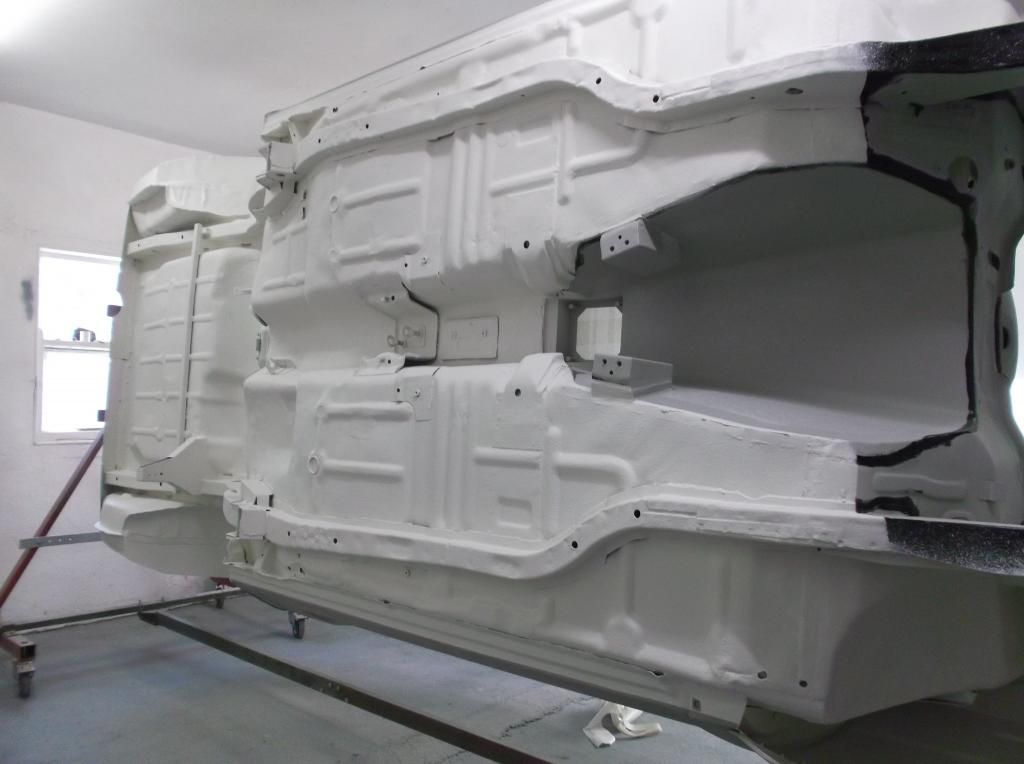
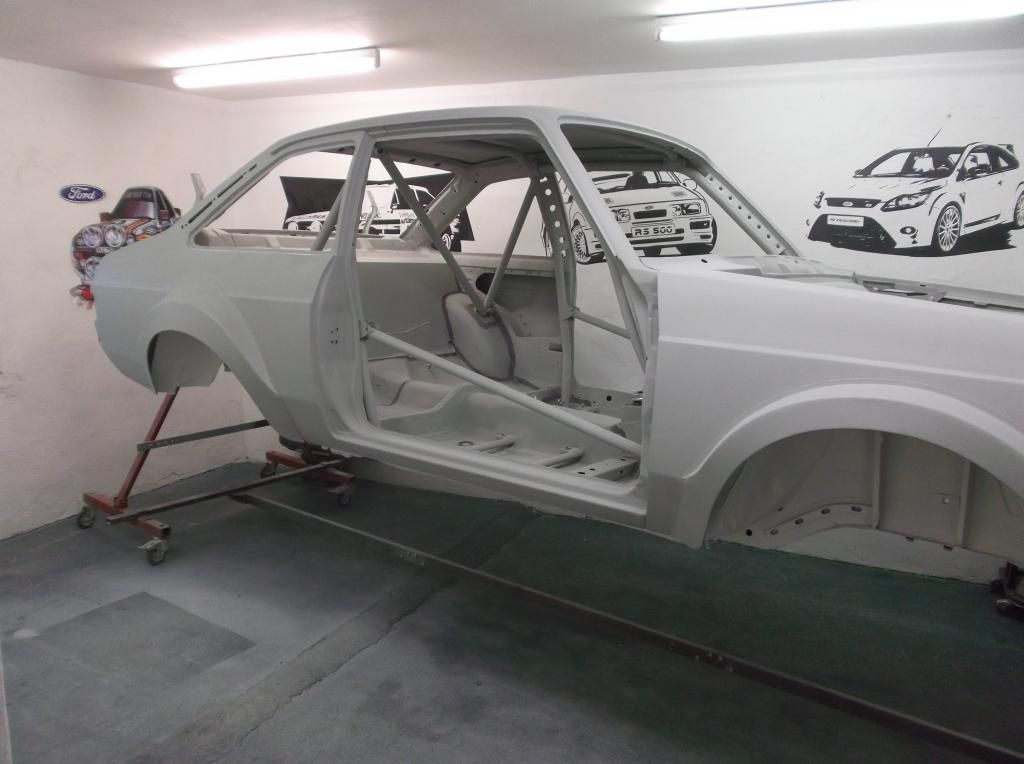
Last few jobs were completed last week just going taking it off the spit this weekend and putting it rolling again.
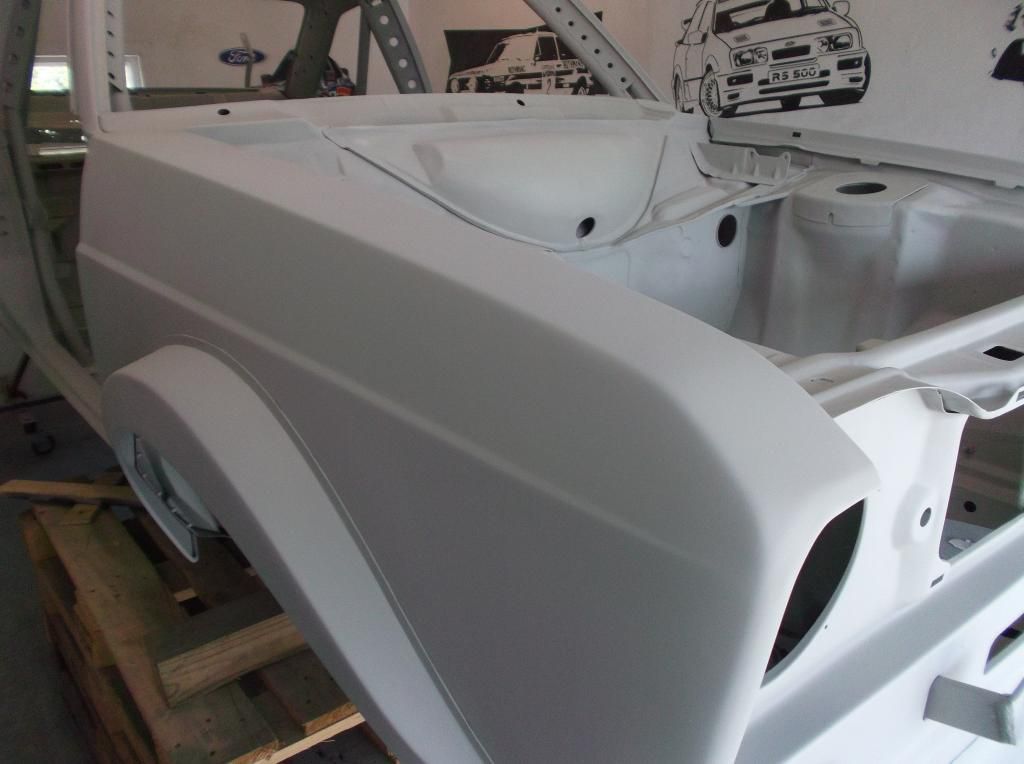
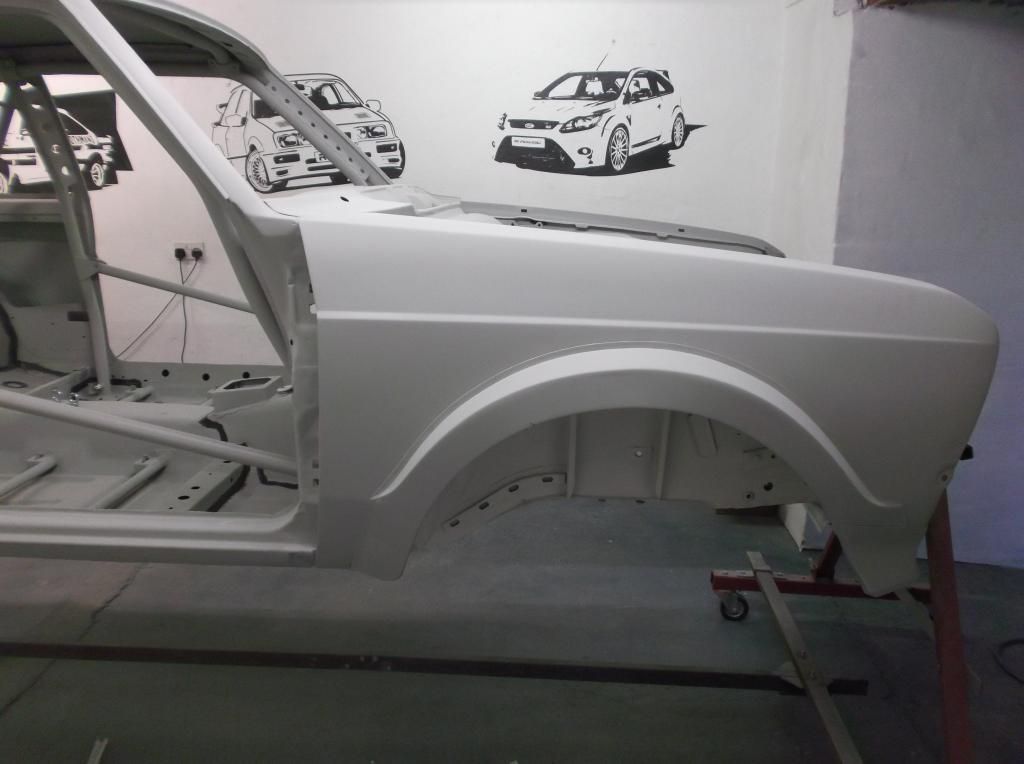
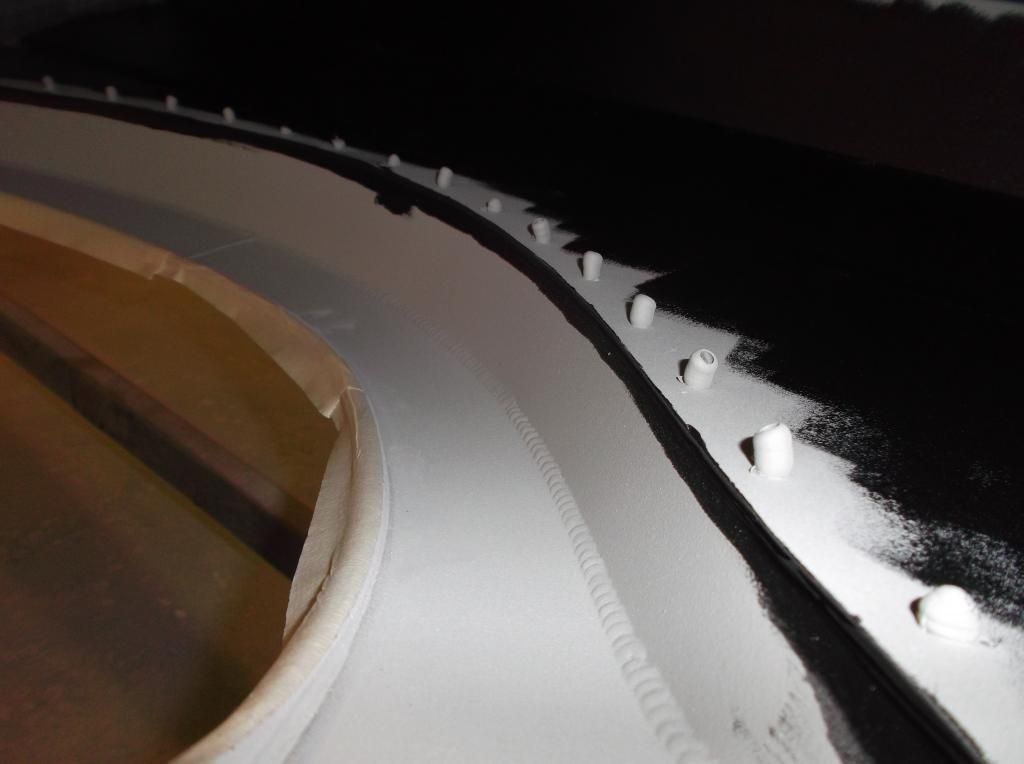
Skin pins finally removed from the arches to epoxy the inside of them and inner edge of 1/4 panels and tidy up some areas i wasnt happy with. Holes drilled, riveted on then ground the heads off and filled over
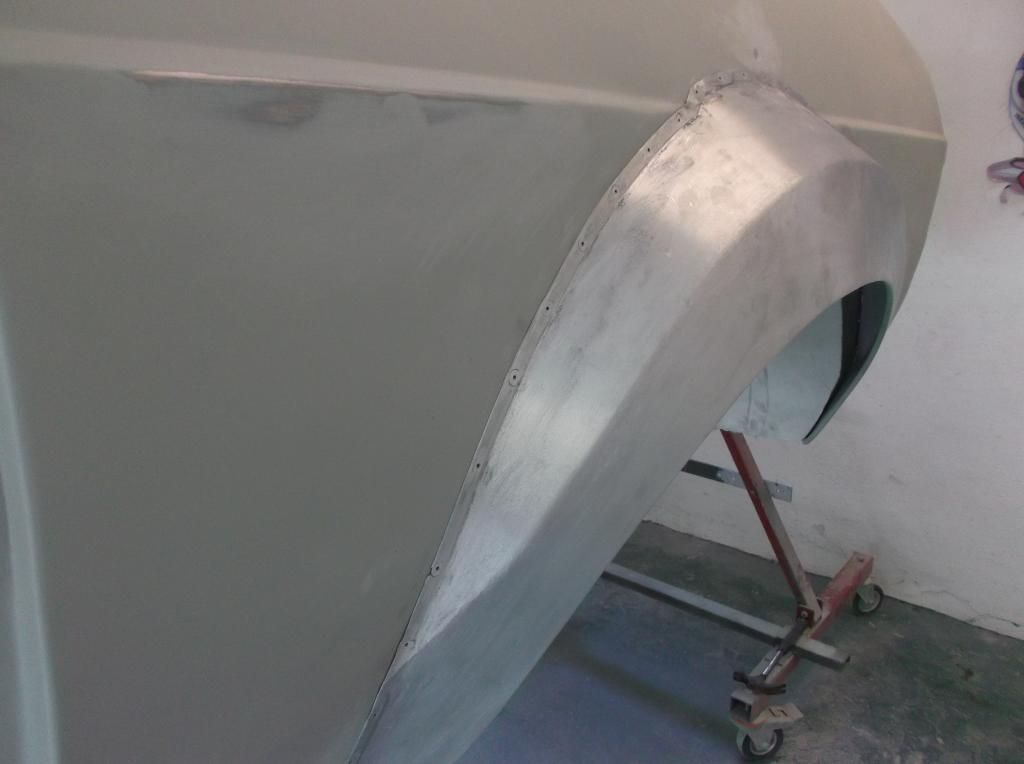
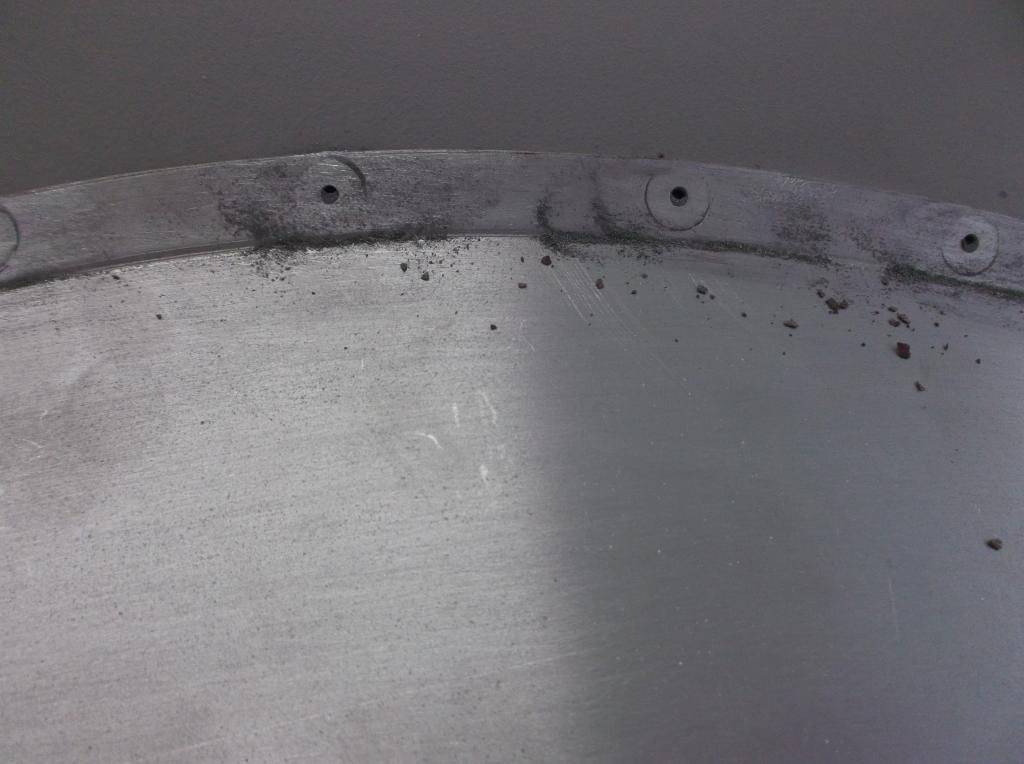

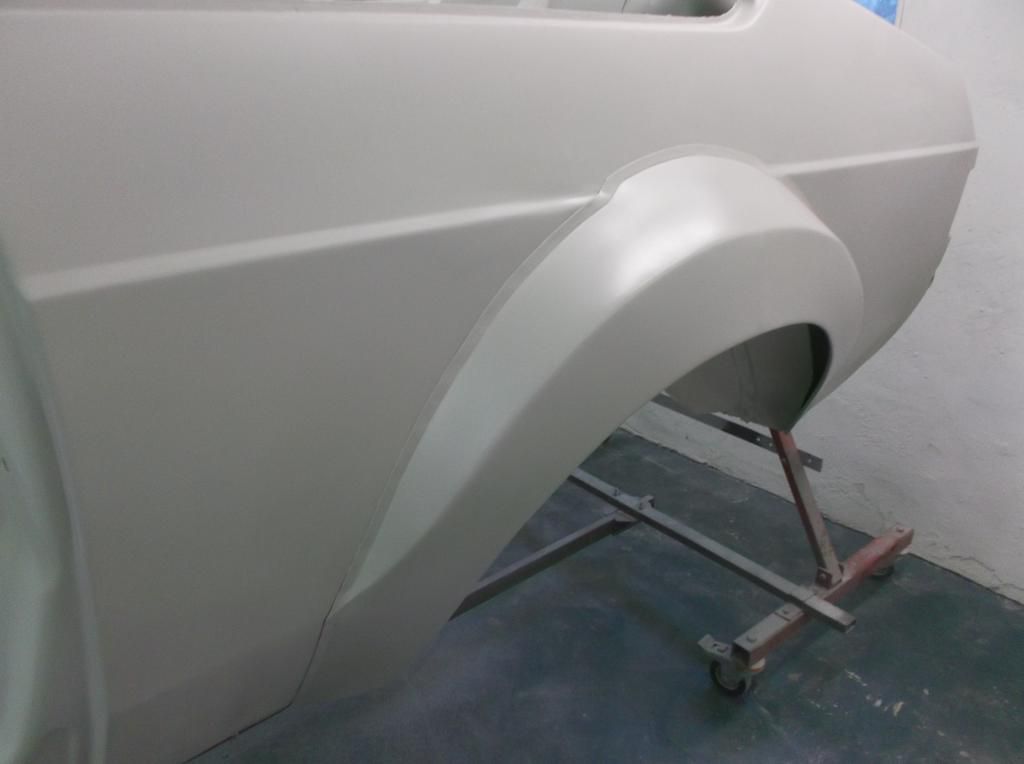
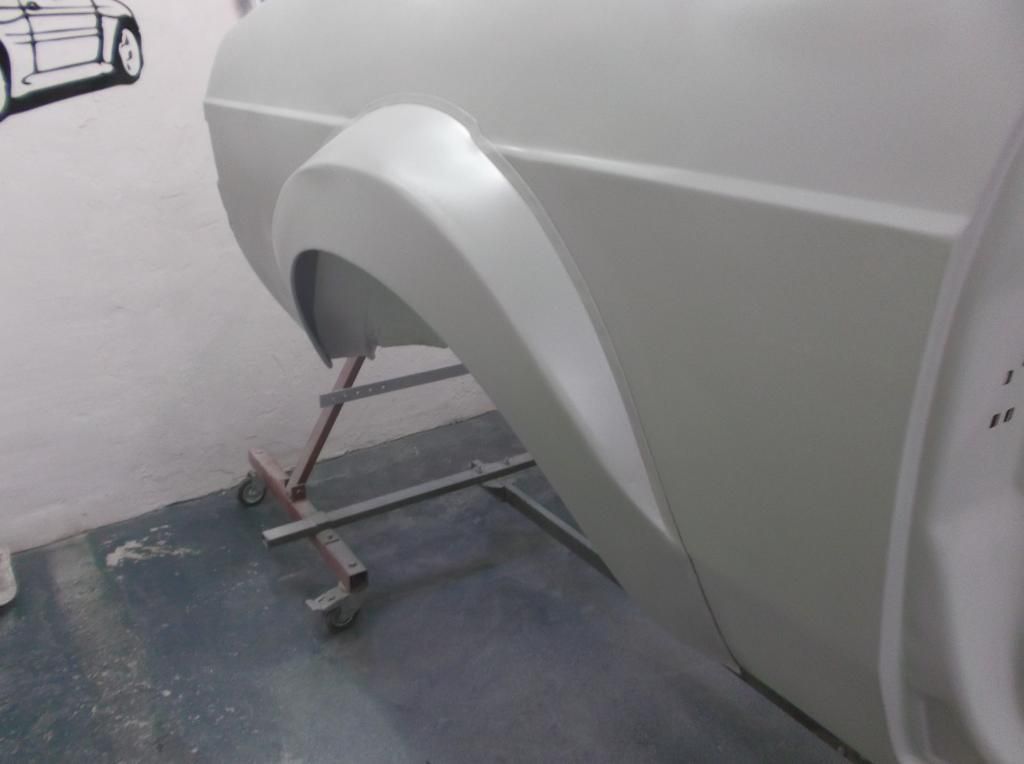


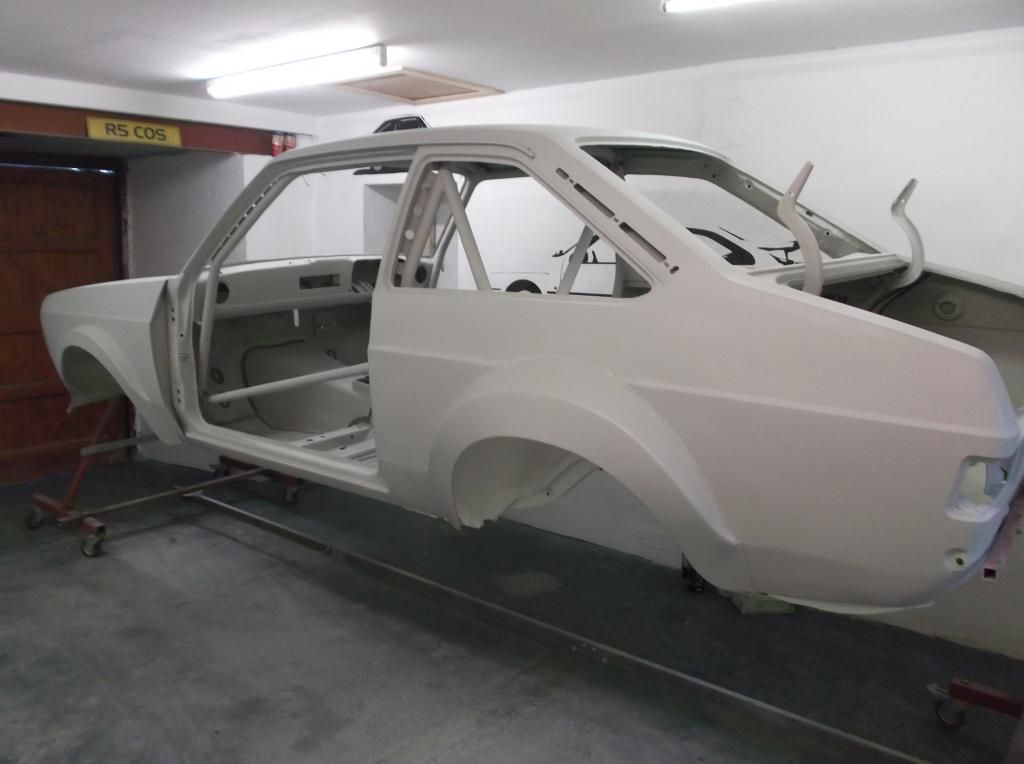

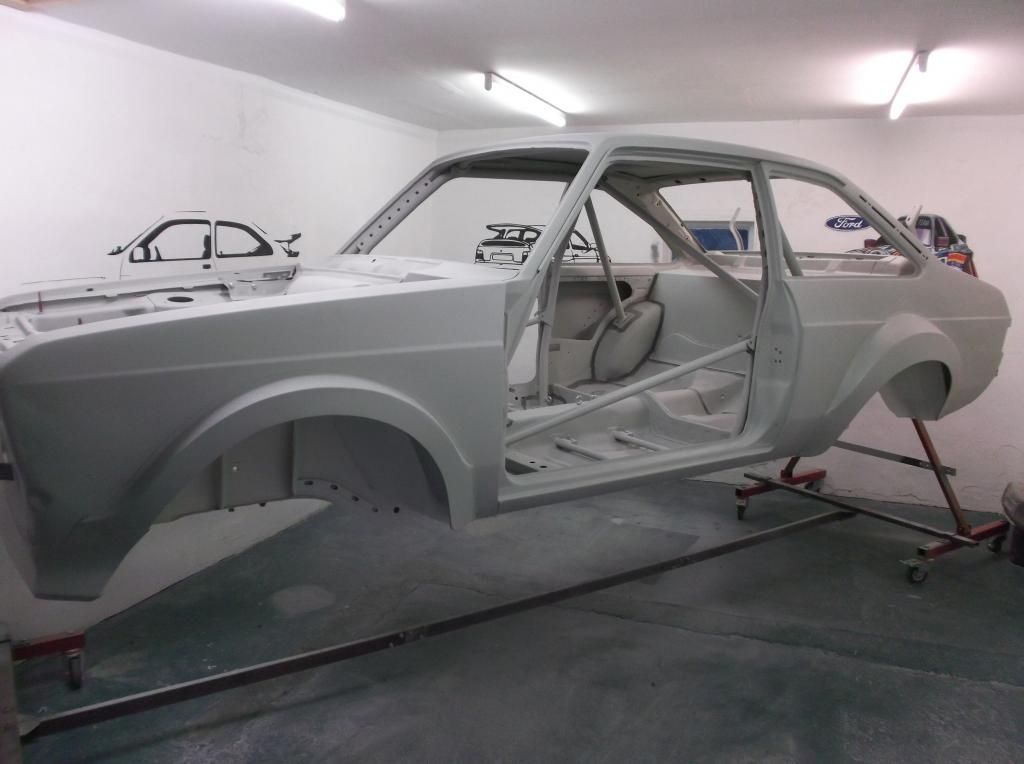
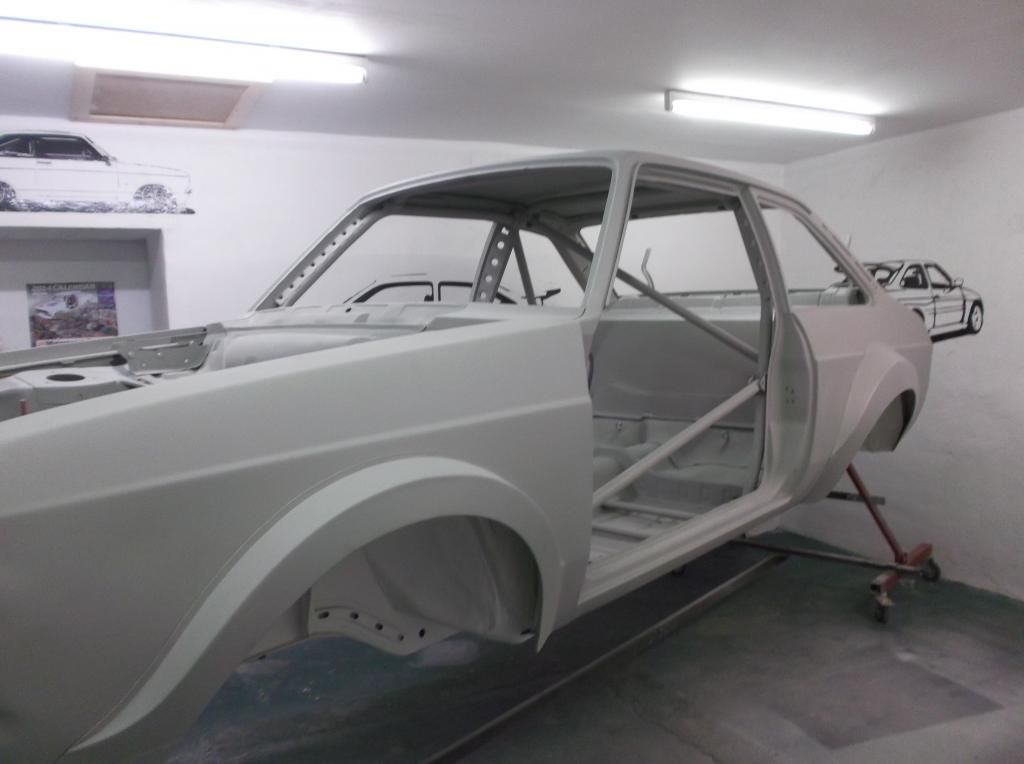
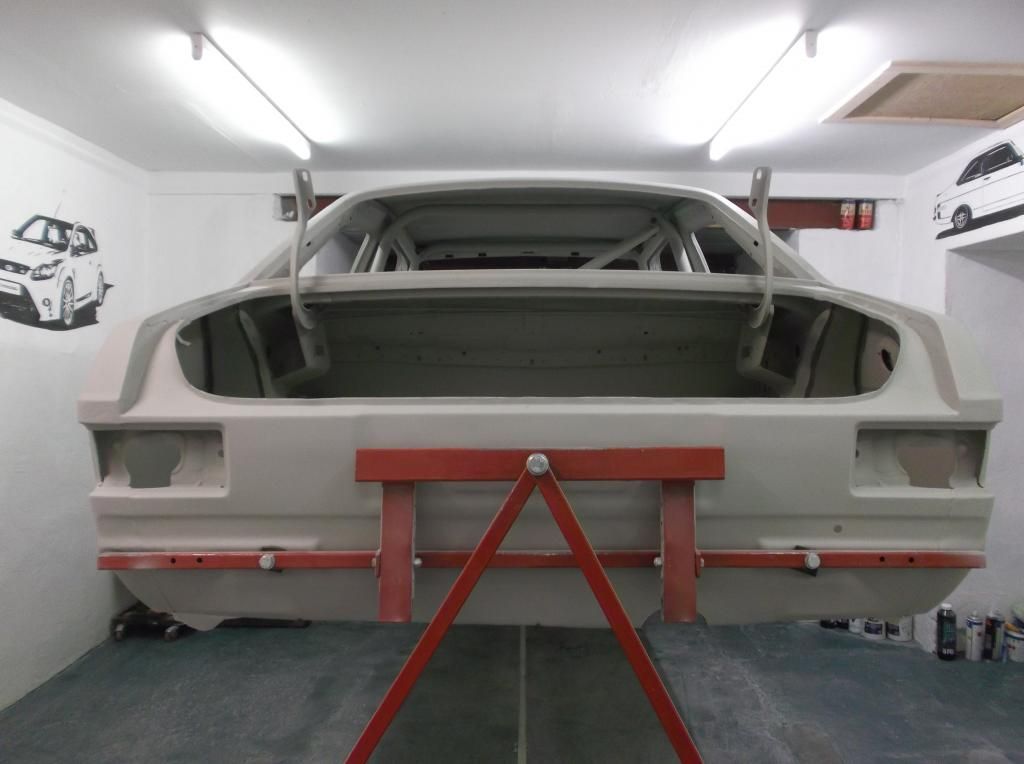
2 small dings on the front wing from transport/storage for a bodyshop to sort out other than that quite happy with how the shell has turned out and requires minimal final prep prior to painting.Comment
-
I like this, some quality work gone into itComment
-
nice update Patrick, you sure are doing a top class job and you have a top class bodyshell now!Comment
-
top job pat!Comment
-
Magic keep on keeping onComment
-
Thanks m8 its starting to look the partOriginally posted by escort new boy View Post
Cheers Gary it all came together in the end chat ya soon.Originally posted by oppositelock View Post
Thanks JohnOriginally posted by John Savage View Post
Cheers m8 thats all thats been done with it for the time being.Originally posted by jock View PostComment


Comment