Announcement

Collapse
No announcement yet.

my first mk2

Collapse
X
 
  • Filter
  • Time
  • Show
Clear All
new posts

  • #16
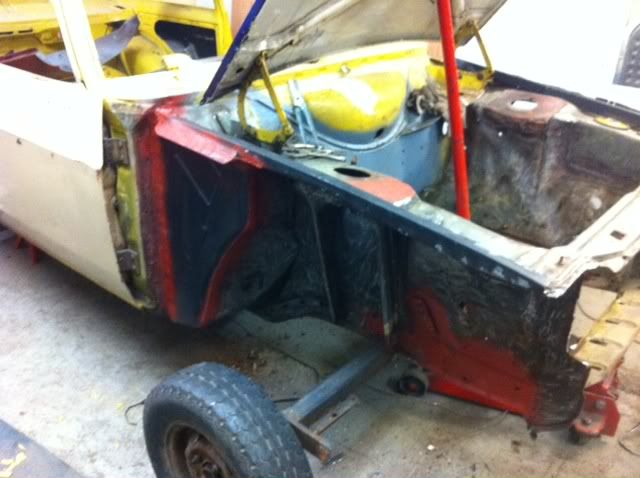
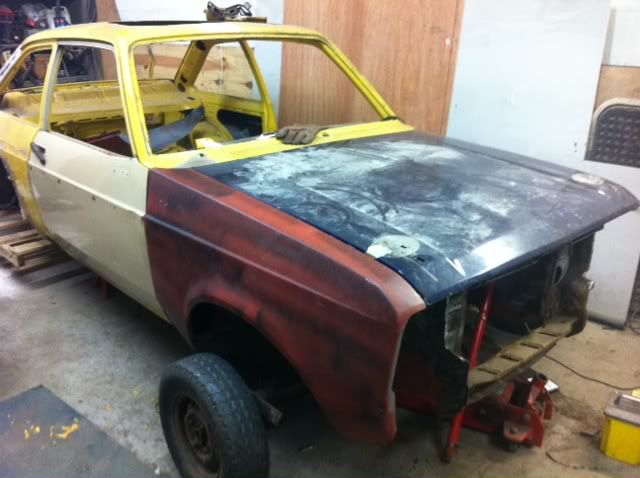
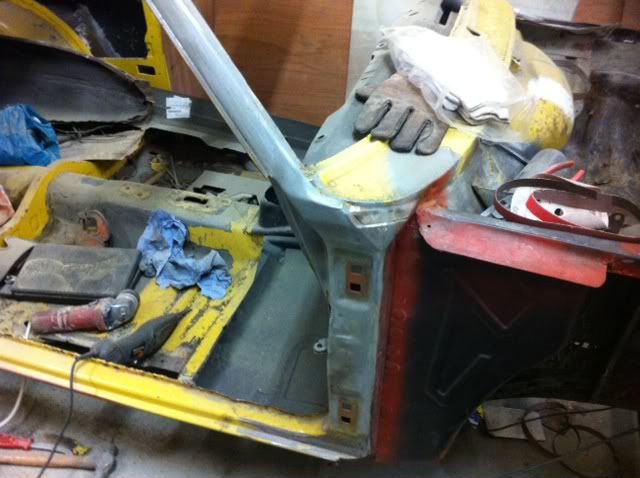
    passenger side as it was

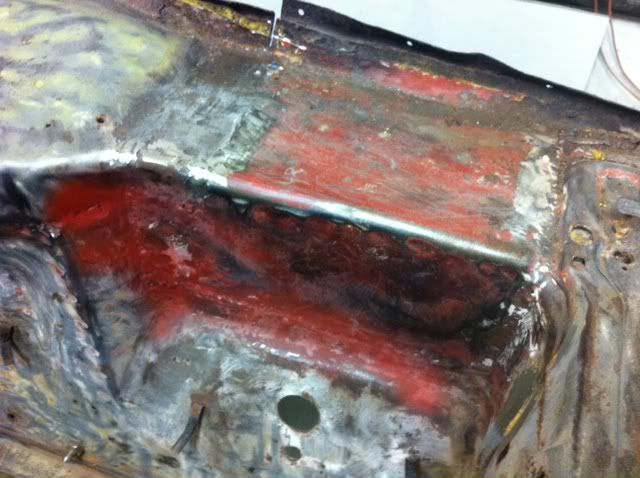
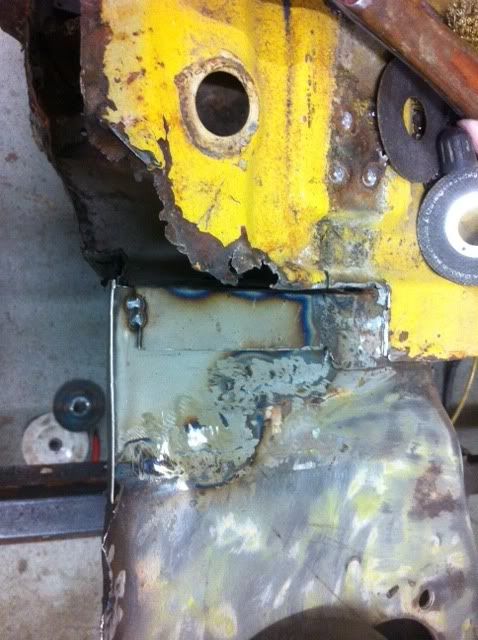
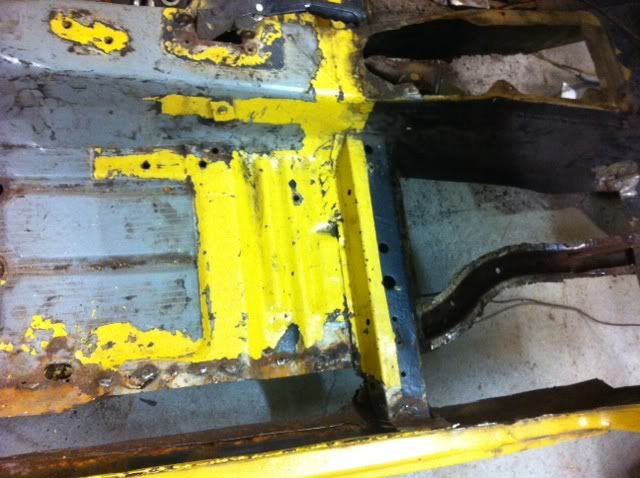
    i couldnt understand why someone had done this but i found something that gave me a clue


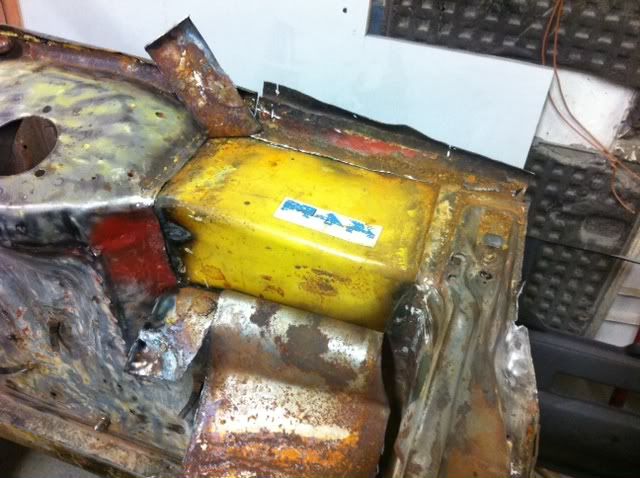
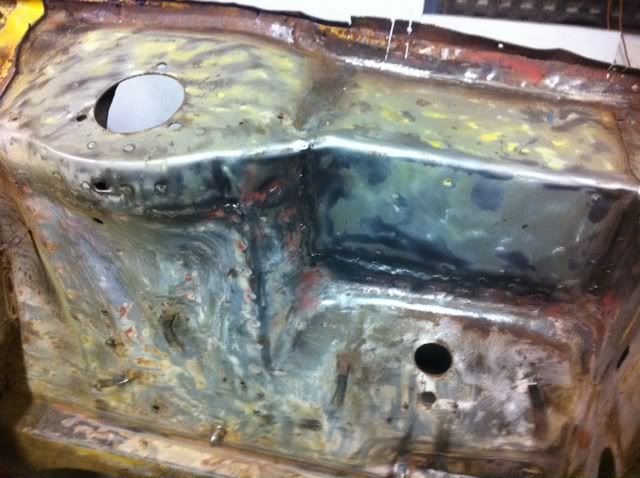
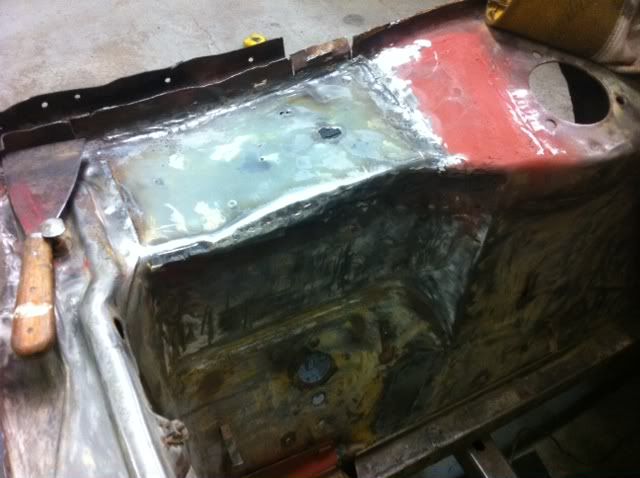
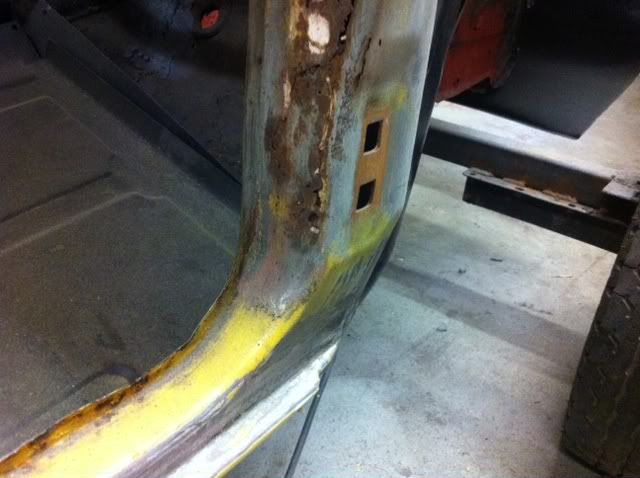
    says it all doesnt it. anyway should end up a nice panel no rot on this side
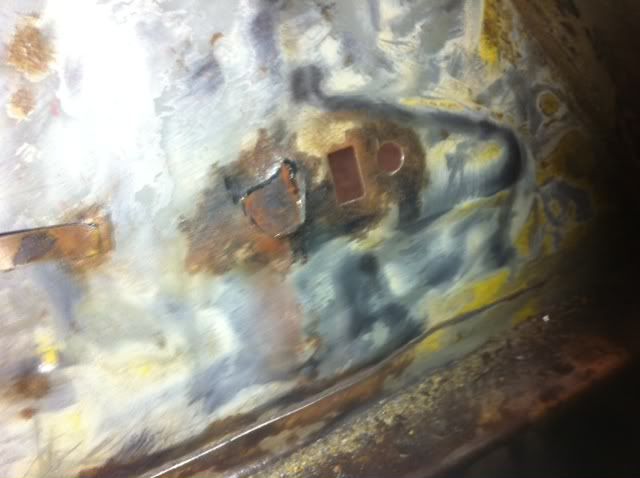
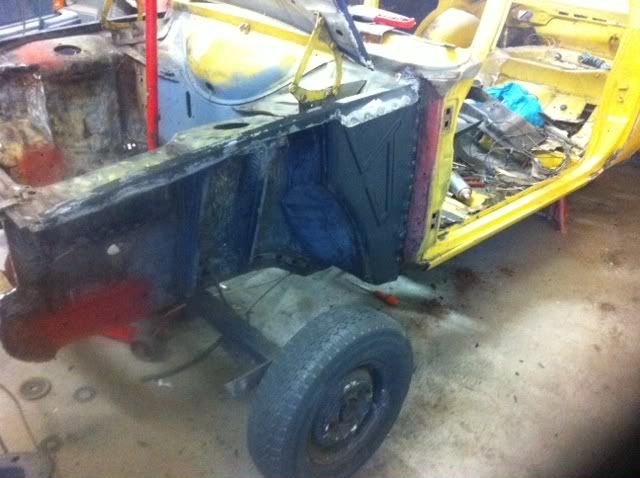
    Comment


    • #17
      never got much done this evening just tidying up the inner wing topos a bit more very happy with what ive found, just need a bit more tidy up with power file as grinders a bit of a rough finish


      i feel so much better now ive got origional strut tops and tidy inner wings. hopefully wing rails and splash panels done on saturday

      Comment


      • #18
        ur getting on there m8
        be woth it in the end.
        dav

        Comment


        • #19
          You dont hang around nice to see you getting straight on with it keep up the good work and speed

          BLOODCLAAARTTTT!!!! Black

          Comment


          • #20
            it makes you wonder what some people are thinking, what was the need for those patches welded on the inner wings!!
            Surely peeling the sticker off would've been easier :-)
            Lucky they weren't hiding anything too nasty
            sigpic GC Automotive
            Repairs & Restoration tel-07805611316

            Comment


            • #21
              All I can think is they thought they were strengthening it up??

              Comment


              • #22
                Coming on nicely there just got back on to doing mine, but my progress is very slow compared to yours, so not worth me up dating my thread . I'll be following your progress for inspiration.
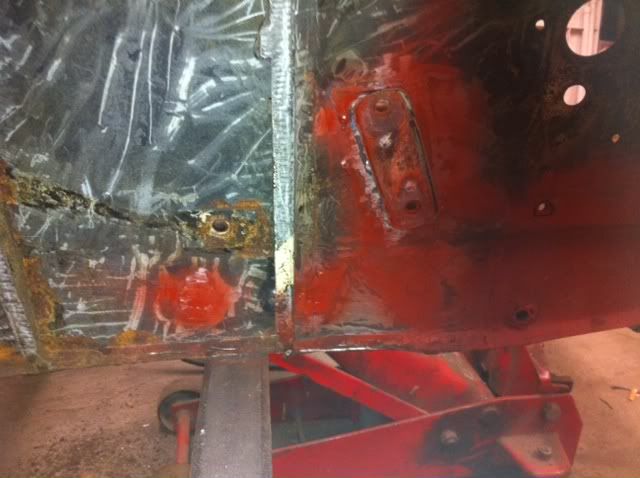
                Originally posted by 13sport View Post
                never got much done this evening just tidying up the inner wing topos a bit more very happy with what ive found, just need a bit more tidy up with power file as grinders a bit of a rough finish


                i feel so much better now ive got origional strut tops and tidy inner wings. hopefully wing rails and splash panels done on saturday
                If the grinder is too rough, have you tried a flap wheel in the grinder? I haven't used one in a grinder before until recently (plenty in a drill) and find it's a nice finishing stage after I've ground back my lumpy welds.

                Something like this:

                Comment


                • #23
                  Yes flap disc and flap wheels work well for metal finishing, I tend to find an abrahisve discs works well on smooth flat surfaces but can't beat a power file/ linisher on the harder to teach areas. They tend to take less metal off than grinding stones and much cleaner finish. Only problem I have found with flap discs is they tend to skate over the welds you want to metal finish rather than waste the weld away. This is where I find an 80/60 grit disc on the grinder better and doesn't generate the heat s grinder or flap wheel doesn't causing warpage. Sorry for the waffle lol

                  Comment


                  • #24
                    Originally posted by 13sport View Post
                    Yes flap disc and flap wheels work well for metal finishing, I tend to find an abrahisve discs works well on smooth flat surfaces but can't beat a power file/ linisher on the harder to teach areas. They tend to take less metal off than grinding stones and much cleaner finish. Only problem I have found with flap discs is they tend to skate over the welds you want to metal finish rather than waste the weld away. This is where I find an 80/60 grit disc on the grinder better and doesn't generate the heat s grinder or flap wheel doesn't causing warpage. Sorry for the waffle lol
                    No problems with the waffle it's my specialist subject too. Good to share tips and methods.

                    It's raining here today, so might have an excuse to get out in my garage again...that'll be twice this week, which is double what I managed last year.

                    Comment


                    • #25
                      got a couple of hours in this afternoon after moving house for my nana this morning. Managed to plug the holes up in the chassis legs that had been drilled for some type of engine mounts at some point in its life.

                      quick squirt of areosol to stop any flash rusting then made a start on the area next to bonnet hinge (not sure what this is called) first i removed the bonnet hinge and cut the rot out. Then started to make it up in several pieces as per factory...ish. first made a small section of bulkhead then the small area of strut top

                      just need to make the top part now hopefully il get on with that tommorow. that just leaves me a splash panel and this small area of grot to sort and thats the whole front end done

                      Comment


                      • #26
                        bit more done today repaired bonnet hinge area, refitted hinge bracket, fitted splash panel. gapped bonnet and doors up then fitted wing rail and trial fitted wing.

                        Comment


                        • #27
                          Floors next and decided to go with new inner sills aswel.


                          Might be a bit slower progress over the next week or to but knowing me I won't be happy with it looking like a flintstone car and will get it done

                          Comment


                          • #28
                            Tidyied up this side a bit tonight hopefully get finished work early enough tomorrow to fit front panel and make a start on the floors

                            Comment


                            • #29
                              well been a bit busy recently and i decided i better finish the last project before i totally stuck into doing the escort, plus it will more than likely come in for picking parts up for the escort to so now this is finished

                              I made a small start yesterday afternoon. finished cleaning sills pans up etc in preperation for fitting inner sills and front pans, getting help off a friend to do this as hes done loads of mk2's over the years and turns out a real nice job. Then decided i remove the fibre glass tubs which had previously been made when it had had the x pack fitted ( which was right ba***rd it had got a real good hold). I then gave the quarter and a few other areas a good clean down using heat gun and wire brush

                              The a pillar on the pass side is in brilliant condition but the drivers side one needs a repair as it swollen a bit around check strap area


                              Also cleaned up the wheel houses i got off escort tec whilst cleaning the quarter up. Think i will just use the outer half of these as my inners are pretty good to start with.
                              Hopefully floors and sills will be done in the next week or to so i can get it on the spit and do the wheel houses on there be much easier than on axle stands

                              Comment


                              • #30
                                Very impressive.............looks like a real bargain find.
                                sigpic

                                Comment

                                Working...
                                X