Announcement

Collapse
No announcement yet.

my first mk2

Collapse
X
 
  • Filter
  • Time
  • Show
Clear All
new posts

  • my first mk2

    Hi all had a mk1 which was my first bought about 6 months ago, it needed a lot of work and i got a good offer on it so ended up selling it and knew about this x pack mk2 so went to see it.

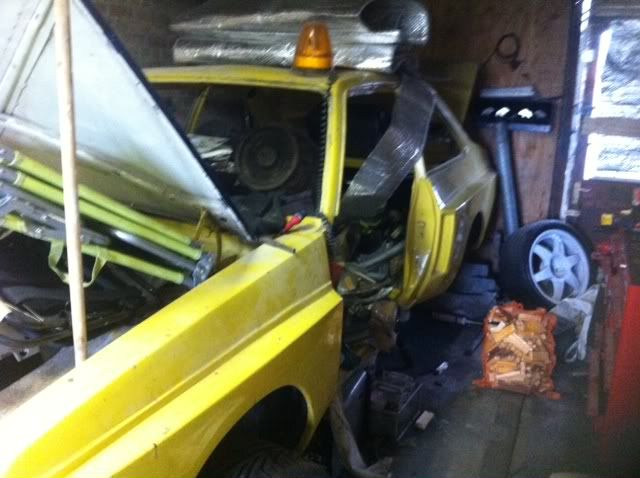
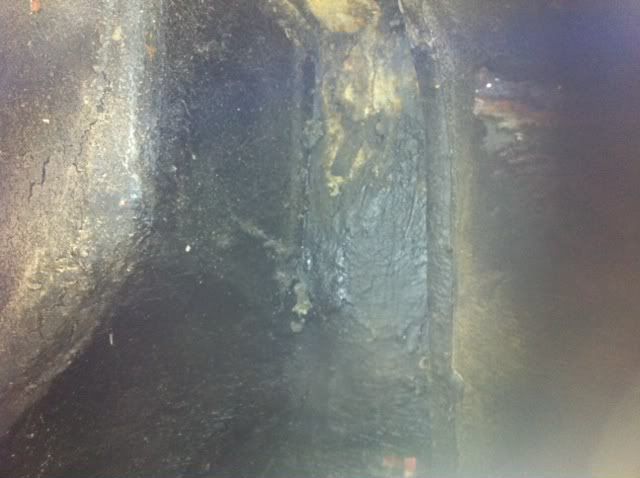
    It was difficult to see how good or bad it was or good it was due to it being used as a storage space all i could see is that it was caked in underseal.
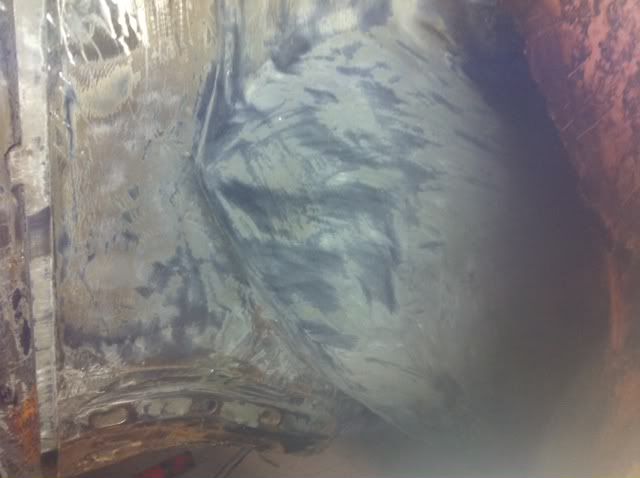
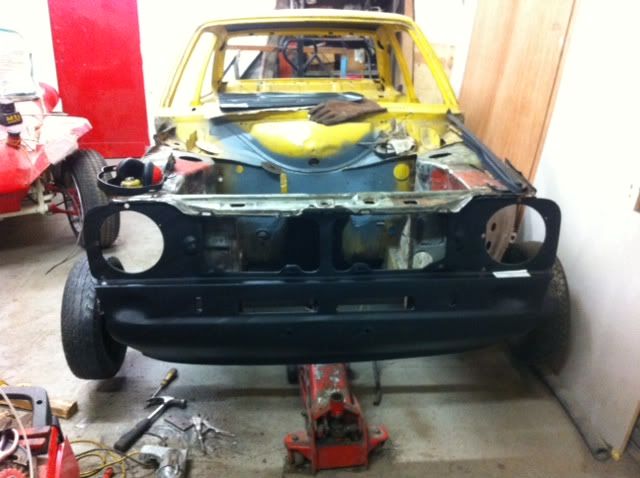
    first thing to do was to remove the x pack as personally it didnt float my boat. Couldnt believe how good the quarters were behind it, only a couple of screw holes as the kit was mostly fitted using resin. Hopeing to save them and convert back to standard using a door skin and arch repair, have some mint tubs cut out a shell already.

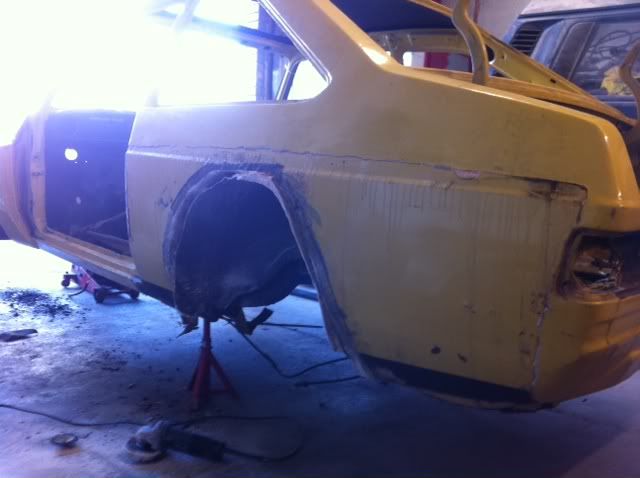
    at the worst way il tub it again and tarmac arch it
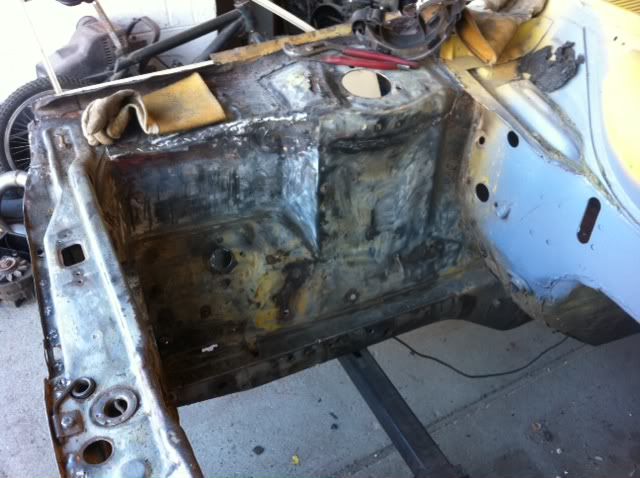
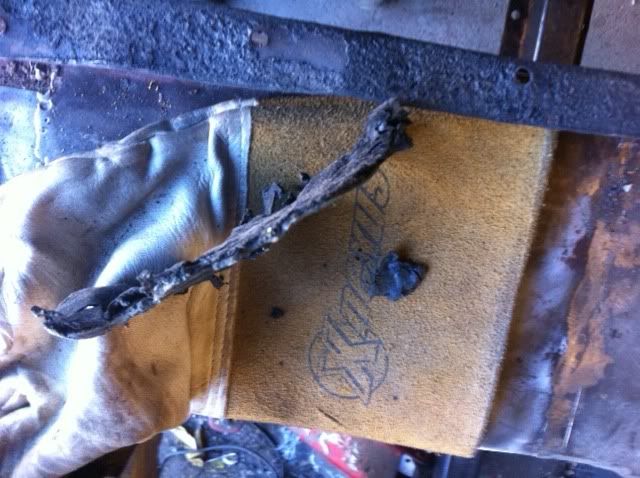
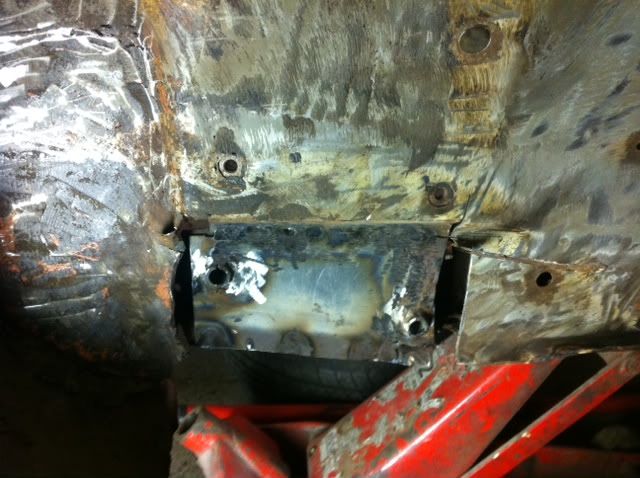
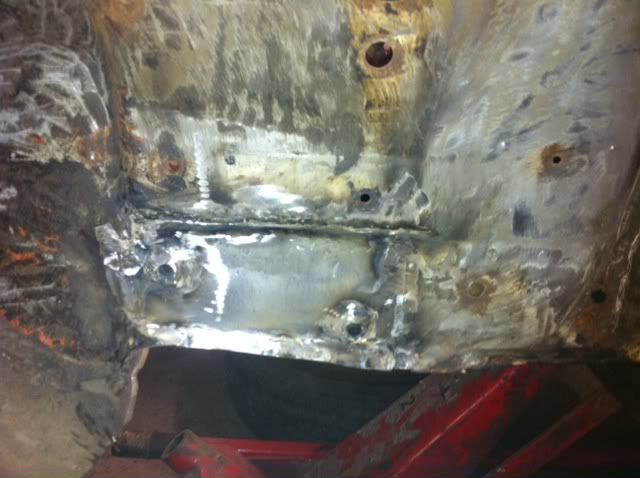
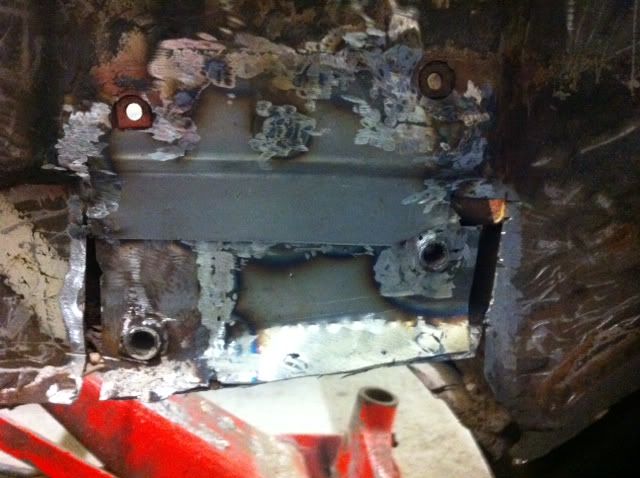
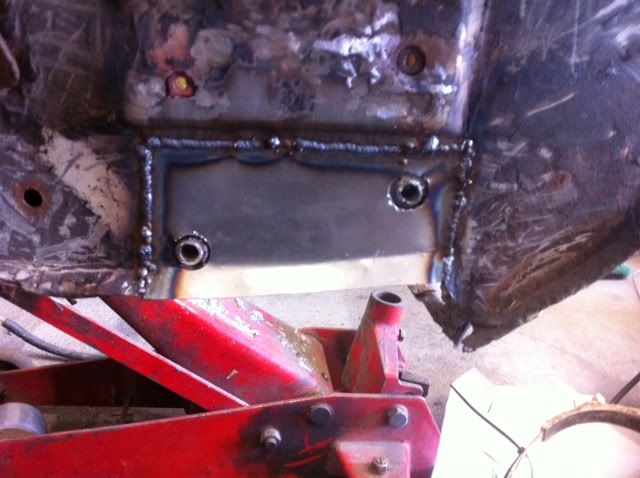
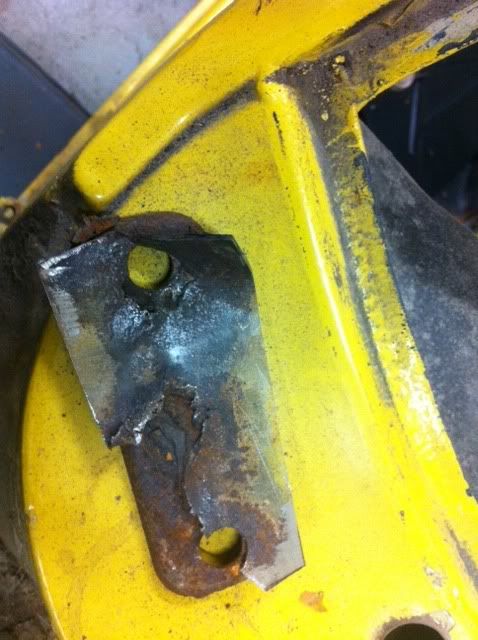
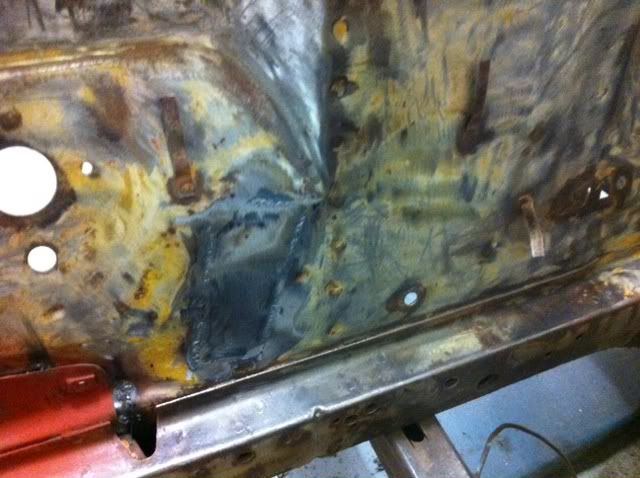
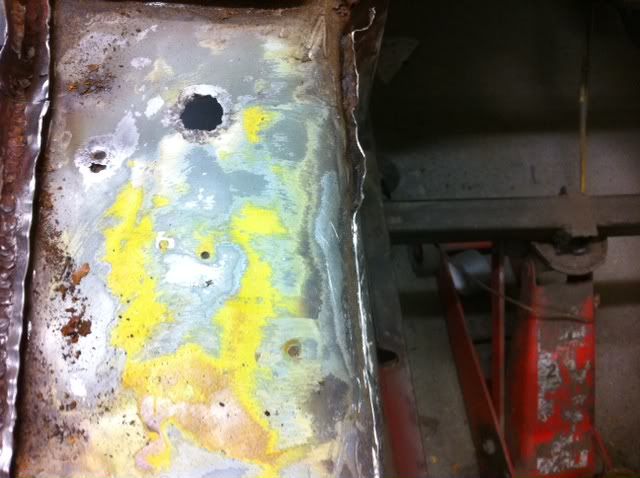
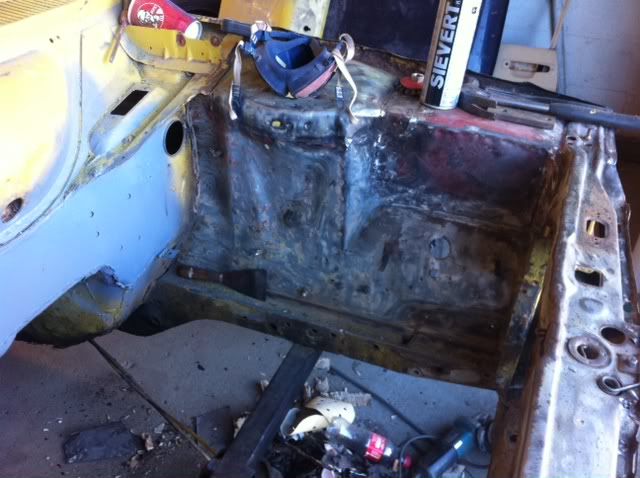
    Anyway being keen and only having owned it since 2pm yesterday i thought id start at the front and work my way back. the inner wingsd were full of filler as someone had started to smooth it forgot to get a before pic but after removing it they are pretty good, it had 2 strut top repairs panels poorly attached with snotty weld so i removed them to find one mint strut top and one strut top with a small patch of swelling but numbers still there and correct to v5

  • #2

    small repair needed hust below numbers on strut top and small hole under bumper iron area needs attention

    Passenger side very good just need to plug a couple of holes up on the chassis leg as it had some extra holes drilled in it for some reason. hopefully get more done in the next week

    Comment


    • #3
      also removed fibre glass and filler from rear c pillars as they had also been smoothed, i hadnt noticed this until i got it home and i panicked thinking they might be rotten but one sides as new the other has 3 small holes in the outer skin but will repair easily, have seen much worse 15 yearsago

      Comment


      • #4
        Looks like a good project youve got there.
        Did it come with any parts or was it just a shell?
        Youve got some hours to put in gettin those rear arches sorted tho
        What are your plans for it? Engine etc?
        Geoff.
        sigpic GC Automotive
        Repairs & Restoration tel-07805611316

        Comment


        • #5
          my time for free its just a hobby, pretty much a complete rolling shell. all glass, 100% mint bonnet boot and doors, wiring 2.8 billy struts columb, switchgear, pedal box lights etc etc. Still on origional flkoor pans and sills in good condition, may need to replace half of one front pan. My plan for it is see how it goes. wanted one for over 10 years now ive got one il get on with it and make my mind up as i go. Got a pinto and type 9 but cant beat the bda tune so hopefully il win the lottery before next winter!first step is to get it on tghe spit spend about a month cleaning all the gunk off and do any repairs it needs, quarters will be lastas im not worried about then (best friend fabricates e-type jag panels on the english wheel) surely a mk2 quarters a piece of p**s compared to an e-type bonnet

          Comment


          • #6
            You,ve got the makings of a nice car then
            Good luck with it.
            The guys on here love pictures so make sure you take plenty :-)
            Geoff
            sigpic GC Automotive
            Repairs & Restoration tel-07805611316

            Comment


            • #7
              It was in my budget and half the average price a 2door project car sells for these days. Anyway got a couple of hours in yesterday after work spend an hour and 45 mins with the electric chisel scraper removing all the underseal off the pass inner wing with quite good results, the bits that look red rusty do appear to be just red dry rust and the bits that were caked in underseal are very good so far infact good as new, hers an idea of the ammount of the stuff on the drivers side

              a rough guide to the thickness of it must be between 5 and 6mm thick

              What it looks like now still needs more work with wire wheel in the grinder

              i swept up the garage floor after and this is of the pass side inner wing only! could have filled a shoe box with it, put the ear deffenders there for comparison. Bit crusty around the anti roll bar bracket mounts hopefully will have that fettled after work tommorow and tick one chassis rail and innerwing off

              Comment


              • #8
                sorry forgot to ad the pic in there


                hopefully the rest off the car will follow suit but with underseal that thick and grotty surely il find some nastys underneath it all??

                Comment


                • #9
                  got a couple of hours in this afternoon managed to repair the lower inner wing where the anti roll bar bracket bolts go through chassis leg, the outer was crusty and the thicker inner part was to so first i made a thick piece up

                  then made a section for the outer (lower inner wing)

                  pics not great but nice and solid again now. I then cut out the small crusty section on the drivers side strut top, forgot to get a pic of this but will add tommorow.

                  Comment


                  • #10
                    Been at work all weekend but did manage to order a new front panel, pair of wing rails and pair of splash panels as they have had previous poor repairs. Removed front panel this evening was a right faff on as it had been gas welded on at some point in it's life!

                    Comment


                    • #11
                      took delivery of some panels today, better quality than i expected to be honest, steel seems to be harder and thicker than some of the stuff i got from my mk1 from cleveland panels but what the fit will be like i dread to think lol.

                      front panel sat on just for show and to make me feel better!
                      made a start on drivers side lower inner wing/bumper mount area, this appeared to be better than the passenger side but turned out to be nearly as bad so fabbed up the thick piece in one bit and half of the thinner outer tonight again pics actually look worse than it looks (which is strange as pics usually look better lol)

                      will try and finish this tommorow evening and hang the doors and bonnet ready to fit the wing rails and wings

                      Comment


                      • #12
                        As said looks a good project you have there and she's coming on well, all the best with the resto!

                        S.A.S Motorsport > http://bbs.rallyesportescorts.co.uk/...o=view&id=2408

                        Comment


                        • #13
                          just need to keep chipping away at it! really should have finished the van before starting the car but hey ho

                          Comment


                          • #14
                            Making good progress there keep up the good work mate!!

                            Comment


                            • #15
                              finished this off tonight forgot to get a pic of it cleaned up

                              next i thought the brake servo strengthener area looked a bit poor so cut it out

                              let a new piece into inner wing and il clean the strengthener up and refit it.

                              i was just about to go home when i looked at the 2 big patches welded onto the top part of the inner wings and decided after a good look on the underside that there couldnt be a great deal wrong with the origional panel underneath so drivers side first

                              2 small holes will cut out and let a piece in after i removed the rest of the patch and power filed all the welds down.

                              Comment

                              Working...
                              X