Announcement

Collapse
No announcement yet.

I've started building Escorts again, (an Aussie project)

Collapse
X
 
  • Filter
  • Time
  • Show
Clear All
new posts

  • I've started building Escorts again, (an Aussie project)

    I was looking through emails from my old website (www.rwd-escort.co.uk) a few weeks back, and in among the thousands of viagra offers, and Russian babes who were looking forward to meeting me, I found an email from a guy here in Adelaide asking if I could do some work on his MK2.

    I have a bit of time to kill until I move to Brisbane, so thought it would keep me out of trouble.

    The owners name is Ben, (I have told him to have a look at the forums, so he may be along later)
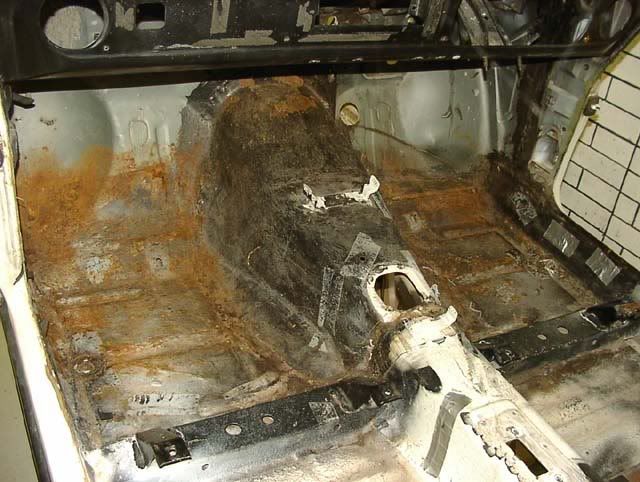
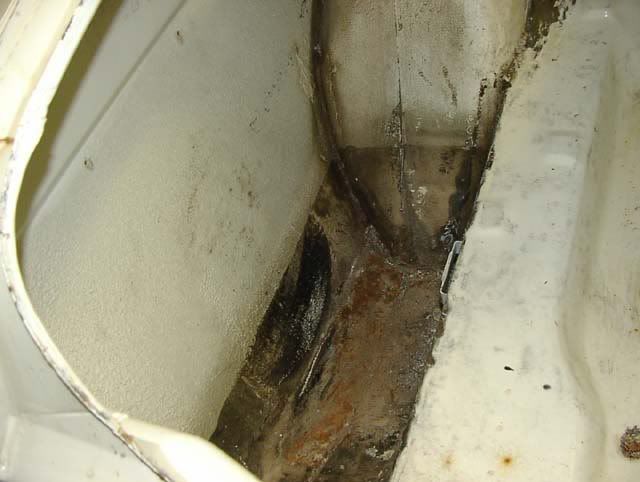
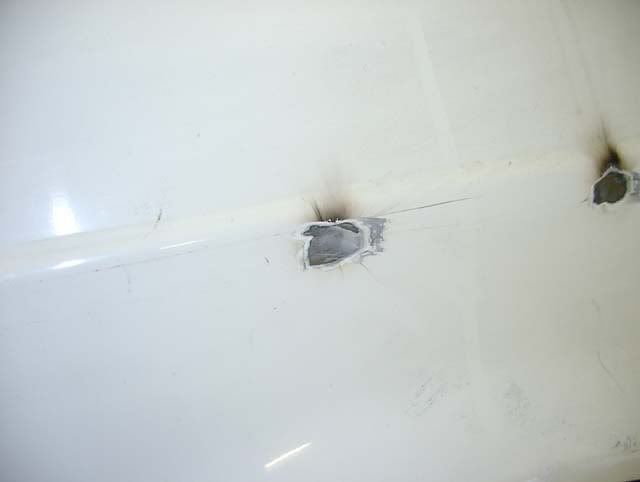
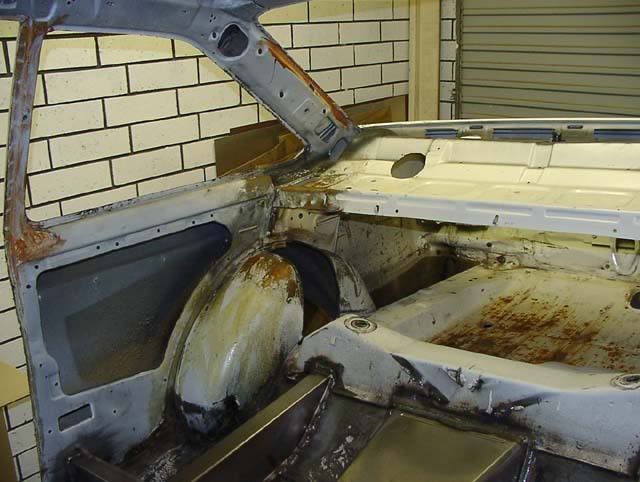
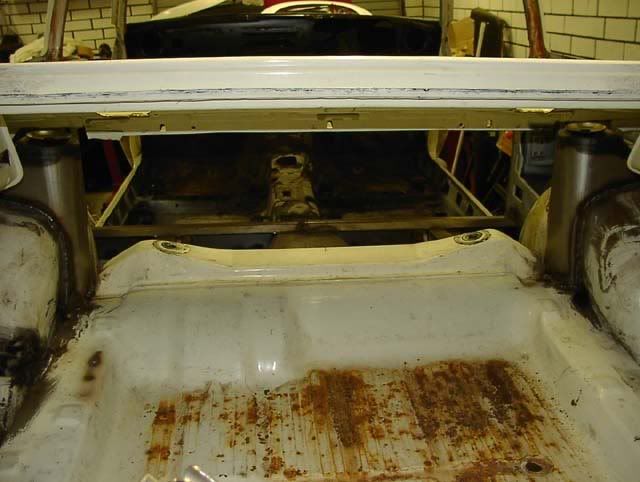
    His original car had a bit of rust that was going to be a bit expensive to fix properly, (although nothing as bad as UK rust) so we went shopping and found this little gem.
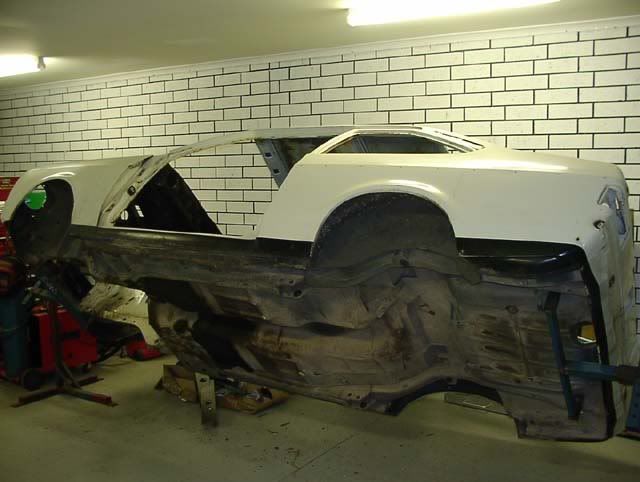
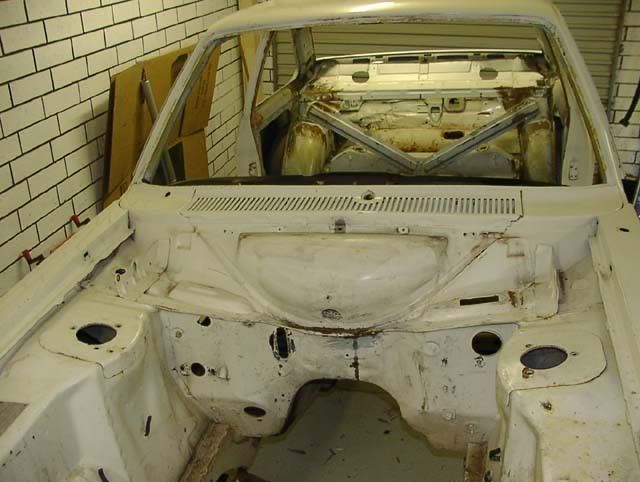
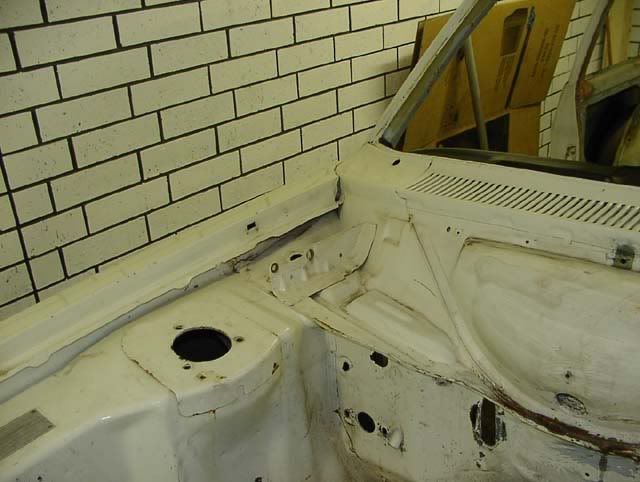
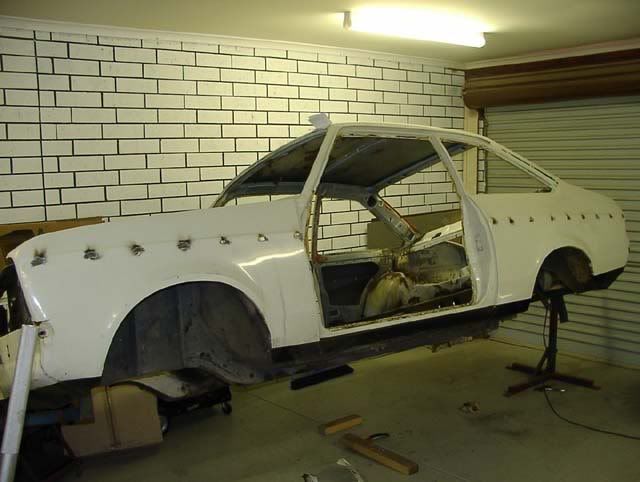
    2.0 GL Auto 2 door, a few dents and a couple of tiny rust patches but mostly rot free, and ideal base for a project car.

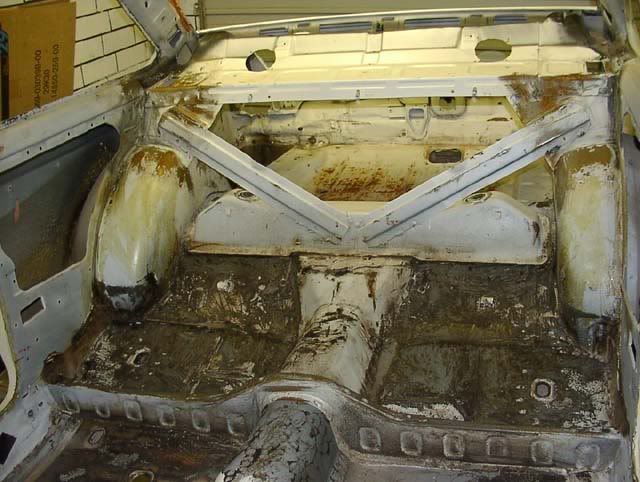
    here it is in my garage on the spit


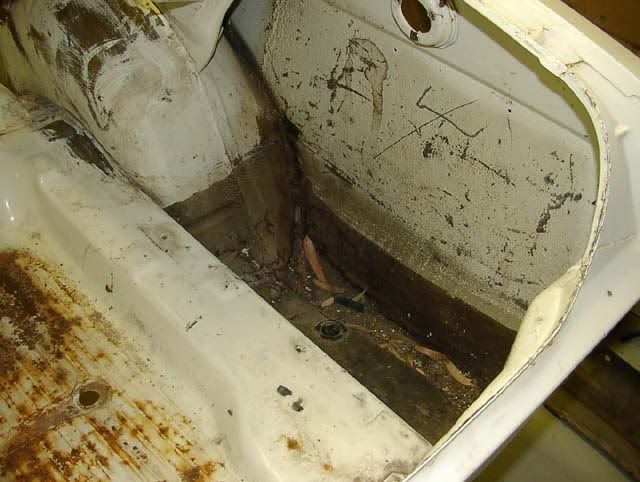
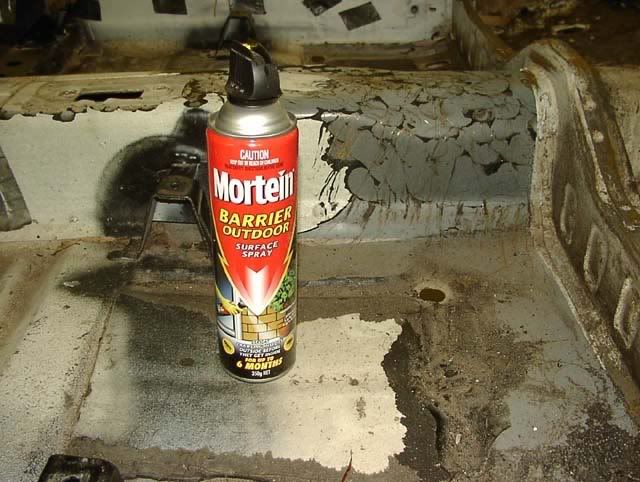
    Unfortunately it also had some unwelcome guests and I hate spiders, especially redbacks and whitetips
    So first job was to nuke them with a can of this

    Regards
    Mark
    homepage

    sigpic

  • #2
    Plans are to fit this little lot to it

    Diff tunnel, 4 link and round turrets from Ralloy, and a panhard rod from rallye design.
    Plus a set of fibreglass forest arches from here, I am not too keen on these though, they arent the best fit I have seen


    So I decided to start with the diff tunnel, fired up the trusty plasma for the first time in ages, and it worked a treat
    Cut a small hole first to make it easier to trial fit the new tunnel


    Then mark out position, remove it, a little heating and reshaping of the floor, cut the hole to correct size and clean it ready for welding


    A few tec screws to hold it firmly in place and ready for the mig,


    Diff tunnel welded in


    And started on the 4 links.
    We are using 2 piece 4 links from Ralloy on this car, so first job was to measure and cut for the bracket part


    Then drop the brackets in the holes and make sure they are in the right place


    Regards
    Mark
    homepage

    sigpic

    Comment


    • #3
      Great looking shell you have there. What are the cross sections where the back seat should be?
      Autumn Has Arrived by Kevin Frost, on Flickr

      CHES'S UNDERSTUDY...........

      Comment


      • #4
        Clamp them in place, recheck measurements a few times and weld them in.


        Then mark out the position of the 4 link cover, and cut this.
        When using these 2 piece bracket covers, instead of a one piece box, there is no need to cut the floor completely for the top link, instead just cut a slot long enough to allow movement of the suspension.


        I think they look neater like this


        Fitted a fixed height panhard rod tower from Rallye Design, nice and easy

        cleaned up the chassis and floor where it will be going,


        Tweak it so it fits tightly, measure and get it in the right spot


        Then weld it all the way round


        More to follow
        Regards
        Mark
        homepage

        sigpic

        Comment


        • #5
          Originally posted by Frosticles View Post
          Great looking shell you have there. What are the cross sections where the back seat should be?
          LOL everyone asks that.

          have a look here http://www.turbosport.co.uk/showthre...ht=differences
          from another one I did
          Regards
          Mark
          homepage

          sigpic

          Comment


          • #6
            Looks good Mark..working on Escorts in a hot country sounds like the perfect job

            cheeRS Ders.

            Comment


            • #7
              very neat and tidy , keep them flix coming mark......

              Comment


              • #8
                very interesting stuff, keep em coming,


                cheeRS
                sigpic

                Comment


                • #9
                  I have been a bit slack on the updates for this, (partly due to driving around in the outback a lot recently) but have made some progress, so here is the latest.

                  I added a cross brace to the 4 link boxes.


                  Then looked at the rear turrets, unfortunately the bracing on an Aussie shell is right in the way of where I need to cut and fit the turrets, so it had to go.


                  I wasn't in the mood for cutting turrets that day so I decided to get rid of some trim holes instead
                  Cleaned them out with a drill, and sanded the paint away, then using a copper "spoon" on the rear to prevent heat distortion I mig welded the holes then ground flush, they will need a heavy primer or a skim of stopper to hide them, but they are now gone for good


                  Regards
                  Mark
                  homepage

                  sigpic

                  Comment


                  • #10
                    As I have only got just over 3 weeks till I move I thought I better get the turrets finished.
                    Cleaned the area up then marked the position of the turret under the arch.
                    Then start cutting undersize of the area marked out
                    (the bump stop has to go)


                    Then fold a 90 degree flange to open the hole out to the full size
                    try the turrets in the hole and mark where the parcel shelf has to be cut.
                    Cut it and set the turret in position, use a couple of tack welds to hold it, then do the other side (I dont like to weld it in fully until both are in place).


                    Then weld them in place


                    At the top I leave a bit of extra inner arch in place with 2 slots cut in it, I then fold this downwards out of the way, that gives good access to the top of the turret which can be welded to the inner 1/4 panel, then fold the "flap" of steel back over it, put a coupple of tacks on and it can be sealed nicely from the elements using panel edge sealer.

                    Regards
                    Mark
                    homepage

                    sigpic

                    Comment

                    Working...
                    X